Quick Answer: How to Clean Your Riding Mower Carburetor
To clean a riding lawn mower carburetor, disconnect the spark plug wires and drain the fuel tank for safety. Remove the carburetor by unbolting it from the engine, then disassemble it by removing the bowl, float, and jets. Soak small parts in carburetor cleaner for 15–30 minutes, scrub gently with a soft brush, and use compressed air to clear jet passages. Reassemble with new gaskets, reinstall the carburetor, reconnect fuel lines, and test the engine. For severe varnish buildup or if performance doesn’t improve, consider professional service or replacement.
When Your Riding Mower Carburetor Needs Cleaning
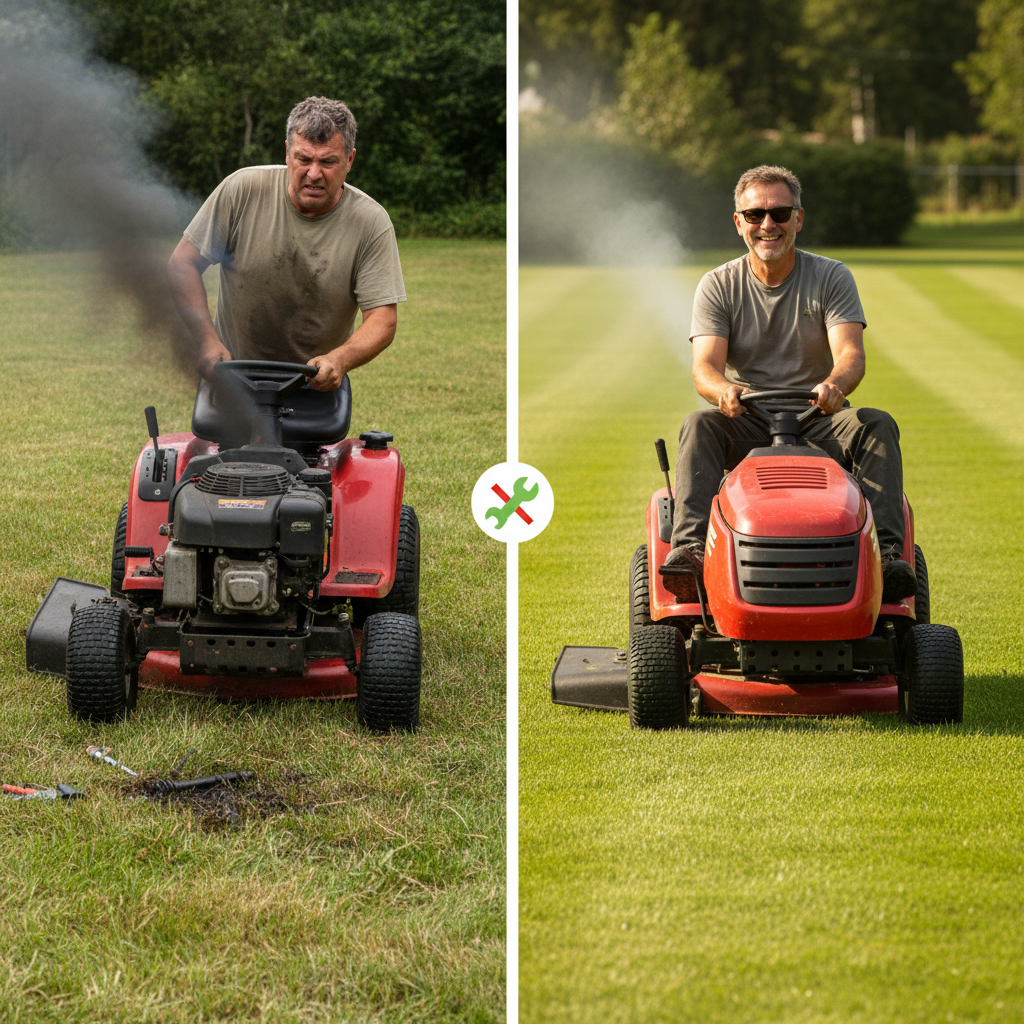
A dirty carburetor is one of the most common reasons a riding lawn mower fails to start or runs poorly. The carburetor regulates the fuel-air mixture that powers your engine, and when it becomes clogged, performance suffers dramatically.
Common signs your carburetor needs cleaning include:
- Hard starting or won’t start at all — The engine cranks but won’t fire, often due to restricted fuel flow
- Rough idle or stalling — The engine runs erratically at low speeds or quits unexpectedly
- Reduced power or hesitation — Loss of acceleration or noticeable power drop during operation
- Black smoke or backfiring — Indicates an overly rich fuel mixture caused by clogged jets
- Fuel leaking from the carburetor — Suggests float or needle valve failure due to debris
Modern gasoline, especially blended fuels containing ethanol, leaves varnish and gum deposits when fuel sits unused. Seasonal storage without fuel stabilizer is a primary cause of carburetor clogging. Even a few months of dormancy can allow fuel to oxidize and harden inside jets and passages, restricting fuel flow.
Clean versus replace: Light cleaning works for typical varnish buildup. However, if the carburetor has sat unused for years, internal parts are corroded, or cleaning doesn’t restore performance, replacement may be more cost-effective than extensive disassembly.
Safety Precautions Before You Start
Working on small engines requires attention to prevent injury or engine damage. Follow these critical steps before touching the carburetor:
- Disconnect spark plug wires — This prevents accidental engine start if the starter is engaged during disassembly. Remove both wires (or all wires for multi-cylinder engines)
- Drain the fuel tank safely — Siphon or pump fuel into a sealed container; never tilt the mower without a fuel shutoff valve. Allow the carburetor to drain into a catch pan
- Work in a well-ventilated area — Carburetor cleaner fumes are potent; work outdoors or in a garage with open doors
- Allow the engine to cool — Wait 30 minutes after operation to avoid burns
- Wear protective equipment — Safety glasses and nitrile gloves protect your eyes and skin from cleaner chemicals
- Keep a parts tray handy — Small screws and jets are easily lost; use a magnetic tray or sectioned organizer
Tools and Materials You’ll Need
Gather these items before starting to streamline the process:
| Category | Items |
|---|---|
| Hand Tools | Socket wrench set, screwdriver set (Phillips and flathead), adjustable wrench, gasket scraper or plastic putty knife |
| Cleaning Supplies | Carburetor cleaner (spray or can), clean rags or shop towels, small brass brush or soft brass wire brush (never steel) |
| Advanced Cleaning | Compressed air and blow-gun (optional but recommended), ultrasonic cleaning tank (optional for severe buildup) |
| Replacement Parts | Carburetor gasket kit or complete rebuild kit matching your mower model, new fuel line (if old line is cracked), fuel filter (if applicable) |
| Reference Materials | Your mower’s service manual or exploded diagram, camera or smartphone for documenting disassembly order |
Carburetor rebuild kits include gaskets, seals, and sometimes jets or needles. Purchasing the correct kit for your specific mower model prevents leaks and performance issues during reassembly.
How to Remove the Carburetor from Your Mower
Careful removal prevents fuel spills and carburetor damage. Follow these steps:
- Locate the fuel shutoff valve (if equipped) and turn it to the “off” position to stop fuel flow to the carburetor
- Disconnect the fuel line by loosening the clamp with a screwdriver or wrench. Have a catch pan or towels ready; pinch the line to minimize spillage
- Disconnect the air intake hose — Most riding mowers have an intake hose from the air filter; loosen the hose clamp or fastener
- Remove the throttle and choke linkages — These rods or cables attach to the carburetor; note their positions or photograph them before removal
- Unbolt the carburetor from the engine — Typically 2–4 bolts; use the correct wrench size to avoid stripping
- Lift the carburetor away carefully — Check for any remaining connections; remove the rubber gasket from the engine mounting surface and set it aside
Tip: Lay the carburetor on a clean work surface with the fuel inlet and jets facing up to prevent dirt from falling into openings.
Disassembly and Identifying Carburetor Parts
Understanding your carburetor’s layout prevents reassembly errors. Most riding mower carburetors are float-bowl types with these key components:
- Float bowl — The lower chamber that holds fuel; held by a single bolt or multiple fasteners
- Float and needle valve — The float rises and falls with fuel level, opening and closing the needle valve to regulate fuel entry
- Main jet — The primary fuel metering orifice; usually a small brass tube with a precisely drilled hole
- Idle jet — A smaller jet controlling fuel at idle speed
- Gaskets and seals — Rubber or cork seals prevent fuel leaks between sections
Before disassembly, photograph or sketch the carburetor from multiple angles. This reference saves time and prevents confusion during reassembly. Pay special attention to throttle linkage positions and spring placements.
To disassemble:
- Remove the float bowl bolt(s) and carefully separate the bowl from the main body
- Remove the float pin (a small shaft that pivots the float) by gently pushing it out
- Lift out the float and needle valve assembly
- Unscrew the main and idle jets using a small screwdriver; place them in your parts tray
- Gently pry out the rubber gaskets and seals; do not reuse these
Some diaphragm-style carburetors (common on certain Briggs & Stratton engines) use a flexible diaphragm instead of a float. If your mower uses this design, the disassembly process is similar but involves a different fuel-regulation mechanism. Consult your service manual for your specific carburetor type.
Cleaning Carburetor Parts Effectively
Proper cleaning removes varnish and deposits without damaging precision components. The method depends on buildup severity:
Light cleaning (recommended for most DIY applications):
- Place small parts (jets, needle valve, float) in a shallow container
- Pour carburetor cleaner to cover the parts completely
- Soak for 15–30 minutes; the cleaner dissolves varnish and loosens deposits
- Use a soft brass brush (never steel wool) to gently scrub the parts; pay special attention to jet orifices
- Rinse parts with fresh carburetor cleaner or compressed air
- Inspect jets against a light source to confirm passages are clear; if debris remains, soak for another 10 minutes and repeat
Cleaning jet passages: Jets have very small orifices that clog easily. Never insert a metal wire larger than the jet hole—you risk enlarging the opening and ruining the carburetor’s fuel metering. If a jet remains clogged after soaking, use compressed air at 50–80 psi to blow through the passage. Alternatively, a thin wire (smaller than the jet hole) can gently remove stubborn deposits, but apply minimal pressure.
Cleaning the float bowl and main body:
- Scrub the interior surfaces with a soft brush and carburetor cleaner to remove varnish film
- Pay attention to the float bowl seat where the needle valve seals; any debris here causes fuel leaks
- Inspect fuel passages; compressed air should blow freely through all channels
- Allow all parts to air-dry completely before reassembly
Advanced cleaning for severe buildup: If varnish is thick or crusty, ultrasonic cleaning removes stubborn deposits more effectively than soaking alone. Professional small-engine repair shops offer this service for $20–50. The cavitation action of ultrasonic waves dislodges stubborn varnish without hand scrubbing.
Do not: Submerge plastic or rubber components in carburetor cleaner for extended periods; some cleaners soften rubber. Keep gaskets and seals separate and soak them only briefly if needed.
Reassembly and Reinstallation
Reassemble in reverse order of disassembly. New gaskets and seals are essential—old ones lose elasticity and don’t seal properly, causing fuel leaks.
Reassembly sequence:
- Install new gaskets on the float bowl and main body; apply a thin gasket cement if your kit includes it
- Reinstall the main and idle jets by threading them gently into their bores until snug; do not overtighten or the fine brass will crack
- Install the needle valve and float — Insert the needle valve into its bore, position the float, and secure with the float pin
- Reattach the float bowl, fastening it with the original bolt(s); tighten firmly but not excessively
- Float adjustment — Some carburetors require float height adjustment. With the bowl inverted and no gasket, the float should hang parallel to the bowl. If your kit includes a float adjustment spec, verify this before final assembly
Reinstalling on the engine:
- Place a new gasket on the engine mounting surface
- Position the carburetor and insert bolts hand-tight first to avoid cross-threading
- Tighten bolts evenly in a criss-cross pattern to ensure a seal
- Reconnect the air intake hose and secure with a hose clamp
- Reconnect throttle and choke linkages, verifying they operate smoothly
- Reattach the fuel line, securing the clamp firmly; check for leaks before starting the engine
- Reconnect spark plug wires to their original positions (mark them first if unsure of correct placement)
Leak test: Before starting, turn the fuel valve on and observe the carburetor for 5 minutes; fuel should not drip from any connection point. Tighten fuel line clamps if leaks appear.
Testing and Troubleshooting After Cleaning
A successful cleaning restores smooth starting and stable idle. Test methodically:
Initial start:
- Set the choke to “cold” or full position
- Prime the fuel system by squeezing the fuel bulb (if equipped) 5–10 times
- Pull the starter cord steadily; the engine should fire within 3–4 pulls
- Once running, move the choke to “warm” or part-open position after 30 seconds
- Allow the engine to idle for 2–3 minutes; it should settle into a smooth, steady idle
If the engine won’t start:
- Confirm spark plug wires are fully seated and the spark plugs are firing (check for spark with a spark tester)
- Verify fuel is reaching the carburetor; remove the fuel line and check for flow
- Check that the fuel filter (if present) isn’t clogged
- Ensure choke linkage is set correctly and moves freely
If the engine runs but still hesitates or stalls:
- The carburetor may need a second cleaning session, especially if buildup was severe
- Confirm gaskets seal properly; fuel leaks reduce pressure and cause poor performance
- Check that the throttle linkage moves smoothly and returns to idle position
- If idle remains rough, the idle jet may need soaking and re-cleaning
When to seek professional help: If cleaning doesn’t resolve starting or running issues after two attempts, the problem may be internal engine damage, ignition system failure, or carburetor damage. At this point, professional service or carburetor replacement is more cost-effective than continued troubleshooting.
Variations by Mower Type and Engine Brand
While the basic process is similar across most riding mowers, design details vary:
Briggs & Stratton engines: Common on entry-level mowers; typically use float-bowl carburetors with easily accessible jets. The service manual is widely available online and includes exploded diagrams.
Kohler and Kawasaki engines: Often found on premium mowers; carburetors are similar but may have additional fuel passages or adjustable needle valves. Consult the specific engine manual for exact layouts.
Zero-turn and commercial mowers: Some use Nikki or Walbro carburetors with diaphragm fuel regulation rather than floats. Disassembly is similar, but the fuel regulation mechanism differs. Always reference your mower’s service manual for your specific model.
Finding model-specific guidance: Your mower’s serial number identifies the engine type. Search online for “[Engine Brand] [Model] service manual” to find detailed diagrams and part specifications. Dealer websites and small-engine repair resources like YouTube channels specific to your mower brand provide step-by-step video guides.
Frequently Asked Questions
Can I clean a carburetor without removing it from the engine?
Partially. Spray carburetor cleaner into the fuel intake and jets while the carburetor is mounted can dislodge light deposits, but it’s less effective than soaking and manual cleaning. For seasonal maintenance or light varnish, this “in-place” method works. However, for thorough cleaning and jet inspection, removal and disassembly are necessary.
How often should I clean my riding mower’s carburetor?
Typically once per year or every 50–100 hours of operation. If you store your mower with fuel in the tank over winter without fuel stabilizer, clean the carburetor before the next season. Using high-quality gasoline and fuel stabilizer extends the interval between cleanings.
Should I replace the entire carburetor instead of cleaning it?
Replacement makes sense if the carburetor is severely corroded, has internal metal damage, or cleaning doesn’t restore performance. New carburetors for riding mowers cost $50–150, while rebuild kits cost $15–30. If you’re uncertain about disassembly or your carburetor has sat unused for years, replacement may be faster and more reliable.
What’s the best fuel to use to prevent carburetor clogging?
Use fresh, Top Tier gasoline (from major brands) and add fuel stabilizer before storing the mower for more than a month. Ethanol-free fuel is ideal if available in your area, as ethanol attracts moisture and accelerates varnish formation. Never leave gasoline sitting in the tank or carburetor bowl for extended periods without stabilizer.