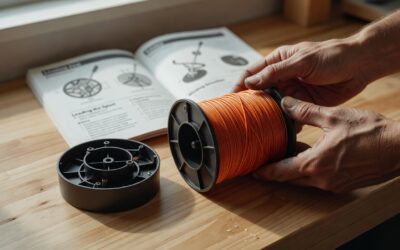
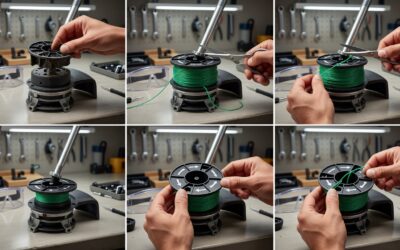
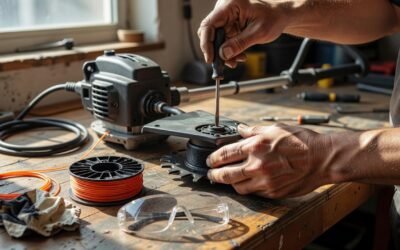
To remove a string trimmer head, first disconnect the power source: unplug an electric trimmer, remove the battery, or on a gas model, turn it off and press the primer bulb to relieve fuel pressure. Next, identify the attachment type: most heads are threaded onto the shaft, some use a screw-on tab, and others use a push-button or twist-and-pull release. For a threaded head, insert a screwdriver, hex key, or the supplied locking pin into the hole on the shaft to stop it from spinning, then turn the head counterclockwise (or in the direction of the arrow printed on the head) until it comes off. For push-button heads, press the release tabs or button and pull the head straight off. Always wear gloves and eye protection, and match the replacement head to your trimmer’s brand and shaft size.
What Does ‘Removing a Trimmer Head’ Mean?
Before starting, it is important to clarify exactly what task you are performing. This guide is specifically written for garden string trimmers (often called weed whackers). It does not apply to hair or beard trimmers, which use entirely different mechanical components.
There is also a functional distinction between “removing the head” and “refilling the line.” If you simply need more cutting line, you likely only need to open the bump feed head or use the spool release mechanism. You only need to perform a full head removal if you are replacing a damaged head, switching to a different attachment (like a brush cutter), or repairing the trimmer shaft itself.
Common reasons to remove the head include:
- Replacing a broken or worn-out bump feed head.
- Upgrading to a different style of cutting attachment.
- Cleaning debris that has become jammed deep inside the assembly.
- Repairing the trimmer shaft or gearbox.
What Types of Trimmer Head Attachments Are There?
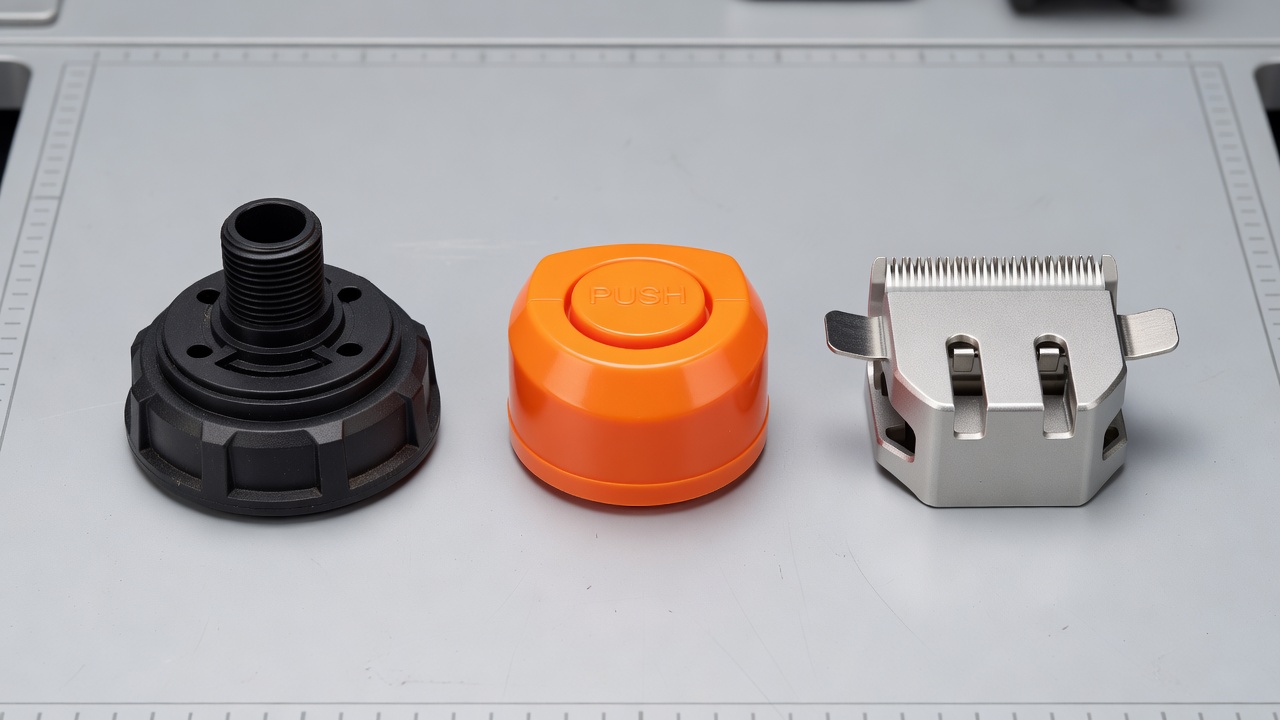
Trimmer manufacturers use several different attachment mechanisms. Identifying yours is the most critical step, as using the wrong method can damage the threads or the shaft.
Threaded or Screw-On Heads
This is one of the most common designs. The head is attached to the trimmer shaft via internal or external threads. To remove these, you must prevent the shaft from spinning while you turn the head. Note that some models use “reverse threads,” meaning you may need to turn the head in a specific direction indicated by an arrow on the housing.
Push-Button Release Heads
Common on many modern electric and high-end gas trimmers, these heads are designed for quick changes. Instead of unscrewing, these heads feature one or more buttons or tabs. When pressed simultaneously, they disengage the head from the drive shaft, allowing it to be pulled straight off.
Twist-and-Pull or Tab-Lock Heads
Some models utilize a locking tab or a specific twisting motion to release the head. These often require a specific alignment of the head’s housing with a notch on the shaft. These are frequently found on specific brands that prioritize tool-less maintenance.
What Tools Do You Need to Remove a Trimmer Head?
While some models allow for tool-less removal, most require a few basic items to ensure the job is done safely and efficiently.
- Safety Gear: Heavy-duty work gloves and eye protection are highly recommended to protect against residual debris or sharp plastic edges.
- Locking Tool: Most trimmers have a small hole on the gear head or shaft designed to accept a locking pin. If you do not have the manufacturer’s specific pin, a sturdy hex key (Allen wrench) or a flat-head screwdriver can often serve the same purpose.
- Turning Tool: Depending on the head type, you may need pliers or a wrench if the head is particularly tight, though you should avoid using excessive force on plastic components.
Note: Always check your owner’s manual first. Some specialized brands require proprietary tools to avoid stripping the attachment mechanism.
Step-by-Step: How to Remove a Trimmer Head Safely
Follow these steps to ensure a safe removal process. This walkthrough focuses on the most common threaded head mechanism.
Step 1: Disconnect the Power Source
This is the most important safety step. If you are using a battery-powered trimmer, remove the battery pack entirely. For corded electric models, unplug the unit from the outlet. For gas-powered models, ensure the engine is off and, if possible, depress the primer bulb to relieve any remaining fuel pressure in the lines.
Step 2: Locate the Shaft Lock
To unscrew a head, you must stop the internal shaft from spinning. Look for a small hole located on the side of the trimmer head housing or near the gear assembly. This is the locking hole.
Step 3: Insert the Locking Pin
Insert your hex key, screwdriver, or manufacturer-supplied locking pin into the hole. You may need to wiggle it until it seats firmly into the notch on the shaft. Once seated, the shaft should be immobilized.
Step 4: Unscrew the Head
Grip the trimmer head firmly. Look for an arrow on the head that indicates the direction of removal. In most cases, you will turn the head counterclockwise to loosen it. If the head does not budge, double-check if your model uses reverse threads.
Step 5: Remove the Head
Once the threads are loose, you can spin the head off by hand. If you have a push-button head, skip the locking pin step and simply depress the release tabs while pulling the head away from the shaft.
What Should You Do If the Trimmer Head Is Stuck?
It is common for heads to become stuck due to dirt buildup, grass entanglement, or corrosion (on older metal components). If the head will not turn, do not attempt to force it with heavy hammers or large wrenches, as this can snap the shaft or strip the threads.
Troubleshooting tips:
- Clean the area: Use a stiff brush to remove packed dirt or dried grass from the threads and the locking hole.
- Use penetrating oil: If the mechanism is metal-on-metal and appears seized, a small amount of penetrating oil applied to the threads may help. Allow it to sit for several minutes before trying again.
- Check the lock: Ensure your locking pin is actually engaged with the shaft notch. If it is slipping, you won’t be able to generate enough torque to turn the head.
- When to seek professional help: If the head is cross-threaded or if the plastic housing is cracked, it is safer to take the tool to a qualified repair shop rather than risking further damage to the motor or shaft.
Safety Tips and Best Practices
To ensure your trimmer remains functional and your maintenance is successful, keep these best practices in mind:
- Wear Protection: Even when the tool is off, residual tension in the line or debris in the head can cause injury.
- Match Your Replacement: When buying a new head, ensure it is compatible with your specific brand and shaft diameter. A head that is too large or has the wrong thread pitch will cause immediate damage.
- Inspect the Shaft: Before reinstalling a head, wipe the trimmer shaft clean and check for any signs of bending or wear.
- Lubrication: Some manufacturers recommend a light application of grease on the shaft threads during reassembly to prevent future sticking, but always verify this in your specific manual to avoid damaging the internal components.