Quick Answer: How to Repair a Lawn Mower Pull Cord
A broken or stuck lawn mower pull cord can usually be repaired or replaced in 30–45 minutes. Start by diagnosing whether the cord is frayed, kinked, or completely broken. For minor issues, cleaning debris or tying a knot may work temporarily. For a full replacement, you’ll need to access the recoil assembly under the engine housing, remove the old cord, thread new cord through the handle and pulley system, wind it properly onto the spool, and reassemble. Most repairs require only basic tools and a replacement cord kit available at hardware stores.
Diagnose Your Pull Cord Problem Before You Start
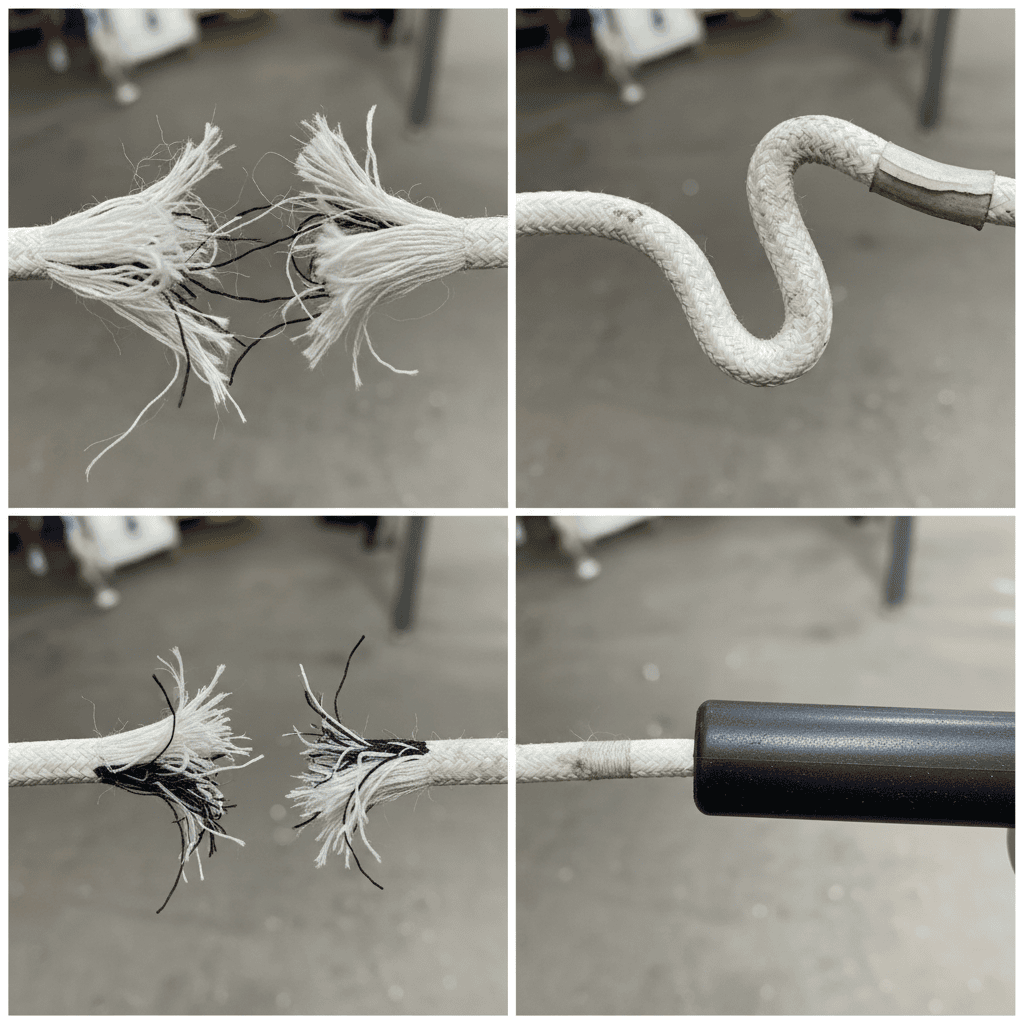
Before attempting a repair, identify exactly what’s wrong with your cord. This determines whether you need a quick fix or a full replacement.
- Frayed or kinked cord: The outer nylon coating is torn or compressed, but the cord may still function. Clean and inspect for internal damage.
- Cord won’t retract: The cord moves out but doesn’t spring back smoothly. This typically indicates a problem with the recoil spring or spool tension, not always the cord itself.
- Cord is stuck or very difficult to pull: Debris, rust, or a damaged recoil spring may be preventing smooth operation.
- Cord completely broken or separated from handle: The cord has snapped in two or detached from the grip. Full replacement is necessary.
- Partial cord visible at handle: The cord has slipped from the spool and won’t retract fully. This usually requires rewinding or full replacement.
Quick Troubleshooting Before Full Replacement
Try these simple fixes first to avoid unnecessary replacement:
Clean Debris and Test
Dirt, grass clippings, and grime can jam a pull cord. Use a dry cloth to wipe down the cord housing and handle. If the cord moves more freely afterward, contamination was the issue—no replacement needed.
Check for Knots or Tangles
Examine the entire length of the cord as you gently pull it out. Knots or twisted sections can restrict movement. If you find a small knot, carefully untie it or snip just the tangled portion and tie a solid knot to rejoin the cord ends.
Inspect the Recoil Spring
If the cord pulls out easily but won’t retract, the recoil spring—not the cord—is likely the problem. A broken or disconnected spring will need replacement, which requires accessing the recoil assembly (see below). A weak spring may simply need tightening by adjusting the spool tension.
Test the Handle Attachment
Pull the cord slowly and listen for slipping or cracking sounds at the handle. If the cord slips within the handle grip, it may just need re-knotting or wrapping. If the handle is cracked or the attachment point is broken, you’ll need a new cord or handle assembly.
How to Access the Recoil Assembly
Accessing the recoil assembly varies slightly by mower model, but the general process is similar for most push mowers.
Tools You’ll Need
- Socket wrench or screwdriver (check your mower manual for the correct size)
- Pliers
- New starter cord (typically 3/16″ or 1/4″ nylon rope; check your manual)
- Replacement pull cord kit (optional but helpful—includes pre-cut cord and hardware)
- Small bowl or container (to hold bolts during disassembly)
- Shop towels or rags
Step 1: Disconnect Spark Plug Wire
For safety, always disconnect the spark plug wire before working inside the engine housing. This prevents accidental starting. Simply pull the rubber boot off the spark plug.
Step 2: Locate the Recoil Assembly
On most push mowers, the recoil assembly is mounted on top of or to the side of the engine. It’s the plastic or metal housing with the pull cord attached. Consult your mower’s manual if you’re unsure of the exact location.
Step 3: Remove the Housing Cover
Use your socket wrench or screwdriver to remove bolts holding the recoil housing to the engine. Typically, there are 2–4 bolts. Place them in a small bowl so you don’t lose them. Carefully lift off the housing cover, being mindful of the recoil spring—it’s under tension and can snap or coil unexpectedly.
Step 4: Disconnect the Old Cord from the Spool
You’ll see the cord wound around a spool inside the housing. At one end, the cord is usually tied or knotted to the spool. Carefully untie or cut this knot. Then slowly allow the spool to unwind, letting the old cord unravel. If the spring is still under tension, the spool may spin rapidly—control it with your hand or pliers to prevent injury.
Step 5: Disconnect the Cord from the Handle
Once the spool is unwound, you can fully remove the old cord. At the handle end, the cord is tied in a knot inside the grip. Cut this knot or untie it to completely free the old cord.
Step-by-Step Cord Replacement Process
Step 1: Measure and Cut the New Cord
Your mower’s manual specifies the correct cord diameter (usually 3/16″ or 1/4″) and length. A typical push mower requires 50–60 feet of cord, though this varies. If you don’t have the manual, measure your old cord if it’s still intact, or purchase a pull cord replacement kit that comes pre-cut to the correct length. Cut the new cord to size and carefully melt the cut ends slightly with a lighter or match to prevent fraying. Work quickly and carefully to avoid excessive melting.
Step 2: Thread the Cord Through the Handle
Feed one end of the new cord through the hole in the pull handle. Pull it through until about 6 inches of cord protrudes on the underside of the handle. Tie a solid knot (a double knot works well) on the underside to secure it. The knot should be large enough that it can’t slip back through the handle hole.
Step 3: Wind the Cord onto the Spool
This is the most critical step. Hold the spool steady with one hand or use pliers. Starting from the end of the new cord (the one not attached to the handle), begin wrapping it tightly and evenly around the spool in one direction. Wind slowly and maintain consistent tension—too loose and the cord won’t retract properly; too tight and the spring will strain excessively. Wind until only about 3–4 feet of cord remain free. As you wind, make sure each wrap sits neatly next to the previous one without overlapping or crossing.
Step 4: Secure the Free End to the Spool
Once you’ve wound most of the cord, tie the remaining free end firmly to the spool. Use a knot that won’t slip or unravel—a double knot or figure-eight knot works well. This connection point is critical because it’s where the recoil spring’s energy transfers to pull the cord back in.
Step 5: Test the Spool Tension
Before reassembling, manually pull the wound cord a few inches and let it go. It should retract smoothly and evenly. If it feels sluggish or jerky, the tension may be off. Adjust by rewinding slightly tighter or ensuring the recoil spring is properly seated. The goal is smooth, consistent retraction without excessive resistance.
Reassembly and Testing Your Repair
Step 1: Reinstall the Recoil Housing
Carefully position the recoil housing back over the engine, aligning the bolt holes. Make sure the recoil spring is seated correctly and not pinched or twisted. If the spring catches or feels wrong, stop and reposition. Thread the bolts back in by hand first, then tighten them with your socket wrench in a criss-cross pattern (similar to tightening car wheel lugs) to ensure even pressure. Don’t over-tighten, as this can crack the plastic housing.
Step 2: Reconnect the Spark Plug Wire
Once the housing is secure, push the spark plug wire boot back onto the spark plug firmly until it clicks.
Step 3: Test the Pull Cord
Stand behind the mower and gently pull the cord. It should move smoothly without sudden resistance and retract fully with a quick, snapping motion. Pull it a few times to ensure consistent operation. If it feels stuck, jerky, or won’t retract fully, you may need to adjust the winding tension or inspect for assembly errors.
Step 4: Start the Mower
Once you’re satisfied with the cord’s operation, attempt to start the mower. If it starts normally, congratulations—your repair is complete. If it doesn’t start, the issue may be unrelated to the cord (fuel, spark plug, etc.), not a problem with your repair work.
Key Differences for Riding Mowers and Electric Models
Riding Mowers
Riding mowers use the same pull-cord starting mechanism as push mowers, but the recoil assembly is typically located on the side of the engine and is larger. The access process is similar, though you may need to remove a side panel or other components to reach it. The cord itself is often longer (60–80 feet) to accommodate the greater distance from the handle to the engine. Consult your riding mower’s manual for specific removal instructions.
Electric Mowers
Electric push mowers don’t have pull cords—they start with a button or switch. If your electric mower has a pull cord, it’s likely a backup starter for a hybrid model, and the repair process is identical to a standard mower. Battery-powered and corded electric mowers have no pull cords at all.
Frequently Asked Questions
How often do pull cords need replacement?
With normal use, a lawn mower pull cord lasts 5–10 years or longer. Frequent use, exposure to moisture, and age cause the nylon to degrade and become brittle. If you notice fraying, difficulty pulling, or poor retraction, it’s time to replace the cord.
Can I use a different diameter or type of cord?
No. Always use the exact diameter and material (usually 3/16″ or 1/4″ nylon) specified in your mower’s manual. Using a different size or material can affect tension, retraction, and durability. Consult your manual or contact the mower manufacturer if you’re unsure.
What if the recoil spring is broken?
A broken or damaged recoil spring requires replacement, not just cord replacement. This is a more involved repair that may require ordering a replacement spring assembly from the manufacturer or a parts supplier. If you suspect the spring is broken (the cord won’t retract or retracts very weakly even with a new cord), consult your mower’s manual or contact a dealer.
Is it safe to use a mower with a partially repaired cord?
No. A cord that’s knotted, spliced, or only partially rewound is unpredictable and may fail during starting, potentially causing injury or damage. For safety and reliability, complete the full replacement process rather than attempting temporary fixes.
How much does a pull cord replacement cost?
A replacement cord kit costs $10–$30 at most hardware stores and online retailers. If you hire a professional technician, expect to pay $50–$150 for labor, depending on your location and mower complexity. DIY replacement is significantly cheaper and straightforward for most mower owners.