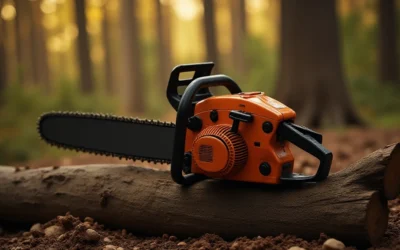
Quick Answer: How To Sharpen A Chainsaw Correctly?
\nCorrect chainsaw sharpening means restoring each cutter to the manufacturer’s specified angle and depth while maintaining uniform tooth length. Whether using a file or grinder, the process involves cleaning the chain, setting the correct angle (typically 25 to 35°), sharpening each cutter with consistent pressure, lowering depth gauges to the proper height, and testing the chain on wood to confirm smooth, efficient…
\n\n

Pros
- Supports a wide range of chainsaw chains up to .404 pitch
- Includes both chain grinding wheels and a depth-gauge maintenance disc
- Can be mounted on a bench or wall for flexible workspace setup
- Built for frequent sharpening tasks rather than occasional use
Cons
- May be more machine than needed for casual users who sharpen chains only occasionally
- Requires mounting and workshop space, so it is less portable than handheld sharpeners
- Compatibility is limited to chains up to .404 pitch
Overview: The Oregon 520-120 is a professional 120-volt chainsaw chain sharpener designed for frequent, high-volume use. It can be mounted on a bench or wall, making it a practical fit for a garage, workshop, or service area.
Performance and Features: This universal sharpener handles chains up to .404 pitch and is intended to work with many popular chain brands, including Oregon, Stihl, and Husqvarna. Multiple adjustment points support more accurate sharpening, while the built-in light helps improve visibility during detailed grinding work.
Drawbacks and Considerations: Its professional focus means it may be more capable than many casual users need. It also requires a mounting setup and dedicated space, so it is not as portable as simpler chain sharpeners. Chains larger than .404 pitch are not supported.
Verdict: The Oregon 520-120 is best suited to professional users or serious property owners who sharpen chains regularly and want a more controlled, workshop-style solution. If you need a durable sharpener for repeated use and value adjustment precision, this model is a strong fit.

Pros
- Space-saving alternative to a full-size chain sharpener.
- Wide chain compatibility up to .404 inch pitch.
- Includes useful setup and maintenance accessories.
- Bench mounting with included bolts adds stability in a workshop or garage.
Cons
- Best suited to occasional use rather than high-volume sharpening.
- Requires a bench or fixed work surface for installation.
- No customer review details are available in the manufacturer listing, so long-term performance feedback is limited.
Overview & Design: The Oregon Professional Compact 120-Volt Bench Chain Grinder is a small bench-mounted chain sharpener built for home workshops and garages. Its compact footprint makes it a practical choice for users who want a dedicated sharpening tool without the size of a full professional machine.
Performance & Key Features: This grinder is designed to sharpen chains up to .404 inch pitch, which covers many common chainsaw chains from brands such as Oregon, Stihl, and Husqvarna. It includes a manual chain clamping vice, one-way motor rotation for added safety, two grinding wheels, a dressing brick, and a profile guide.
Drawbacks & Considerations: The main limitation is that it is aimed at occasional users rather than heavy-duty shop use. It also needs to be bolted to a bench, so it is not a portable sharpener. Since no customer review details were provided, there is limited real-world feedback to judge long-term durability.
Verdict: For homeowners, property owners, and light-duty users who want an affordable and space-saving way to maintain saw chains, this Oregon grinder is a sensible option. It offers the core features needed for basic sharpening while staying compact and straightforward.
Pros
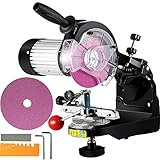
- Electric sharpener with a 230W rating listed in the title
- Designed for saw chain and blade sharpening per title
Cons
- Chain size compatibility is not stated in manufacturer listing
Pros
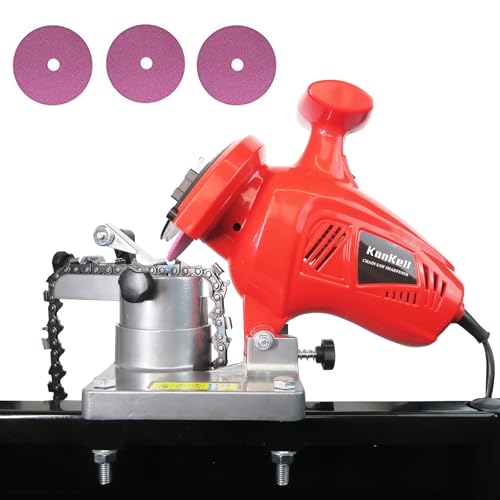
- High-speed 8400 RPM operation supports efficient sharpening.
- Adjustable angle adds flexibility for different chain types.
- Stable mountable base can improve control during use.
- Lightweight and compact compared with many bench-style sharpeners.
Cons
- Best suited to chains between 1/4" and 3/8" pitch, so it is not a universal solution for every chain size.
- Mountable setup is less portable than a fully handheld sharpener.
- No included accessory list or detailed specs were provided in the manufacturer listing, so buyers may need to confirm what comes in the box.
Overview: The KonKell Electric Chainsaw Sharpener is a 250W bench-style chain grinder designed to restore cutting edges quickly and with more consistency than manual filing. Its heavy-duty build and compact 1.55 kg design make it a practical option for garages, workshops, and on-site maintenance.
Performance and Features: With an 8400 RPM motor and adjustable grinding angle, this sharpener is built for efficient, repeatable sharpening on chains from 1/4" to 3/8" pitch. The mountable base adds stability, which can help improve accuracy and reduce movement during operation. That makes it a strong fit for users who want a more controlled sharpening process.
Drawbacks and Considerations: The sharpening range is limited to specific chain pitches, so it will not fit every chainsaw chain. Because it is designed to be mounted, it is less convenient for fully portable use than a handheld tool. The manufacturer listing also does not include a full accessory list, so buyers may want to confirm what is included before purchasing.
Verdict: This sharpener makes the most sense for DIY owners, homeowners, and professionals who regularly maintain compatible chains and want a stable, power-driven sharpening solution. If you value speed, adjustability, and a more precise setup, it is a sensible choice.
Why Correct Sharpening Matters
\nSharpening a chainsaw correctly is not just about keeping the tool efficient; it is fundamentally about safety. A properly sharpened chain cuts through wood with less effort, which reduces the physical strain on the operator and allows for better control of the saw. When the chain is dull, the saw has to work harder, often leading to the operator pushing the saw into the cut. This increased force can result in a loss of control and a higher risk of accidents.
\nIncorrect sharpening can significantly affect cutting speed and kickback risk. If the cutters are sharpened at inconsistent angles or if the depth gauges are set too high, the chain will not bite into the wood properly. Instead of slicing through the fibers, it may bounce or grab, which can cause the saw to kick back violently. Kickback is one of the most dangerous hazards associated with chainsaw use, and maintaining the correct sharpening geometry is a primary defense against it.
\nBeyond safety, correct sharpening extends the life of your chain and the saw itself. A sharp chain produces fine, uniform sawdust rather than a dusty powder, indicating that it is cutting cleanly. This reduces the wear on the guide bar and the drive sprocket, saving you money on replacement parts. Taking the time to sharpen correctly ensures that your equipment performs reliably and lasts longer. Standard operational and maintenance protocols can be consulted via U.S. Consumer Product Safety Commission (CPSC) lawn mower guidelines.
\nChoosing Your Sharpening Method
\n
When it comes to sharpening a chainsaw, you have two primary methods: hand-filing and using a grinder. Each has its own set of advantages and disadvantages, and the right choice often depends on your skill level, the frequency of use, and the equipment you have available.
\nHand-Filing
\nHand-filing is the traditional method and is often recommended for beginners and occasional users. It involves using a round file, a file guide, and a depth gauge tool to manually sharpen each cutter. The main advantage of hand-filing is the level of control it gives you. You can feel the file as it cuts the metal, which helps you maintain a consistent angle and pressure. It is also a low-cost option, as the tools required are relatively inexpensive and portable, making it ideal for field sharpening.
\nThe downside of hand-filing is that it is time-consuming, especially if you have a long chain with many cutters. It also requires a steady hand and a good eye to ensure that every tooth is sharpened to the same length and angle. Inconsistency can lead to a chain that pulls to one side or cuts unevenly, which can be dangerous.
\nGrinder Sharpening
\nGrinder sharpening uses a powered bench grinder with a specialized grinding wheel to sharpen the cutters. This method is significantly faster and can produce a very consistent result if the grinder is set up correctly. Many professional loggers and arborists use grinders because they can sharpen a chain in a fraction of the time it takes to file it by hand.
\nHowever, grinders are more expensive and require a learning curve to set up properly. There is also a risk of overheating the metal if you press too hard or linger on a tooth, which can ruin the temper of the steel and make the chain dull faster. Grinders are generally less portable than hand tools, so they are best suited for a workshop environment.
\nFor most home users, hand-filing is a perfectly adequate and safe method. If you use your chainsaw professionally or very frequently, investing in a quality grinder may save you significant time in the long run.
\nEssential Tools and Specifications
\nTo sharpen your chainsaw correctly, you need the right tools and the correct specifications for your specific chain. Using the wrong file size or angle is a common mistake that can lead to poor performance. Readers comparing setup options can review our technical analysis on marshall stanmore iii vs harman kardon onyx studio 8.
\nDetermining the Correct Sharpening Angle
\nThe sharpening angle is the angle at which the file or grinding wheel meets the cutter. This angle is not universal; it varies depending on the chain manufacturer and the intended use of the chain. Most standard chains require a top-plate angle between 25° and 35°. For example, a general-purpose chain might require a 30° angle, while a chain designed for ripping along the grain might use a 10° angle. The correct angle is usually stamped on the chain or listed in the manufacturer’s documentation. It is crucial to match this angle exactly, as a steeper or shallower angle will affect how the chain bites into the wood.
\nTools Necessary for Correct Results
\nFor hand-filing, you will need a round file of the correct diameter for your chain pitch. The file size is critical; a file that is too small will not contact the full cutter surface, while a file that is too large will not fit properly. A file guide is also essential, as it holds the file at the correct angle and height relative to the cutter. Additionally, you will need a depth gauge tool to check and lower the rakers, and a flat file to file them down. For complementary field maintenance guidelines, examine our breakdown of dyson v8 cyclone vs bissell featherweight stick.
\nFor grinder sharpening, you need a bench grinder with a suitable grinding wheel. The wheel must be the correct diameter and profile for your chain. You will also need a vice to hold the grinder and a depth gauge attachment if your model supports it. Always consult your grinder’s manual to ensure you are using the correct wheel and settings for your chain type.
\nStep-by-Step Correct Sharpening (Both Methods)
\n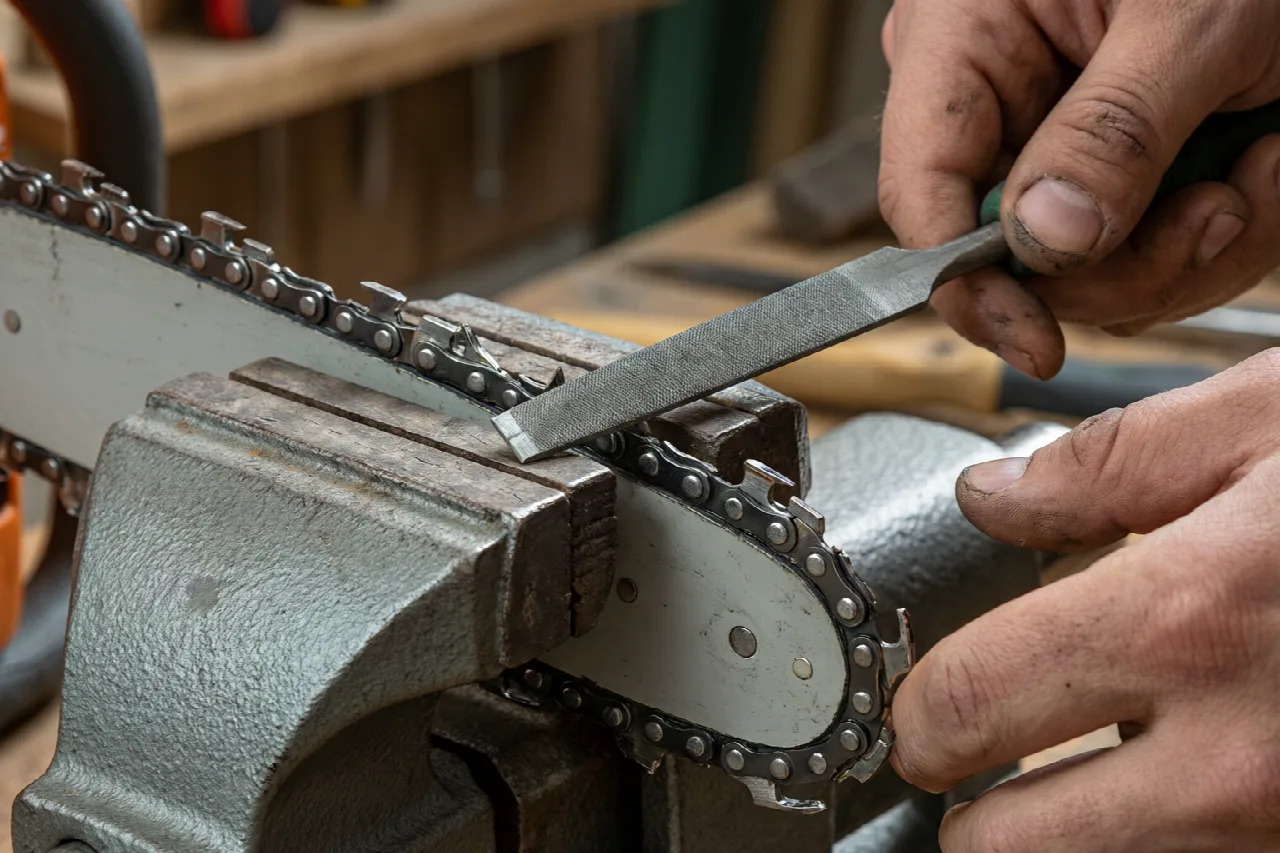
Regardless of whether you choose to file by hand or use a grinder, the underlying principles of correct sharpening are the same. The goal is to create a consistent, sharp edge on every cutter and to ensure the depth gauges are set correctly. To evaluate matched hardware tolerances, consult our detailed overview of bissell crosswave hydrosteam vs shark stainforce.
\nPreparation and Cleaning
\nBefore you begin, always clean the chain. A dirty chain with sawdust and resin will make it difficult to see the cutters and can cause the file to slip. Use a brush and a solvent to remove debris from the chain. It is also wise to inspect the chain for damaged or broken teeth. If a tooth is severely damaged, it is often better to replace the chain rather than attempt to sharpen it.
\nSharpening the Cutters
\nTo sharpen, secure the bar in a vice so the chain is stable. If you are hand-filing, place the file guide on the cutter and insert the file. Push the file across the cutter in a smooth, steady motion, moving from the inside of the tooth to the outside. Use the same number of strokes for each cutter to ensure uniform sharpening. After sharpening one side, rotate the saw or chain to access the cutters facing the other direction and repeat the process.
\nIf you are using a grinder, set the angle and depth on the machine, then carefully lower the wheel onto each cutter. Grind each tooth with a light touch, avoiding excessive pressure that could overheat the steel. Consistency is key; try to remove the same amount of material from each tooth.
\nLowering the Depth Gauges
\nAfter sharpening, the depth gauges (rakers) must be checked. These are the small, rounded protrusions in front of each cutter. They control how deep the cutter bites into the wood. Over time, as you sharpen the cutters, the depth gauges become relatively too high, which reduces cutting efficiency. Use a depth gauge tool to check the height. If the gauge is too high, file it down with a flat file until it is level with the tool. A common specification is a clearance of about 0.025 inches for most chains, but you should verify this against your chain’s manual.
\nChecking Your Work and Final Adjustments
\nOnce you have sharpened all the cutters and adjusted the depth gauges, it is important to verify your work before using the saw. A quick visual inspection can catch obvious problems, but a test cut is the ultimate confirmation.
\nVerifying Angle and Depth
\nVisually inspect the cutters to ensure they all look uniform. They should have a shiny, sharp edge, and the angles should appear consistent across the chain. If some teeth look dull or have a different shape, you may need to go back and re-sharpen them. Check the depth gauges again to ensure they are all at the same height.
\nPerforming a Test Cut
\nTo test the chain, make a cut in a piece of scrap wood. A correctly sharpened chain should pull itself into the wood with minimal downward pressure. It should produce large, coarse wood chips rather than fine sawdust. The cut should be straight, and the saw should not vibrate excessively. If the saw bounces, cuts to one side, or produces fine dust, the chain is not sharpened correctly, and you should re-check the angles and depth gauges.
\nCommon Mistakes and How to Avoid Them
\nEven experienced users can make mistakes when sharpening a chainsaw. Being aware of the most common errors can help you avoid ruining a chain.
\nInconsistent Angles and Lengths
\nThe most common mistake is sharpening each tooth at a slightly different angle or removing different amounts of material. This leads to an uneven chain that cuts poorly and can be dangerous. To avoid this, always use a file guide or a properly set grinder, and count your strokes to ensure consistency. If you notice that some teeth are significantly shorter than others, you may need to file down the longer teeth to match, or replace the chain if the difference is too great.
\nOver-Sharpening and Overheating
\nAnother frequent error is over-sharpening, where too much metal is removed from the cutters. This can make the teeth weak and prone to breaking. With a grinder, it is easy to overheat the steel, which changes its hardness and makes it dull quickly. To avoid this, use light pressure and let the wheel do the work. If the metal starts to turn blue, you have overheated it, and that tooth will not hold an edge.
\nFinally, do not forget the depth gauges. A chain with properly sharpened cutters but incorrectly set depth gauges will still cut poorly. Always check the rakers after sharpening to ensure they are at the correct height. By avoiding these common pitfalls, you can keep your chain in top condition and ensure safe, efficient cutting.
\n\nRelated Maintenance and Operating Guides
To keep your equipment running at peak operating efficiency, explore our related technical walkthroughs and maintenance tutorials:
- Consult our detailed breakdown on residential zero-turn lawn mower guide.
Technical Standards and Compliance
\nMechanical safety standards, operational tolerances, and protective gear guidelines align with benchmark specifications established by the American National Standards Institute (ANSI).