How Do You Change a Lawn Mower Blade? A Direct Answer
To change a lawn mower blade, first ensure the engine is off and cool, then disconnect the spark plug wire so the mower cannot accidentally start. Tilt or lift the mower safely (drain fuel first if tilting), secure the blade from spinning, and use a wrench or socket to loosen the blade bolt (turn counterclockwise). Remove the old blade and inspect the blade adapter for damage. Install the new blade with the marked side (often stamped “this side up”) facing the mower deck, then tighten the bolt securely—ideally to the manufacturer’s torque spec. Reconnect the spark plug wire, lower the mower, and do a final check before starting.
Why Blade Orientation and Safety Matter
Replacing a lawn mower blade is a common maintenance task, but it carries significant risks if done improperly. The primary danger comes from the mower’s engine accidentally starting while your hands are near the blade. This is why disconnecting the spark plug wire is the most critical safety step—it physically prevents the engine from firing. Installing a blade upside down is another common mistake that can ruin your lawn. The blade is designed with a specific lift angle; if reversed, it will hack at the grass instead of lifting and cutting it cleanly, leading to torn, brown tips and increased disease susceptibility. Furthermore, a blade installed incorrectly or not tightened to the proper torque can come loose during operation, becoming a dangerous projectile.
Tools and Materials You Will Need
Gather the right tools before you begin to make the job smooth and safe. You will need:
- Socket wrench or blade removal tool (often 15/16-inch or 1-inch socket for the blade bolt).
- Torque wrench (recommended for tightening the new bolt to the manufacturer’s specification).
- Block of wood or blade holding tool to secure the blade and prevent it from spinning.
- Safety gloves and safety glasses to protect from sharp edges and debris.
- New lawn mower blade (correct model for your mower).
- New blade bolt (many manufacturers recommend replacing this).
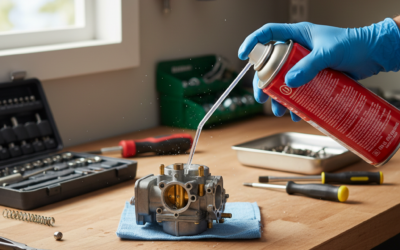
- Wire brush or penetrating oil (for a stuck bolt).
Before You Begin: Preparation Steps
Proper preparation prevents accidents and damage. First, let the engine cool completely. If you need to tilt the mower, you must first drain the fuel tank or use a fuel stabilizer and run the engine dry to prevent leaks. Always tilt the mower with the air filter and carburetor side up to prevent oil from flooding the air filter. Secure the mower on a flat, stable surface. Before touching the blade, disconnect the spark plug wire and secure it away from the plug.
Step-by-Step: How to Remove the Old Blade
- Secure the blade: Wedge a block of wood between the blade and the mower deck, or use a dedicated blade holding tool. This prevents the blade from spinning when you apply force to the bolt.
- Loosen the blade bolt: Using your socket wrench, turn the bolt counterclockwise to loosen it. If it’s stuck, spray penetrating oil on the bolt threads and let it sit for 10-15 minutes. You can also use a breaker bar for more leverage.
- Remove the bolt and blade: Once loose, remove the bolt, any washers or adapters, and then the old blade. Take note of how the blade was positioned.
- Inspect the blade adapter and spindle: Check the blade adapter (the part the bolt threads into) and the spindle for any cracks, excessive wear, or damage. A damaged adapter can cause vibration and must be replaced.
Installing the New Blade Correctly
- Identify the correct orientation: Look for the “this side up” or “grass side” marking on the new blade. The wings or lift portion of the blade should face toward the mower deck (upward when the mower is tilted). The flat, cutting edge side faces the ground.
- Position the blade: Place the new blade onto the blade adapter, ensuring it sits flat and is centered.
- Install the bolt and washer: Hand-tighten the blade bolt (with any required washers) clockwise. Use your torque wrench to tighten it to the manufacturer’s specified torque (typically 35-50 ft-lbs, but always check your manual).
- Final check: Ensure the blade is secure and spins freely by hand (with the spark plug wire still disconnected). There should be no wobble.
Changing Blades on Multi-Blade Mowers
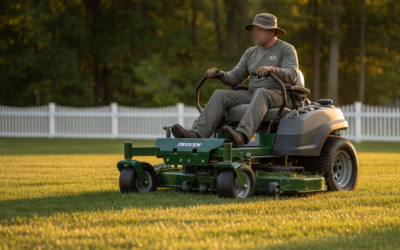
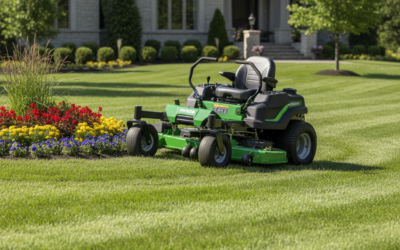
The process for mowers with multiple blades (like zero-turn or riding mowers) is fundamentally the same for each individual blade. You will repeat the removal and installation steps for each blade. The key difference is often accessing the blades. On many riding mowers, you must remove the mower deck to service the blades. Always replace all blades at once to ensure a balanced cut and prevent excessive vibration. Note that some decks require removing the blade bolt from above through access holes in the deck.
When to Replace vs. Sharpen a Blade
You should replace your lawn mower blade if it has deep nicks, cracks, significant bending, or if the blade is worn thin and light. A general rule is to replace blades after about 25 hours of use or once per mowing season. You can sharpen a blade that has minor nicks and is still structurally sound. A sharp blade is essential for a clean cut that promotes lawn health; dull blades tear grass, leading to browning and disease.
Final Checks and First Start-Up
After installing the new blade and tightening the bolt, double-check that the spark plug wire is still disconnected. Lower the mower back to its normal operating position. Reconnect the spark plug wire securely. Before starting the engine, visually ensure the blade is clear of any debris. Start the mower and listen for unusual noises or vibrations, which could indicate an unbalanced blade or improper installation. A slight vibration is normal with a new blade, but excessive vibration requires you to shut off the mower and recheck your work.
Frequently Asked Questions
Which direction do I turn the blade bolt to loosen it?
On most standard lawn mowers, you turn the blade bolt counterclockwise to loosen it. This is the standard right-hand thread. Always confirm by looking at the bolt or consulting your owner’s manual.
What happens if I install the blade upside down?
Installing the blade upside down means the lift wings are facing the ground. This will cause the blade to hack and tear the grass instead of lifting and cutting it cleanly. The result is a ragged, brown appearance on your lawn and increased stress on the grass, making it more prone to disease.
Do I need a torque wrench to install a lawn mower blade?
While you can tighten the blade bolt firmly with a standard wrench, a torque wrench is highly recommended. It ensures the bolt is tightened to the manufacturer’s exact specification, preventing it from vibrating loose during operation or being over-tightened, which can damage the blade adapter or spindle.
Should I replace just one blade or all of them?
It is strongly recommended to replace all blades at once on a multi-blade mower. Using blades of different lengths or wear levels creates an imbalance that causes excessive vibration, leading to premature wear on the spindle and an uneven cut.