How to Remove a Weed Eater Head: Quick Answer
To remove a weed eater head, first ensure the power source is disconnected by unplugging electric models or removing the battery from cordless units. Identify your attachment mechanism—typically quick-release, threaded, or bolt-secured—and follow the specific removal steps for that type, such as turning counterclockwise for threaded heads or using a wrench for bolt-secured assemblies. Always consult your user manual for model-specific instructions, as procedures vary significantly by manufacturer.
Safety Precautions Before Removing Your Weed Eater Head
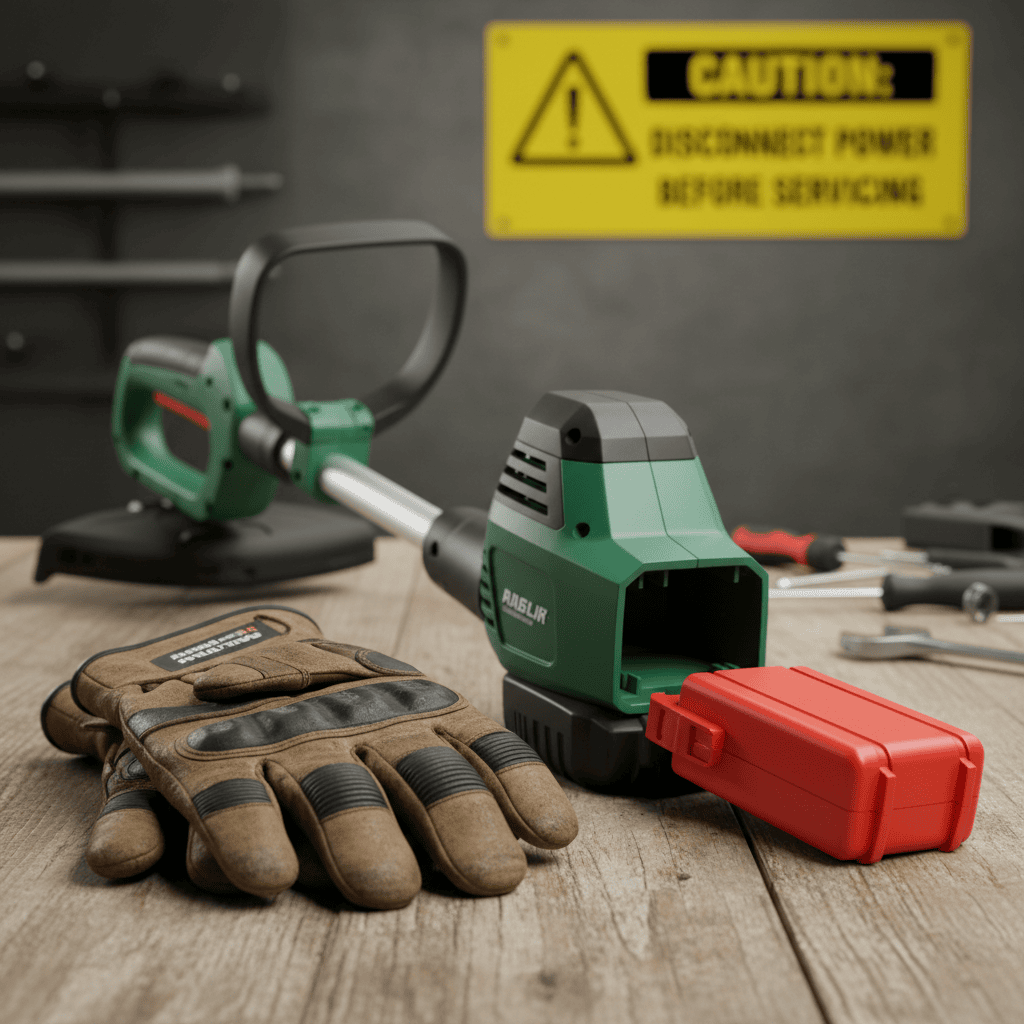
Before attempting any maintenance on your string trimmer, safety must be your priority. Disconnecting power is the most critical step to prevent accidental activation, which could cause severe injury. For cordless trimmers, remove the battery entirely; for electric models, unplug the power cord from the outlet. Wear heavy-duty gloves to protect your hands from sharp debris or the cutting line, and ensure the trimmer is placed on a stable, flat surface.
Identifying Your Weed Eater Head Attachment Type
Not all weed eaters are built the same. To determine how to remove your head, you must identify the connection type:
- Quick-Release: Features a collar or lever that allows for tool-free removal.
- Threaded: The head screws directly onto the drive shaft.
- Bolt-Secured: The head is held in place by a central bolt or nut that requires a wrench or socket.
Check your user manual or look for a locking hole on the gear case, which often indicates the need for a tool to hold the shaft steady.
Removing a Quick-Release Head
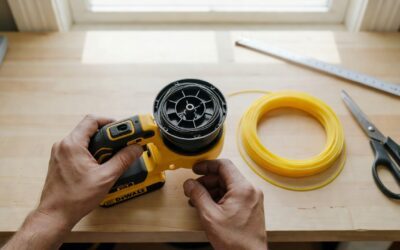
Quick-release collars were designed to improve user convenience and reduce maintenance time. To remove this type, locate the collar or release button near the base of the head. Simply twist the collar or press the release mechanism while pulling the head straight off the shaft. If it feels stuck, check for debris buildup that may be obstructing the release mechanism.
Removing a Threaded Head
Threaded heads are common on many residential trimmers. Because they are designed to tighten during use, they typically unscrew in the opposite direction of standard bolts. To remove, rotate the head counterclockwise while holding the drive shaft stationary. If the head is over-tightened, you may need to apply a small amount of penetrating oil to the threads and let it sit before attempting to loosen it again.
Removing a Bolt-Secured Head
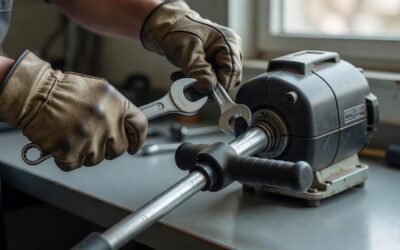
Heavier-duty trimmers often use a bolt or nut to secure the cutting head. You will typically need a socket wrench or an open-ended wrench to remove this. Insert a locking pin or screwdriver into the gear case hole to prevent the shaft from spinning, then turn the bolt counterclockwise to loosen. Once the bolt is removed, the head should slide off the drive shaft easily.
Reassembling Your Weed Eater Head
When reattaching the head, ensure the threads or mounting points are clean and free of grass or dirt. For threaded heads, turn clockwise until hand-tight. For bolt-secured heads, replace the bolt and tighten firmly, but avoid over-torquing, which can strip the threads or crack the plastic housing. Always verify that the head is fully seated and does not wobble before testing the trimmer.
Frequently Asked Questions
Why must I disconnect the power before removing the head?
Disconnecting the power source (battery or cord) removes the risk of the motor engaging accidentally while your hands are near the cutting mechanism, preventing serious lacerations or injury.
Do I need specialized tools to remove a weed eater head?
It depends on the model. Quick-release heads are often tool-free, while threaded and bolt-secured heads usually require a standard wrench or socket set to loosen the connection.
What should I do if the head is stuck and won’t turn?
Do not force it, as this can damage the drive shaft. Apply a penetrating lubricant to the threads, allow it to soak for several minutes, and ensure you are turning in the correct direction (counterclockwise for most threaded models).
Where can I find the model-specific instructions for my trimmer?
The model number is usually printed on a sticker on the shaft or the motor housing. You can enter this number on the manufacturer’s website to download the official user manual for precise removal steps.