Direct Answer: How to Load String in a Weed Wacker
To load string in a weed wacker, first identify your trimmer type—bump-feed, fixed-line, or automatic-feed systems each use different loading methods. For bump-feed models, the most common residential type, remove the spool head from the trimmer, wind 15-20 feet of trimmer string into the spool grooves following the directional arrows, insert the string ends into the line eyelets, and reattach the head to the trimmer body. Consult your device’s manual for brand-specific instructions, as Ryobi, DeWalt, Ego, and other manufacturers have slight variations in head design and spool configuration.
Understanding Your Weed Wacker Type
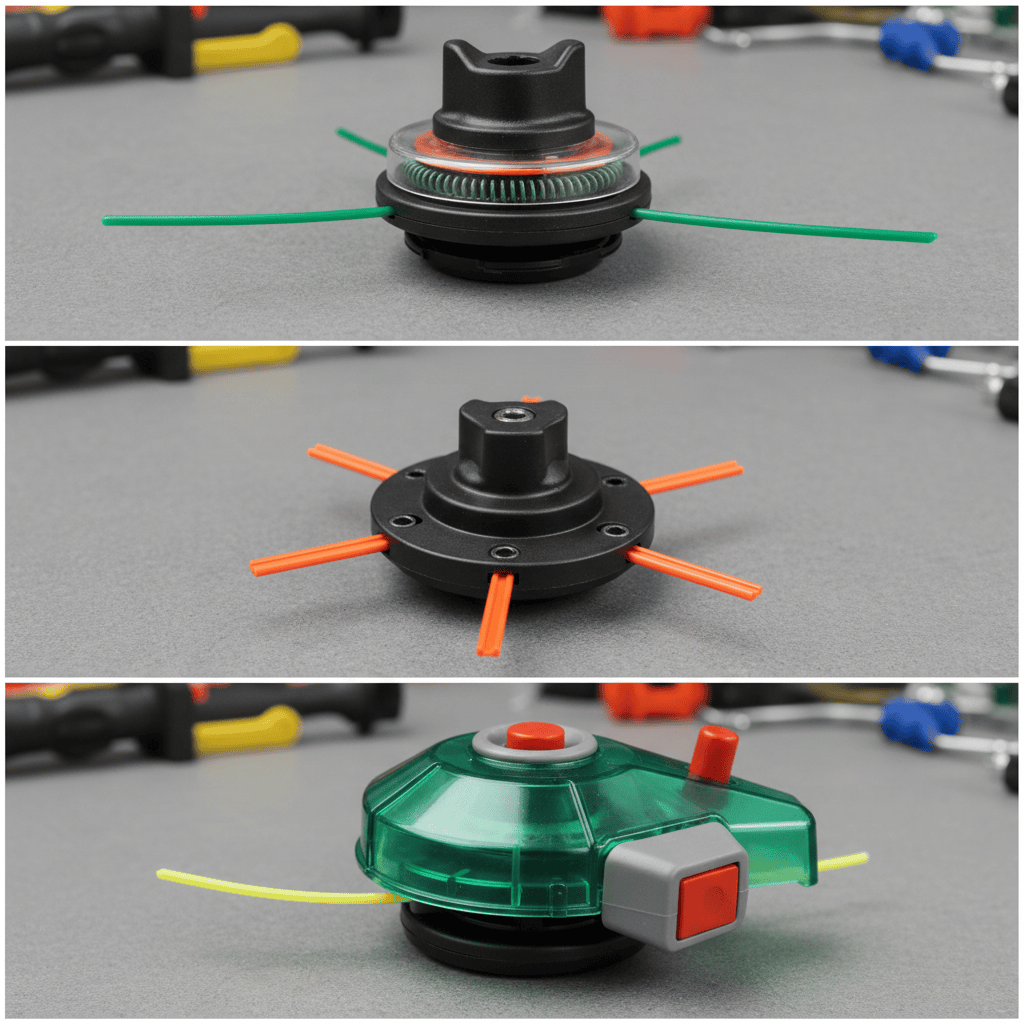
Not all weed wackers load string the same way. Identifying your trimmer type is the first critical step before attempting to load new string.
Bump-Feed Weed Wackers
Bump-feed trimmers are the most common residential model. These use a spring-loaded spool that advances string automatically when you tap the trimmer head on the ground. The spool is manually loaded with string before use. Most homeowners operate this type of trimmer.
Fixed-Line Weed Wackers
Fixed-line trimmers have string wound permanently onto a spool with no automatic feed system. The string must be manually advanced or replaced by unwinding and rewinding the spool. These are less common in residential settings but appear in some commercial-grade equipment.
Automatic-Feed Weed Wackers
Automatic-feed systems release pre-measured lengths of string automatically as the trimmer operates. These require less frequent manual loading and offer convenience for extended use periods. However, they typically cost more than bump-feed models and require specific string types.
Preparing Your Weed Wacker for String Loading
Before threading any string, gather materials and prepare your trimmer safely.
Tools and Materials Needed
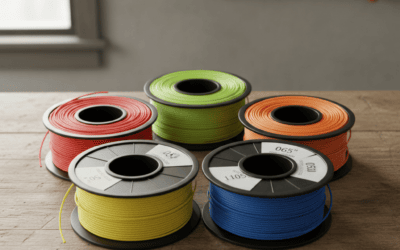
- Trimmer string: Purchase the correct gauge (typically 0.065 to 0.155 inches for residential models) recommended in your trimmer manual. Using the wrong gauge can cause jamming or poor cutting performance.
- Flathead screwdriver or hex key: Most weed wackers use a small screw or fastener to remove the spool head.
- Work gloves: Optional but helpful to prevent string friction cuts while winding.
- Manufacturer manual: Keep your trimmer’s instruction guide available for specific measurements and directional guidance.
Safely Removing the Spool Head
Turn off and unplug your weed wacker before beginning. Locate the fastener holding the spool head—this is typically a single screw or a snap-release button. Use your screwdriver or simply press the release button to remove the head. Some models require clockwise rotation to release the head; check your manual to confirm the correct direction. Set all small fasteners in a safe location where they won’t roll away.
Step-by-Step Guide: Loading String in a Bump-Feed Weed Wacker
Bump-feed loading is the most common process for residential trimmers. Follow these steps carefully to ensure proper string tension and performance.
Step 1: Measure and Cut Your String
Cut approximately 15-20 feet of trimmer string from your spool. The exact length depends on your spool size; check your manual for the recommended length for your model. Most residential spools accommodate 20-30 feet comfortably without overfilling.
Step 2: Identify the Winding Direction
Examine your spool head for directional arrows or markings. These arrows indicate which direction you must wind the string. This is critical—winding in the wrong direction will cause the string to tangle or jam when you operate the trimmer. The arrows typically show the rotation direction as viewed from outside the spool head.
Step 3: Wind the String onto the Spool
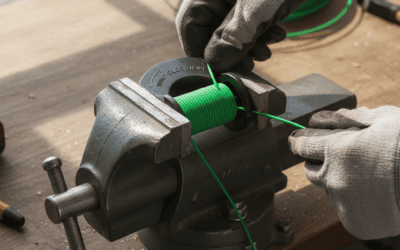
Insert one end of the string into the starting slot or eyelet on the spool. Begin winding the string in the direction indicated by the arrows, keeping consistent tension on the string to ensure even, tight wrapping. Wind the string neatly in the spool grooves without crossing over itself. As you wind, the string should sit snugly in the grooves without gaps.
Step 4: Leave the String Ends Extended
Wind the string until approximately 6-8 inches remain unwound. These extended ends will thread through the line eyelets on the trimmer head. Stop winding before the spool is completely full—overfilling will prevent the head from reattaching or cause the string to jam during operation.
Step 5: Thread the String Through the Eyelets
Locate the line eyelets—small holes or slots on the outer edge of the trimmer head through which the string exits. Insert one end of the extended string through one eyelet from the inside of the head, ensuring the string is fully seated in the slot. Repeat with the remaining string end through the second eyelet if your model uses dual strings.
Step 6: Reattach the Spool Head
Align the spool head with the trimmer body, ensuring the string ends are positioned in the eyelets. Screw or snap the head back into place, following the reverse of your removal procedure. Ensure the fastener is tight but not over-tightened, which could crack plastic heads.
Step 7: Test String Rotation
Before using the trimmer, manually spin the trimmer head to confirm the string rotates freely without tangling or catching. If the string jams, remove the head and recheck winding direction and eyelet threading.
Loading String in Automatic-Feed Weed Wackers
Automatic-feed systems simplify the loading process but follow a different procedure than bump-feed models.
Preparing the Automatic-Feed System
Remove the spool head as with bump-feed models. Unlike bump-feed spools, automatic-feed spools typically have a spring mechanism and advance collar. Check your manual to identify which specific string diameter and type your automatic system requires—using incompatible string will cause the feed mechanism to malfunction or skip string advancement.
Loading the Spool
Wind your string onto the automatic-feed spool following the directional arrows, typically using 15-25 feet depending on spool capacity. Wind more tightly and evenly than with bump-feed models, as loose winding interferes with the spring-loaded feed mechanism. Insert the string ends through the eyelets and reattach the head.
Testing the Feed System
After reattaching, manually operate the feed advancement (typically a button or lever on the trimmer head) to confirm the string advances smoothly. The string should extend slightly from the eyelets with each actuation. If the feed doesn’t advance properly, remove the head and verify the spring mechanism is seated correctly and the string is wound tightly.
Troubleshooting Common String Loading Problems
If your trimmer doesn’t perform properly after string loading, these solutions address the most frequent issues.
String Won’t Spin or Tangles
This typically indicates incorrect winding direction. Remove the spool head and rewind the string in the opposite direction following the directional arrows exactly. Alternatively, the string may be threaded incorrectly through the eyelets—ensure both ends are fully seated in their respective slots with no twisting.
String Breaks Frequently
Repeated string breakage often results from string wound too tightly, which creates excessive tension during rotation. Reload the string with slightly less tension, allowing minimal slack but not creating loose loops. Additionally, check that you’re using the correct gauge for your trimmer model—undersized string may lack durability for your trimmer’s power.
String Wound Too Tightly or Loosely
If string feels impossibly tight to wind, you may be using oversized string for your spool capacity. If wound string appears loose and baggy, you’re using undersized string or haven’t applied consistent tension during winding. Consult your manual for your trimmer’s specified string gauge and reload accordingly.
Spool Head Won’t Reattach
This usually means the string is overfilled or not properly seated in the eyelets. Remove the head and wind less string—aim for 6-8 inches of extension beyond the grooves. Verify the string ends are positioned inside the eyelets before reattaching.
Maintenance Tips to Extend String Life
Proper storage and care prevent premature string degradation and reduce how often you need to reload.
Storage Practices
Store your weed wacker in a cool, dry location away from direct sunlight. Excessive heat and UV exposure degrade trimmer string materials, causing brittleness and breakage. Keep loaded trimmers away from moisture, which can cause rust on metal components and string deterioration.
String Replacement Frequency
Residential users typically replace or reload trimmer string every 1-3 months depending on usage frequency. Commercial or heavy-use trimmers may require weekly or monthly reloading. Monitor your string during operation—if you’re constantly tapping the trimmer to advance the string or noticing increased breakage, reload with fresh string.
Inspecting Before Use
Before each trimming session, manually spin the trimmer head to confirm smooth rotation. Listen for tangling or grinding sounds that indicate loading problems. If you notice any resistance, address the issue before operating the trimmer at full speed.
Frequently Asked Questions
Q: How much trimmer string should I load into my weed wacker?
A: Load approximately 15-20 feet of string for most residential bump-feed spools, leaving 6-8 inches unspooled to thread through the eyelets. Check your specific trimmer’s manual for exact recommendations, as spool capacities vary by model. Overfilling prevents proper head reattachment; underfilling means frequent reloading during use.
Q: What happens if I wind the string in the wrong direction?
A: Winding in the wrong direction causes the string to tangle, jam, or refuse to spin when the trimmer operates. The string may bunch up inside the spool or break under tension. Always follow the directional arrows on your spool head precisely. If you’re unsure after winding, test by manually spinning the head before using the trimmer at full power.
Q: Can I use any trimmer string gauge in my weed wacker?
A: No. Using the wrong gauge causes performance problems—oversized string may jam in the spool or won’t fit properly, while undersized string breaks easily under normal use. Check your trimmer manual for the specified gauge range, typically between 0.065 and 0.155 inches for residential models. Purchasing the correct gauge ensures optimal cutting efficiency and longevity.
Q: How do I know if my weed wacker uses a bump-feed or automatic-feed system?
A: Bump-feed models require manual tapping on the ground to advance string, while automatic-feed systems advance string without tapping through a spring mechanism. Check your manual or look for a feed button or lever on the trimmer head—automatic systems have this control, bump-feed models don’t. The distinction matters because loading procedures differ significantly between the two types.
Conclusion
Loading string in your weed wacker is a straightforward process once you understand your trimmer type and follow the correct winding direction. Most residential users operate bump-feed models, which require measuring string, winding onto the spool following directional arrows, threading through the line eyelets, and reattaching the head. Taking time to load string properly prevents frustrating jams, breakage, and performance issues during use. Regular maintenance and using the correct string gauge for your model will extend string life and keep your trimmer running smoothly throughout the season.