Direct Answer: How to Use an Edger
An edger is a landscaping tool designed to cut clean, defined borders between lawn and hardscape surfaces. To use an edger: (1) select your edger type based on your project scope—power edgers for larger areas, manual edgers for precision work, or string trimmer attachments for light edging; (2) mark your desired edge line with chalk or spray paint; (3) position the blade perpendicular to the surface at your target depth; (4) move steadily along the marked line at a consistent pace without forcing the tool; and (5) clear cut debris and trim any remaining grass overhang. Each edger type requires specific operation techniques and safety precautions to achieve professional results safely.
What Is an Edger and Why Use One?
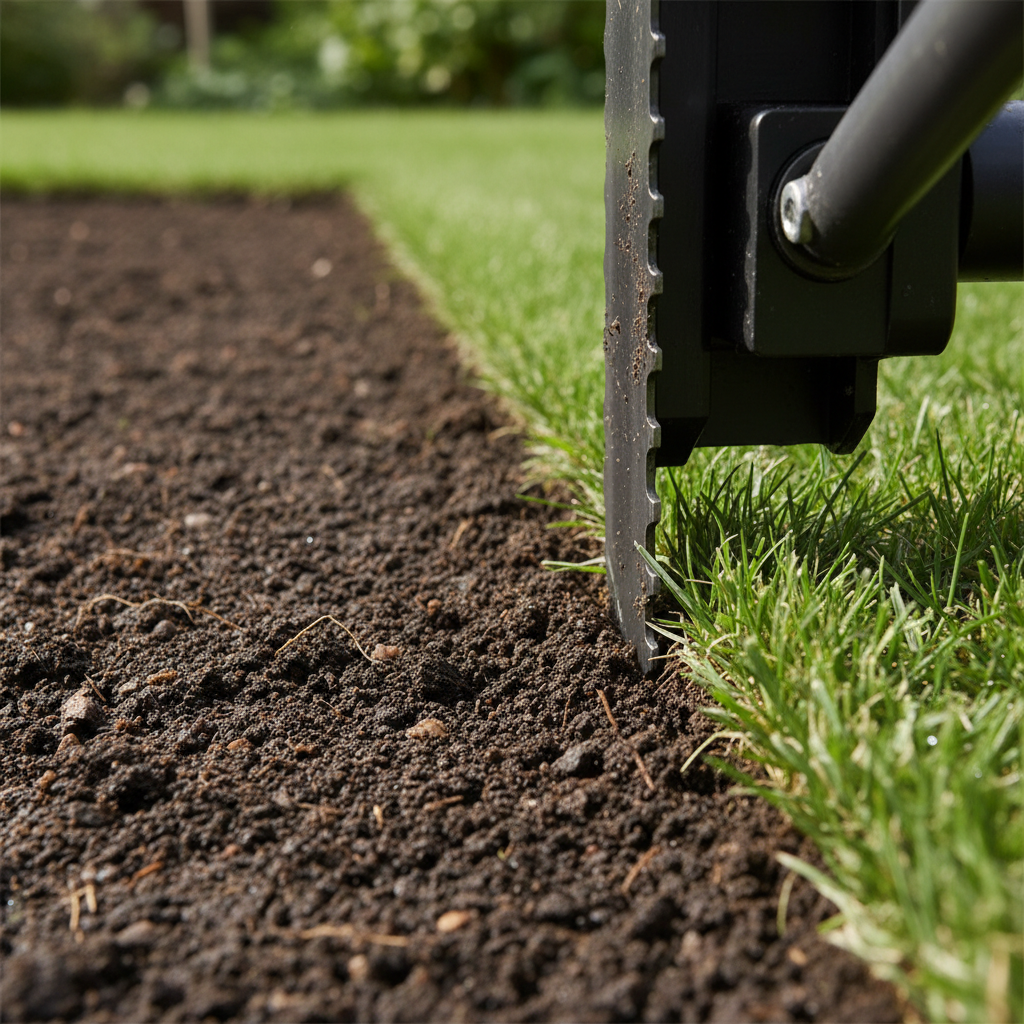
An edger is a specialized landscaping tool that cuts vertical lines into soil or turf, creating crisp borders between lawn areas and hardscaping features like sidewalks, driveways, flower beds, and garden borders. The tool removes a thin strip of grass and soil, preventing grass from creeping into adjacent areas and creating a manicured appearance.
Primary uses for edgers include:
- Creating clean lawn borders along concrete or asphalt surfaces
- Defining the perimeter of garden beds and flower borders
- Separating different lawn areas or landscape zones
- Preventing grass encroachment that dulls mower blades
- Preparing edges before applying mulch or edging materials
Without regular edging, lawn grass gradually spreads onto adjacent hardscape surfaces, creating an unkempt appearance and making those surfaces harder to maintain. Edging takes 15–30 minutes on average residential properties but dramatically improves curb appeal and defines landscape structure.
Types of Edgers: Choosing the Right Tool
Edgers come in three primary categories, each suited to different project sizes and physical capabilities.
Power Edgers (Motorized)
Power edgers use gasoline or electric motors to drive a rotating blade, making them ideal for large properties, frequent maintenance, and commercial applications. They require minimal physical effort compared to manual edgers.
Power edger advantages:
- Fast edge cutting for large lawns (half-acre and larger)
- Consistent depth and line quality with less fatigue
- Reduced operator effort, making them suitable for users with limited strength
- Efficient for weekly or bi-weekly maintenance schedules
Power edger considerations:
- Require fuel (gasoline) or electricity and regular maintenance
- Higher initial cost ($200–$600 for quality equipment)
- Produce noise and emissions (gasoline models)
- Need storage space and seasonal preparation
- Heavier than manual alternatives, though wheels distribute weight
Manual Edgers (Non-Motorized)
Manual edgers rely on human-powered force to cut edges. They typically feature a sharp blade attached to a long handle operated by pushing, rotating, or stepping motions.
Manual edger advantages:
- Low cost ($20–$80 for quality hand tools)
- Silent, emission-free operation
- Excellent for detail work, tight spaces, and precision edging
- Minimal maintenance beyond blade sharpening
- Ideal for small properties, weekly touch-ups, or specialty landscaping
Manual edger considerations:
- Require significant physical effort, especially in compacted or dry soil
- Slower than power edgers for large areas
- Effectiveness depends on soil moisture and operator technique
- Blade dulls with use and requires periodic sharpening
String Trimmer Edging Attachments
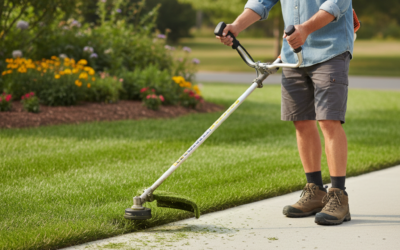
Some string trimmers feature edging modes or separate edging blade attachments, converting the trimmer into a light-duty edger. These are best for maintaining existing edges or creating shallow borders.
String trimmer edging advantages:
- Multi-purpose tool (trim and edge with one machine)
- Lightweight and maneuverable in confined spaces
- Good for weekly edge maintenance on small lawns
- Lower cost than dedicated power edgers
String trimmer edging limitations:
- Shallow cutting depth unsuitable for establishing new edges
- Less precise line control than dedicated edgers
- String attachment lacks the durability of rigid blades
- Better for light maintenance than initial edging projects
Setting Up and Preparing Your Edger
Safety Gear and Requirements
Proper safety preparation prevents injuries and ensures efficient operation. Always wear:
- Eye protection: Safety glasses or face shield to protect against flying debris
- Hearing protection: Earplugs or earmuffs for power edgers (noise levels 85–95 dB)
- Closed-toe footwear: Steel-toed boots or work shoes with good grip
- Long pants: Durable fabric to protect legs from blade contact
- Work gloves: Leather or heavy-duty gloves for better grip and protection
- High-visibility clothing: Especially important when working near driveways or traffic areas
Pre-Operation Maintenance and Checks
Perform these checks before each use:
For power edgers:
- Verify fuel level and fuel quality (use fresh gasoline within 30 days)
- Check oil level and type per manufacturer specifications
- Inspect the blade for damage, bending, or excessive wear
- Ensure all bolts and fasteners are tight
- Clear the cutting deck of debris and grass clippings
- Test the engine start and throttle response
For manual edgers:
- Inspect the blade for rust, pitting, or damage
- Ensure the blade is sharp enough to cut paper cleanly
- Check the handle for cracks or looseness
- Verify all fasteners connecting blade to handle are secure
- Test blade movement and articulation
Workspace Preparation
- Clear obstacles: Remove rocks, sticks, sprinkler heads, and other debris from the edging path
- Mark the edge line: Use chalk, spray paint, or a garden hose to outline the desired edge
- Check soil moisture: Slightly moist soil cuts cleanly; dry soil resists blade penetration, and saturated soil clogs the blade
- Locate utilities: Call local utility locating services before edging near underground lines
- Plan blade depth: Determine appropriate cutting depth based on your goals and surface type
Step-by-Step Edging Technique
Holding and Positioning the Edger
For power edgers:
- Grip the handles firmly with both hands, keeping elbows slightly bent
- Stand with feet shoulder-width apart for stability
- Position the blade perpendicular to the edge line (not angled)
- Keep the cutting wheel or blade on the ground, maintaining consistent contact
- Maintain upright posture to avoid strain and improve control
For manual edgers:
- Hold the handle with both hands at shoulder width, hands positioned near the top
- Keep your body relaxed, with knees slightly bent for leverage
- Press downward while moving the tool forward—do not pull or twist
- For step-on edgers, position one foot on the step and use bodyweight to drive the blade down
- Maintain steady, controlled movements rather than jerky or rushed actions
Setting Cutting Depth
Blade depth affects cut quality and effectiveness. Most landscaping edging requires a depth of 3–4 inches, though this varies by application:
- Shallow cuts (1–2 inches): Light maintenance on existing edges, preventing grass overhang
- Standard cuts (3–4 inches): Establishing new borders, most common landscaping applications
- Deep cuts (5–6 inches): Creating distinct separation in complex landscapes, preparing for edging materials
Power edgers typically have depth adjustment levers or wheels; verify the setting before starting. Manual edger depth is controlled by how far you press or step down—practice on inconspicuous areas to develop feel.
Movement and Pace
- Move at a steady, deliberate pace—approximately 1–2 feet per second for power edgers
- Maintain a straight line by focusing ahead of the blade, not down at your feet
- Apply consistent pressure; let the blade do the cutting work without forcing
- Avoid stopping mid-edge, which can create visible breaks in the line
- For multiple passes on the same edge, slightly overlap previous cuts for a clean, uniform appearance
Handling Corners and Tight Spaces
- Right angles: Slow your pace at corners and make a controlled 90-degree turn; some operators make two separate passes to create sharp corners
- Curved edges: Follow the curve slowly, making minor adjustments with hand pressure rather than abrupt steering movements
- Around obstacles: Stop the edger (and wait for blade shutdown on power models) before navigating around objects; resume after clearing
- Narrow passages: Consider manual edgers or string trimmers for tight areas where power edgers won’t fit
Common Mistakes and How to Avoid Them
Uneven or Wavy Edges
Cause: Inconsistent cutting depth, uneven pressure, or variable walking pace.
Solution: Maintain steady, deliberate movement; keep blade depth consistent throughout the pass; practice on less visible areas first; consider making multiple shallow passes instead of one deep pass.
Blade Stalling or Clogging
Cause: Wet soil, debris buildup, or dull blades forcing the motor to work too hard.
Solution: Wait for soil to dry slightly after rain; clear clogged soil regularly during work; sharpen or replace dull blades; reduce cutting depth in heavy clay soils.
Damaging Nearby Plants or Surfaces
Cause: Inadequate marking of edge lines, loss of control, or cutting too close to desired vegetation.
Solution: Mark edge lines clearly with chalk or spray paint; maintain firm grip and steady stance; work slower in areas near plants or hardscape; use manual edgers for precision work near delicate features.
Inconsistent Cut Width
Cause: Blade angle changes or wheels not maintaining proper ground contact.
Solution: Keep the blade perpendicular to the edge line throughout the pass; inspect and maintain wheel alignment on power edgers; check that blade or wheel is not damaged.
Maintenance and Storage
Cleaning After Use
- Allow power edgers to cool for 5–10 minutes after use
- Remove soil and grass clippings from the blade and deck
- Wipe down the exterior with a dry cloth
- Use a soft brush to clear debris from air vents and cooling fins
- Do not use high-pressure washers, which can damage seals and motors
Blade Maintenance
For power edgers:
- Sharpen blades every 20–30 hours of use or when they fail to cut paper cleanly
- Use a metal file or rotary sharpener, maintaining the original blade angle
- Replace blades annually or if they are bent, cracked, or severely worn
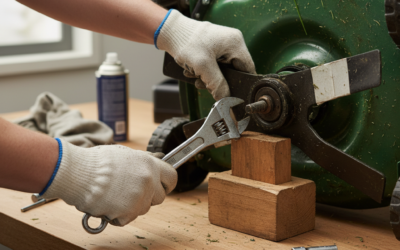
- Always disconnect spark plugs before working on blades
For manual edgers:
- Sharpen blades every 5–10 uses or as needed
- Use a whetstone or metal file, working from the cutting edge at a consistent angle
- Replace blades if they are bent or cannot be sharpened to a sharp edge
Fuel and Oil (Power Edgers)
- Use fresh gasoline rated for small engines; replace fuel every 30 days if stored
- Add fuel stabilizer before long storage to prevent varnish buildup
- Check and change oil every 50 hours or annually, whichever comes first
- Use the oil grade recommended in your edger’s manual (typically 10W-30 or 10W-40)
- Drain fuel completely before winter storage if not using fuel stabilizer
Off-Season Storage
- Clean and dry the edger completely before storage
- Store in a dry location protected from moisture and temperature extremes
- For power edgers, run the engine until it stops to clear carburetor lines, or use fuel stabilizer
- Check blade sharpness and condition before winter storage
- Disconnect spark plugs to prevent accidental starts during storage
- Store blades covered or protected to prevent rust and accidental contact
Frequently Asked Questions
How often should I edge my lawn?
Most homeowners edge every 4–6 weeks during the growing season to maintain crisp borders. High-traffic areas or properties with fast-growing grass may need weekly or bi-weekly edging. Light maintenance edging (1–2 inches deep) between full edging sessions keeps lines sharp with less effort.
Can I use an edger on wet grass or soil?
Avoid edging immediately after rain or watering. Wet soil clogs the blade, reduces cut quality, and stresses the motor (on power models). Wait 24–48 hours after rain, or edge early morning after dew dries but before intense heat. Slightly moist soil (not wet or dry) is ideal for edging.
What’s the difference between edging and trimming?
Edging cuts a defined border line vertically into soil, creating separation between lawn and hardscape. Trimming removes grass overhang from edges using horizontal cutting motions. Most properties benefit from both: edging establishes or maintains the border structure, and trimming manages grass that grows over edges between edging sessions.
Do I need to sharpen my edger blade regularly?
Yes. Dull blades reduce cutting efficiency, require more force (increasing fatigue and risk of losing control), and produce ragged cuts that can damage grass. Sharpen power edger blades every 20–30 hours of use; sharpen manual edgers every 5–10 uses. A blade sharp enough to easily cut paper is sharp enough for edging.