Direct Answer: How to Lower Your Lawn Mower Blade
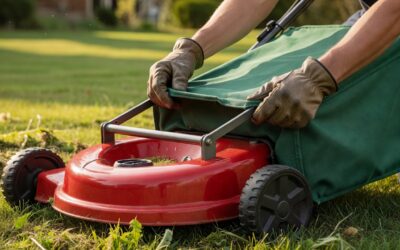
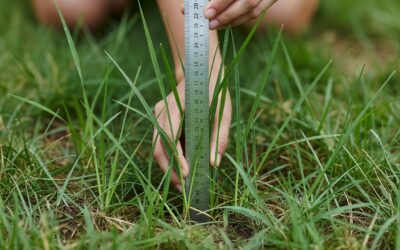
To lower your lawn mower blade and cut grass shorter, turn off the engine, disconnect the spark plug wire, then locate the deck height adjustment lever (on walk-behind mowers) or the seat-side lift lever (on riding or zero-turn mowers) and move it to a lower numbered position. Each click or notch typically lowers the cutting height by ¼ to ½ inch. Measure the blade-to-ground clearance with a ruler to confirm the new height before restarting the engine.
Safety First: What to Do Before Adjusting Blade Height
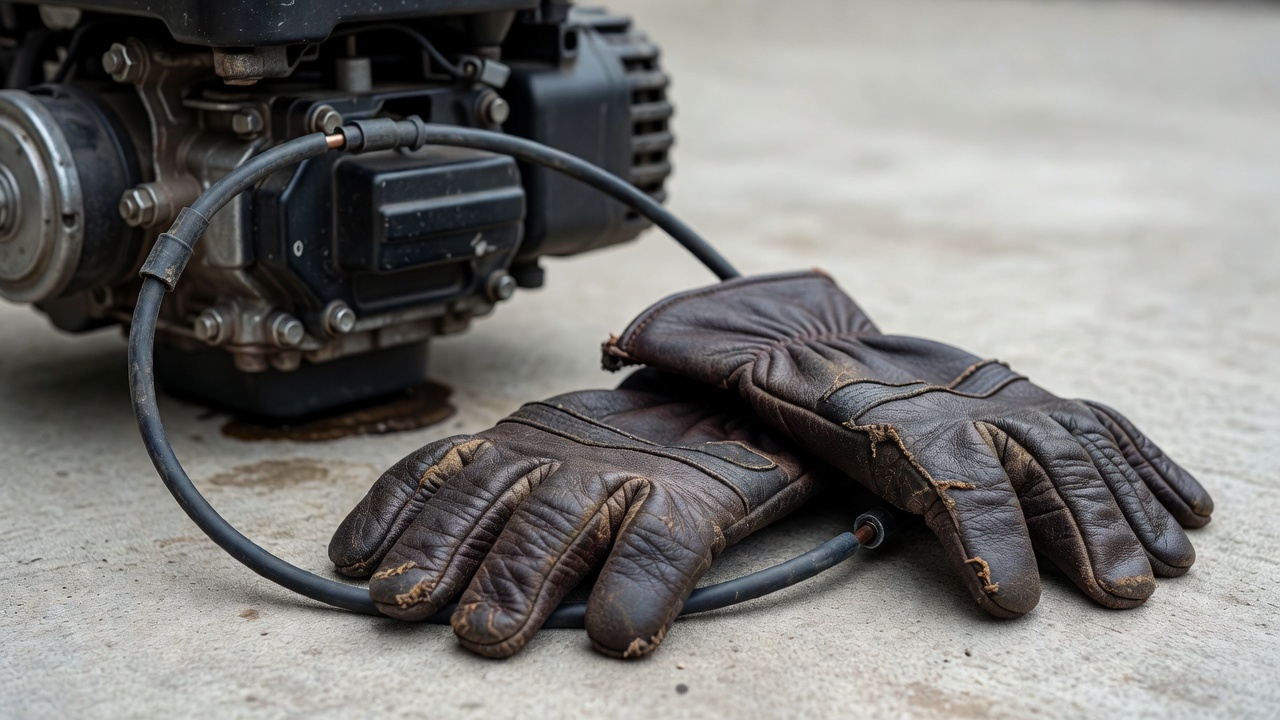
Before making any adjustments to your mower’s blade height, safety must come first. Follow these critical steps:
- Turn off the engine completely and allow it to cool for at least 5 minutes.
- Remove the ignition key or disconnect the spark plug wire to prevent accidental engine start.
- Ensure the mower is on a flat, level surface for accurate height measurement and safe adjustment.
- Wear work gloves to protect your hands from sharp blade edges.
- Do not reach under the mower deck while making adjustments.
These steps protect you from serious injury and are recommended by the Consumer Product Safety Commission (CPSC) and lawn equipment manufacturers.
Understanding Lawn Mower Cutting Height: What ‘Lowering the Blade’ Means
When you “lower the blade” on a lawn mower, you’re actually adjusting the deck height—the distance between the cutting blade and the ground. This is different from physically removing or sharpening the blade.
Cutting height is measured in inches, from the ground to the blade’s lowest point when the mower is on level ground. Most residential mowers offer cutting heights from 0.5 inches (very short) to 4 inches (tall), with multiple adjustment positions in between.
How the adjustment works: Each mower type has a mechanical system (lever, dial, or crank) that raises or lowers the wheels or deck. Lowering this setting reduces the distance between blade and ground, resulting in shorter grass. Moving the lever or dial to a higher number increases cutting height.
Note: If you need to physically remove the blade for sharpening or replacement, see the section “Physically Removing Your Lawn Mower Blade” below.
How to Lower the Blade on a Walk-Behind (Push) Mower
Walk-behind mowers are the most common residential mower type and have the simplest height adjustment mechanism.
For Single-Point Height Adjustment (One Central Lever)
- Safety check: Disconnect the spark plug wire and ensure the mower is on flat ground.
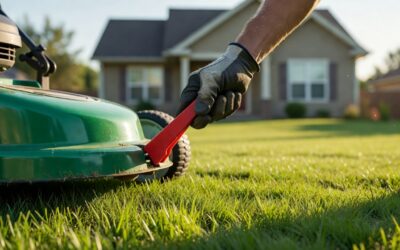
- Locate the deck height lever on the side or rear of the mower deck. It typically has numbered positions (1–6 or similar) or height icons.
- Move the lever downward to a lower number or position. Each notch usually lowers the cutting height by ¼ to ½ inch.
- Verify the height: Place a ruler or tape measure on the ground under the blade. Measure from the ground to the blade tip. Record this measurement.
- Adjust as needed and repeat the measurement until you reach your target height.
- Reconnect the spark plug wire and test the mower on a small area of lawn.
For Multi-Point Height Adjustment (Individual Wheel Levers)
Some mowers have separate adjustment levers for each wheel, allowing you to set different heights per wheel (though equal height is recommended).
- Disconnect the spark plug wire and place the mower on level ground.
- Locate all four height adjustment levers or pins (typically one per wheel, at the wheel axle).
- Lower each lever to the same numbered position to ensure even cutting height across the deck.
- Measure blade-to-ground distance at multiple points across the deck (front-left, front-right, rear-left, rear-right) to confirm all wheels are at the same height.
- Adjust individual wheels if needed to level any high spots.
- Reconnect spark plug wire and test.
How to Lower the Blade on a Riding Mower
Riding mowers use a centralized deck lift system, usually located beside or between the seat.
- Disconnect the spark plug wire (or battery cable on electric-start models) to prevent accidental engine start.
- Locate the deck height lever or dial, typically positioned on the right side of the seat or between the seat and armrest. It may be labeled with numbers (1–5) or inches (0.5″–4″).
- Verify the deck is in a safe position before adjusting. Some riding mowers require the deck to be in the “transport” (raised) position to access the adjustment mechanism.
- Move the lever or turn the dial downward to a lower setting. Consult your owner’s manual for the specific increment per click on your model.
- Measure the blade-to-ground clearance by placing a ruler under the mower deck at the front, center, and rear to ensure even height.
- Reconnect the spark plug wire and test on a small lawn area.
Brand note: John Deere, Husqvarna, Craftsman, and Cub Cadet riding mowers may have slightly different lever placements or adjustment increments. Consult your specific owner’s manual for exact steps.
How to Lower the Blade on a Zero-Turn Mower
Zero-turn mowers typically use a different deck adjustment system than riding mowers, often featuring a manual crank, pin-and-bracket system, or electric deck lift.
Manual Crank or Wheel Adjustment
- Disconnect the spark plug wire and park on level ground.
- Locate the manual crank or adjustment knob, usually found on the side of the mower deck or under the seat area.
- Turn the crank counterclockwise (or follow manufacturer instructions) to lower the deck. Typically, one full rotation lowers the height by ¼ to ½ inch.
- Measure the blade height and repeat until you reach your target.
Pin-and-Bracket System
- Locate the height adjustment brackets on each side of the deck (usually three to four positions per bracket).
- Remove the pins from the current holes and move them to lower holes to reduce cutting height.
- Reinsertion the pins securely into the new positions.
- Verify even height across the deck by measuring at multiple points.
Physically Removing or Lowering a Lawn Mower Blade (For Sharpening or Replacement)
If you need to remove the blade to sharpen it or replace a damaged one, follow these steps.
- Disconnect the spark plug wire and allow the engine to cool completely.
- Tip the mower on its side (on most walk-behind mowers, tip toward the carburetor side to prevent oil leakage; consult your manual for your specific model). Do not tip it upside down.
- Locate the blade bolt (usually a ¼-inch or 3/8-inch bolt at the blade’s center).
- Use a wrench or socket to loosen the bolt. Note the direction: the blade bolt typically tightens counterclockwise and loosens clockwise (opposite of standard bolts).
- Hold the blade firmly with a wooden block to prevent it from spinning while you loosen the bolt.
- Remove the bolt and carefully slide the blade off the spindle. Wear gloves to avoid cuts.
- Sharpen the blade or replace it with an identical model.
- Reinstall the blade in the same orientation (mark the top with paint before removal if unsure).
- Tighten the bolt securely by hand, then use the wrench to snug it fully. Do not overtighten.
- Reconnect the spark plug wire and test the mower.
Recommended Cutting Heights by Grass Type
Not all grasses should be cut to the same height. Cutting too short (“scalping”) stresses the grass and promotes weed growth. Use this table as a guide based on your lawn’s grass type:
| Grass Type | Recommended Height (Inches) | Mowing Notes |
|---|---|---|
| Bermuda Grass | 0.5–1.5 | Low-cut warm-season grass; tolerates scalping better than others |
| Zoysia Grass | 1–2 | Warm-season; avoid cutting below 1 inch |
| St. Augustine Grass | 2–3 | Shade-tolerant warm-season; sensitive to scalping |
| Kentucky Bluegrass | 2.5–3.5 | Cool-season; self-repairs from rhizomes |
| Tall Fescue | 3–4 | Cool-season; keep tall to shade soil and prevent weeds |
| Perennial Ryegrass | 2.5–3.5 | Cool-season; fine texture; avoid very short cuts |
The One-Third Rule: Never remove more than one-third of the blade length in a single mowing. For example, if your grass is 3 inches tall and you want it at 2 inches, mow it down to 2.5 inches on the first pass, then to 2 inches on the second pass. This prevents stress and promotes healthy root systems.
Common Problems When Lowering a Mower Blade (And How to Fix Them)
Problem: The Height Adjustment Lever Is Stuck or Stiff
Solution: Disconnect the spark plug wire and apply a silicone-based lubricant (like WD-40) to the lever hinges and adjustment points. Allow the lubricant to penetrate for 10–15 minutes, then gently work the lever up and down until it moves freely. Wipe away excess lubricant.
Problem: The Deck Is Uneven After Adjusting Height
Solution: Measure the blade-to-ground distance at all four corners of the deck (front-left, front-right, rear-left, rear-right). If measurements differ by more than ¼ inch, adjust individual wheel levers to match. For riding and zero-turn mowers, consult your owner’s manual for deck leveling procedures, which may involve adjusting front or rear deck support bolts.
Problem: Lawn Scalping After Lowering the Blade
Solution: You’ve cut the grass too short for its type. Raise the blade height by 0.5 inch and allow the lawn to recover for 1–2 weeks. Scalped grass will regrow, but very short cuts stress the plant and invite weeds. In the future, follow the One-Third Rule and the recommended heights table above.
Problem: Mower Vibrates or Cuts Unevenly After Adjusting Height
Solution: The blade may be bent or dull, or the deck may be misaligned. Disconnect the spark plug wire and visually inspect the blade for cracks or bends. If the blade appears damaged, remove it (see the blade removal section above) and replace it. If the blade looks fine, the deck may need leveling—see the uneven deck problem above.
Problem: The Mower Won’t Lower to the Height Position I Want
Solution: On riding and zero-turn mowers, the deck may be hitting the frame or suspension at extremely low settings. Consult your owner’s manual for the minimum safe cutting height. Some decks also have “anti-scalp wheels” that prevent blade contact with ground obstacles; these may limit how low you can cut on uneven terrain.
Frequently Asked Questions
Q: How often should I adjust my mower blade height?
You should adjust your blade height seasonally and based on grass growth rate. In spring and fall (peak growing seasons), cut higher (3–4 inches) to allow stronger root systems. In summer, you can cut slightly lower if desired, but avoid scalping. Before winter, mow the final cut lower (around 2 inches) to reduce disease risk and improve spring appearance.
Q: Can I adjust my mower blade height while the engine is running?
No. Always disconnect the spark plug wire and allow the engine to cool completely before adjusting blade height. Adjusting while the engine runs risks serious injury from the spinning blade.
Q: What is scalping, and why should I avoid it?
Scalping occurs when you cut grass too short relative to its type, exposing the soil or crowns of the grass plant. This stresses the grass, slows growth, and creates bare patches where weeds can take hold. It’s especially damaging to warm-season grasses like Bermuda and St. Augustine. Stick to recommended heights for your grass type to prevent scalping.
Q: Do I need tools to lower my push mower blade?
No. Walk-behind mowers use simple levers or pins that require no tools. Riding and zero-turn mowers may require a wrench if you need to adjust support bolts for deck leveling, but basic height adjustment uses built-in levers or cranks.