How to Change Weed Eater Line: Step-by-Step Guide for Most Models
Changing a weed eater line involves removing the old cutting line, measuring and cutting a new line to the appropriate length, and loading it onto the trimmer’s spool or head. The process varies slightly depending on whether your trimmer uses a bump-feed or fixed-line system, but most models follow a similar sequence: access the spool housing, remove the old line, prepare the new line, wind it onto the spool, and secure the ends. Always refer to your owner’s manual for model-specific instructions, as spool mechanisms can differ by brand.
Understanding Your Weed Eater’s Spool System
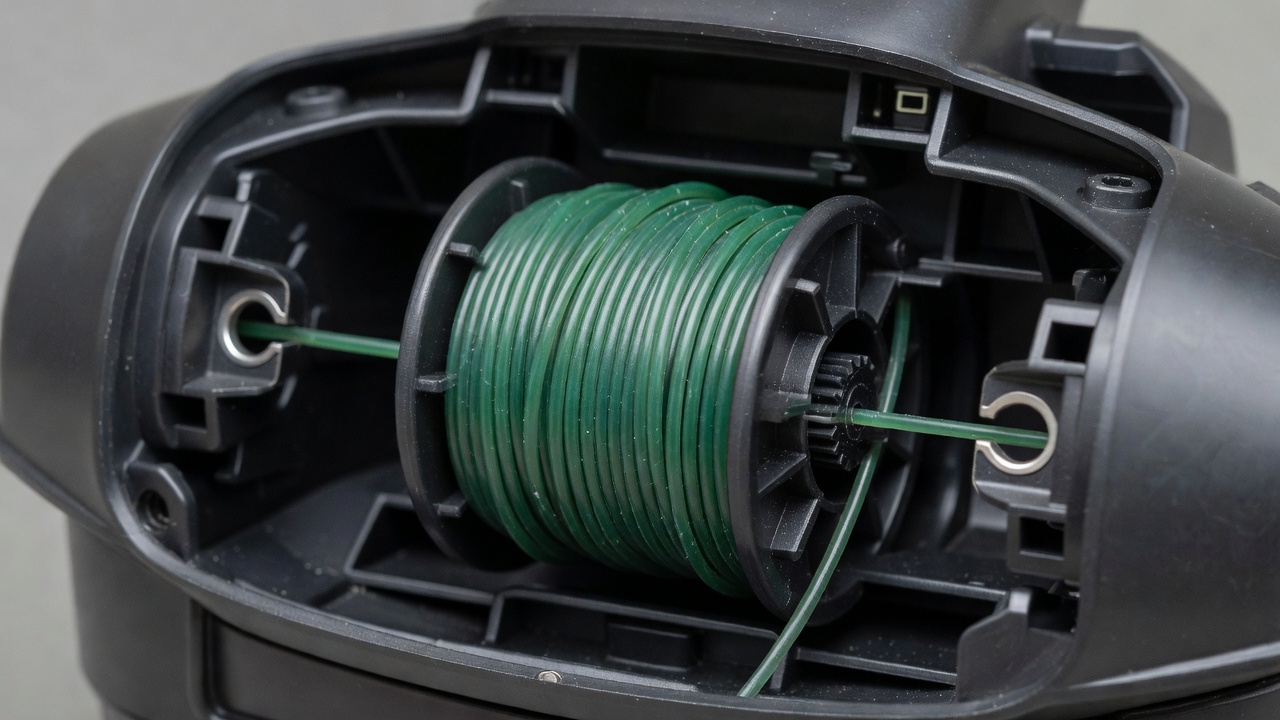
Before you begin, it’s crucial to identify the type of spool mechanism on your string trimmer. This will determine how you access the line and load the new one. There are two main types: bump-feed and fixed-line.
- Bump-feed spools: The most common type, where the line is fed as you bump the head against weeds. The spool has a small notch or eyelet at the top where the line emerges.
- Fixed-line spools: Less common, where the line is pre-loaded and does not feed as you use it. These are typically used in trimmers with a different head design, such as a rotary head.
Check your owner’s manual to confirm which type you have. The manual will also specify the maximum line diameter your trimmer can accept, as using the wrong size can cause the line to break or not feed properly.
Gathering the Right Materials
Having the correct materials and tools before you start will make the process smoother and prevent mistakes.
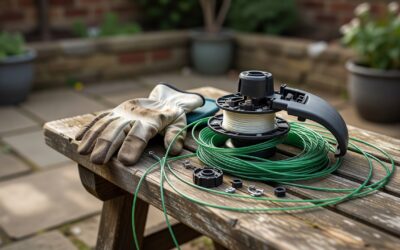
- Replacement line: Choose the appropriate type and thickness. Most trimmers use monofilament (single strand) or multistrand (multiple strands) line. The thickness is measured in gauge (e.g., 0.065, 0.080), with lower numbers indicating thicker line. Check your manual for the recommended gauge for your model.
- Tools: You’ll likely need a pair of sharp scissors or line cutters to trim the new line. Some spools may require pliers to remove the old line or to secure the ends.
- Spool: Ensure the new line is compatible with your trimmer’s spool type. Most bump-feed spools are universal, but some brands have proprietary designs.
Step-by-Step Process for Changing the Line
Follow these steps to restring your weed eater, keeping in mind that the exact procedure may vary based on your model.
- Prepare the trimmer: Turn off the engine (if gas) or unplug the power cord (if electric). Let the trimmer cool down completely to avoid burns.
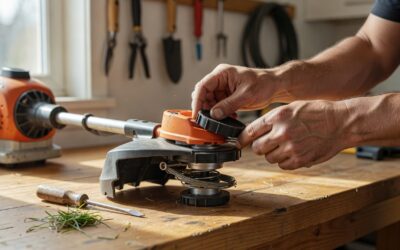
- Access the spool housing: Locate the spool release button or the way to open the housing. This is often a small button on the side or a lever that you press to release the spool. Remove the head or the cover to access the spool.
- Remove the old line: Pull the old line out of the spool housing. It may be tangled, so gently pull it until it’s all out. Use scissors to cut the remaining line if it’s still attached to the head.
- Clean the spool: Wipe the spool and housing with a clean cloth to remove any debris or old line remnants. This ensures the new line will feed properly.
- Prepare the new line: Measure the length of line needed. A typical bump-feed spool requires 20 to 30 feet of line, but check your manual for the exact length. Cut the new line with sharp scissors to the measured length.
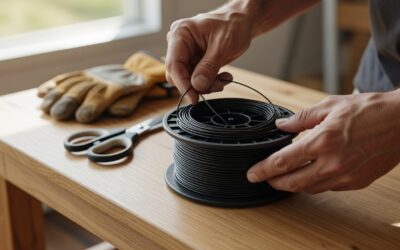
- Load the new line: Insert one end of the new line into the spool’s eyelet or notch. Wind the line onto the spool in the direction indicated by the arrows on the spool (usually clockwise). Keep the line taut as you wind to avoid kinks.
- Secure the line ends: Once the spool is full, check that the line is tight. Trim the end of the line to a clean cut. Some spools have a small notch or eyelet where you can tie a knot to secure the end, while others have a built-in mechanism to hold the end.
- Reassemble the housing: Place the spool back into the housing, ensuring it’s aligned correctly. Replace the head or cover, and secure it with the release button or screw.
- Test the line: Before using the trimmer, test the line feed by bumping the head against a surface. The line should feed smoothly and not break.
Troubleshooting Common Issues
Even with proper steps, you may encounter issues. Here are some common problems and solutions.
- Line won’t feed: If the line is not feeding when you bump the head, check that the spool is wound correctly (direction) and that the line is not tangled. Also, ensure the line is not too thick for your trimmer.
- Line breaks immediately: This could be due to the line being too thin, the spool not being wound tightly, or the head being too tight. Check the line thickness against the manual and ensure the spool is full and wound correctly.
- Spool won’t reassemble: If the spool housing doesn’t fit back together, make sure the spool is seated properly and that the line end is secured. Some models require the line to be threaded through a specific path before reassembly.
- Line kinks or twists: Kinks can occur if the line is wound too tightly or in the wrong direction. unwind the spool and re-wind it carefully.