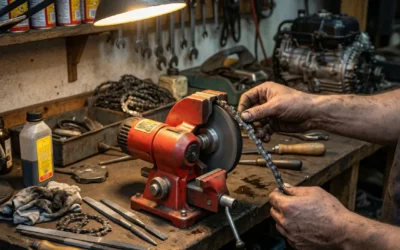
Sharpening a chainsaw blade with a grinder involves selecting the correct grinding wheel, setting the proper angle (typically 25–35° for most chains), and making light, consistent passes across each cutter while avoiding overheating. Always dress the wheel, use a depth-gauge tool afterward, and follow the manufacturer’s angle and wheel specifications for your specific chain type.
Choosing the Right Grinder Type
Two primary grinder types suit chainsaw blade sharpening: bench grinders and angle grinders. A bench grinder offers a stable platform with adjustable tool rests, making it easier to maintain consistent angles and control during grinding. Bench grinders typically operate at fixed speeds and come equipped with wheel guards, providing a safer working environment for longer sharpening sessions. They work well for full-length chain sharpening but require adequate workshop space.
Angle grinders provide portability and flexibility, allowing you to work on chains mounted in a vise or on a dedicated sharpening jig. However, angle grinders demand greater skill to maintain proper angle and pressure consistently. They run at higher speeds than bench grinders, which increases the risk of overheating the chain if you’re not careful. Many professionals prefer angle grinders for field repairs and maintenance work, while hobbyists often find bench grinders more forgiving for learning the technique.
For chainsaw blade sharpening, a bench grinder with a 5-inch to 7-inch wheel and a speed around 3,450 RPM is considered standard. If using an angle grinder, select one with variable speed control to manage heat better and reduce the chance of damaging the chain’s temper.
Setting Up the Grinder Correctly
Selecting the appropriate grinding wheel is essential for effective sharpening. Use a wheel with a grit size between 80 and 120 for chainsaw blades—this range removes dull metal efficiently without generating excessive heat. The wheel diameter should match your grinder specifications; common sizes are 5 to 7 inches for bench grinders. Before each use, dress the wheel with a dressing tool to expose fresh abrasive surfaces and remove any glazing or buildup.
Setting the correct sharpening angle requires knowing your specific chain type. Most modern chains require a 30-degree angle, though some full-chisel chains may need 25 to 35 degrees. Your chainsaw or chain manufacturer’s documentation will specify the correct angle. Mark this angle on your grinder’s tool rest with a protractor, or use an angle gauge to verify the positioning before grinding.
Securing the chain prevents dangerous movement during grinding. Mount the chain in a vise with soft jaws or use a dedicated chainsaw sharpening jig that holds the entire bar and chain in position. The chain should be immobilized but not so tight that it distorts the metal. Position the first cutter so it sits at the correct angle relative to the grinding wheel, with adequate clearance to avoid contact with the wheel guard.
Step-by-Step Sharpening Process
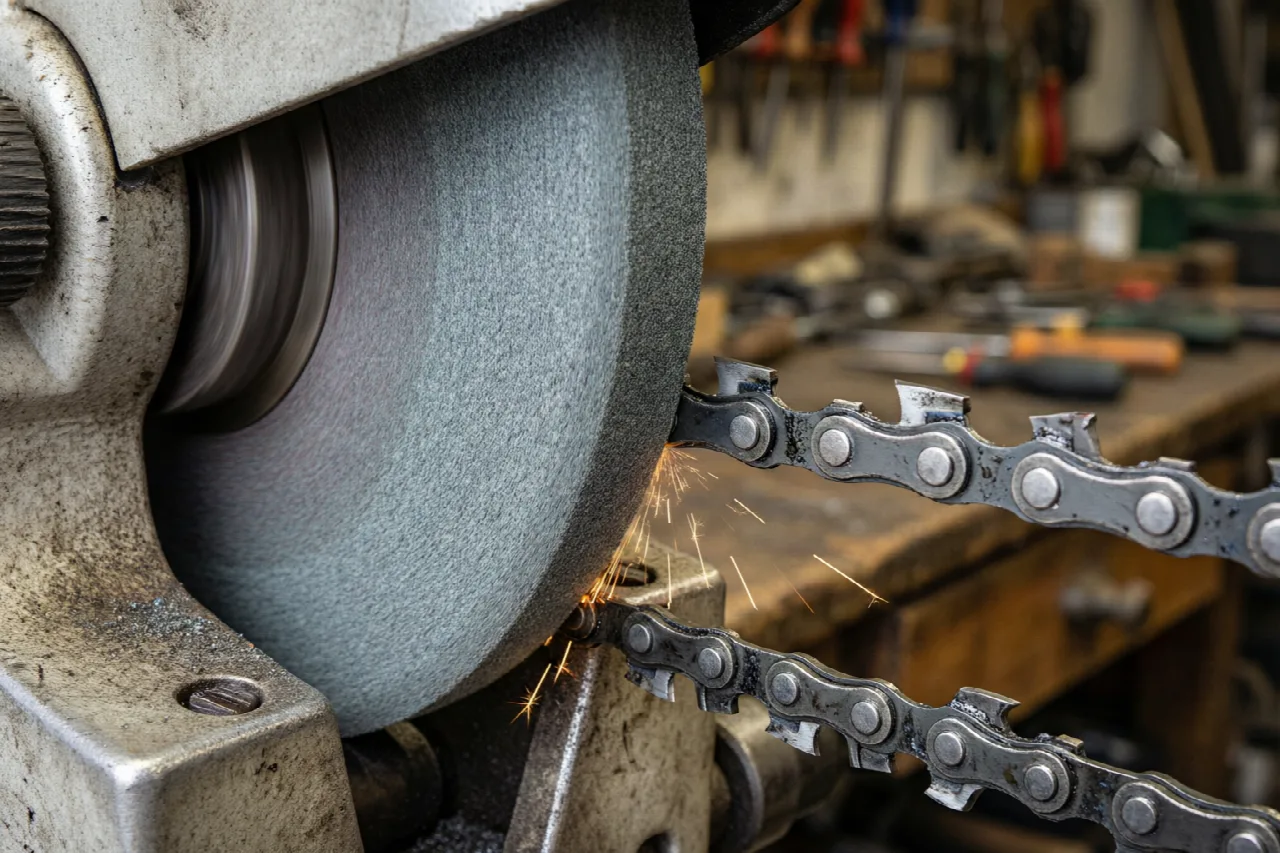
Begin by marking your starting point on the chain so you know when you’ve sharpened all cutters. Lower the grinding wheel to make light contact with the first cutter at the correct angle. Apply gentle, even pressure—let the wheel do the work rather than forcing it. Make multiple light passes rather than one heavy pass to maintain control and reduce heat buildup. Typically, two to four passes per cutter removes dullness without removing excessive metal or overheating the tooth.
Move systematically around the chain, grinding each cutter on one side before rotating the chain and grinding the opposite side. Maintain consistent pressure and wheel speed throughout. Check that all cutters are being ground to roughly the same length by examining the metal removed from each tooth. If one cutter is significantly duller than others, it may require slightly more grinding, but aim for visual uniformity across all teeth.
After completing one full rotation, inspect the chain for a consistent silver or bright edge along each cutter. Dull spots or uneven grinding indicate areas requiring additional passes. The entire grinding process typically takes 15 to 30 minutes depending on chain condition and length.
Safety Precautions and Best Practices
Wear appropriate protective equipment whenever operating a grinder. Safety glasses or a face shield protect against flying debris and sparks. Wear heavy work gloves to handle the chain safely, as fresh metal edges are sharp. Hearing protection is recommended for bench grinders, which can produce noise levels above 80 decibels. Ensure long hair is tied back and loose clothing is secured to prevent entanglement with the rotating wheel.
Overheating damages the chain’s temper and reduces its cutting performance or causes permanent damage. Watch for excessive smoke, discoloration of the metal, or the smell of burned metal—all signs of dangerous heat buildup. If the cutter becomes too hot to touch, stop grinding immediately and allow it to cool. Work in short intervals with cooling breaks to prevent cumulative heat damage. Never use water to cool the chain, as rapid cooling can compromise the steel’s properties.
Dress the grinding wheel regularly during the job, especially if it becomes glazed or shows uneven wear. A properly dressed wheel removes metal more efficiently and generates less heat than a dull or glazed wheel.
Checking and Finishing the Chain
After grinding all cutters, the sharpening work is incomplete without adjusting the depth gauges (rakers). These small metal protrusions sit in front of each cutter and control how much wood the cutter can bite into with each stroke. If depth gauges are too high, the cutters won’t engage effectively; if too low, the chain may produce aggressive cutting that causes bucking or binding.
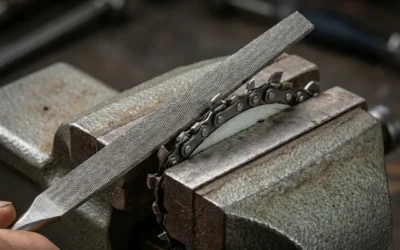
Use a depth-gauge tool specific to your chain pitch to measure and lower the rakers. Place the tool on the cutter with the gauge notch aligned, and use a flat file to carefully lower any rakers that protrude above the tool’s reference surface. Standard depth-gauge clearance is approximately 0.025 to 0.030 inches below the top of the cutter for most chain types, though your manufacturer’s specifications should be consulted.
Test the chain’s sharpness by making a cut in a log held in a vise. A properly sharpened chain cuts cleanly and quickly without requiring excessive pressure. The saw should pull itself into the wood with minimal downward force from the operator. If the chain still cuts poorly or produces fine sawdust instead of larger chips, return to the grinder and make additional light passes on the duller-cutting cutters.