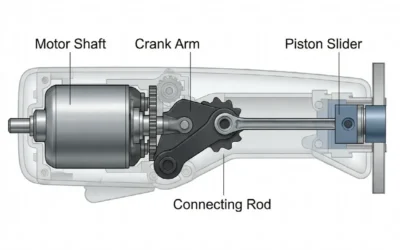
Feeding a weed eater properly ensures efficient cutting and prevents frustration caused by tangled or jammed line. Whether you’re using a bump-feed mechanism or manual advancement system, understanding your trimmer’s specific feed type and following correct loading procedures will keep your tool running smoothly and extend the life of your trimmer head.
Identifying Your Trimmer Feed Type
Weed eaters use several different feed mechanisms, and identifying which type you own is the first step to proper line management. The most common system is the bump-feed mechanism, where tapping the spool head on the ground automatically advances new line. This design is popular on consumer and mid-range trimmers because it eliminates the need to stop and manually feed line during use.
Fixed-line systems, typically found on commercial-grade trimmers, have a set length of line that doesn’t advance automatically. With this type, you must stop the trimmer, remove the head, and manually reload line when it breaks or wears down. Some premium models feature automatic feed systems that continuously advance line as it wears, though these require more complex internal mechanisms.
You can identify your feed type by consulting your trimmer’s manual or examining the spool head design. Bump-feed heads have a distinctive rounded or dome-shaped cover with a metal or rubber pad on the bottom. Fixed-line heads typically appear more angular or boxy. Most residential trimmers use bump-feed systems, making this the most important type to master for typical homeowners.
Loading New Line on a Bump-Feed Trimmer
Begin by disconnecting the spark plug wire or turning off the trimmer to ensure it cannot accidentally start during the process. Allow the engine to cool if you’ve been using the trimmer. Locate the spool head—this is the round or oval housing at the end of the trimmer shaft that holds the trimmer line.
Most bump-feed heads can be removed by holding the spool steady while turning the outer cap counterclockwise, though some models require a specific tool. Consult your manual if unsure. Once removed, carefully pull out the spool itself, which is the spool bobbin that holds the wound line.
Clean out any old line fragments or debris from inside the head and spool. Examine the two small eyelets on opposite sides of the spool where the line exits—these should be clear and undamaged. If they are cracked or worn, the spool may need replacement.
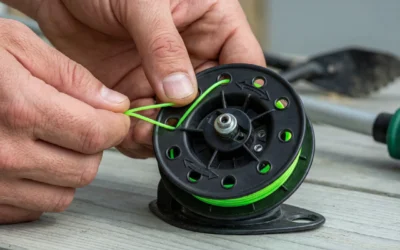
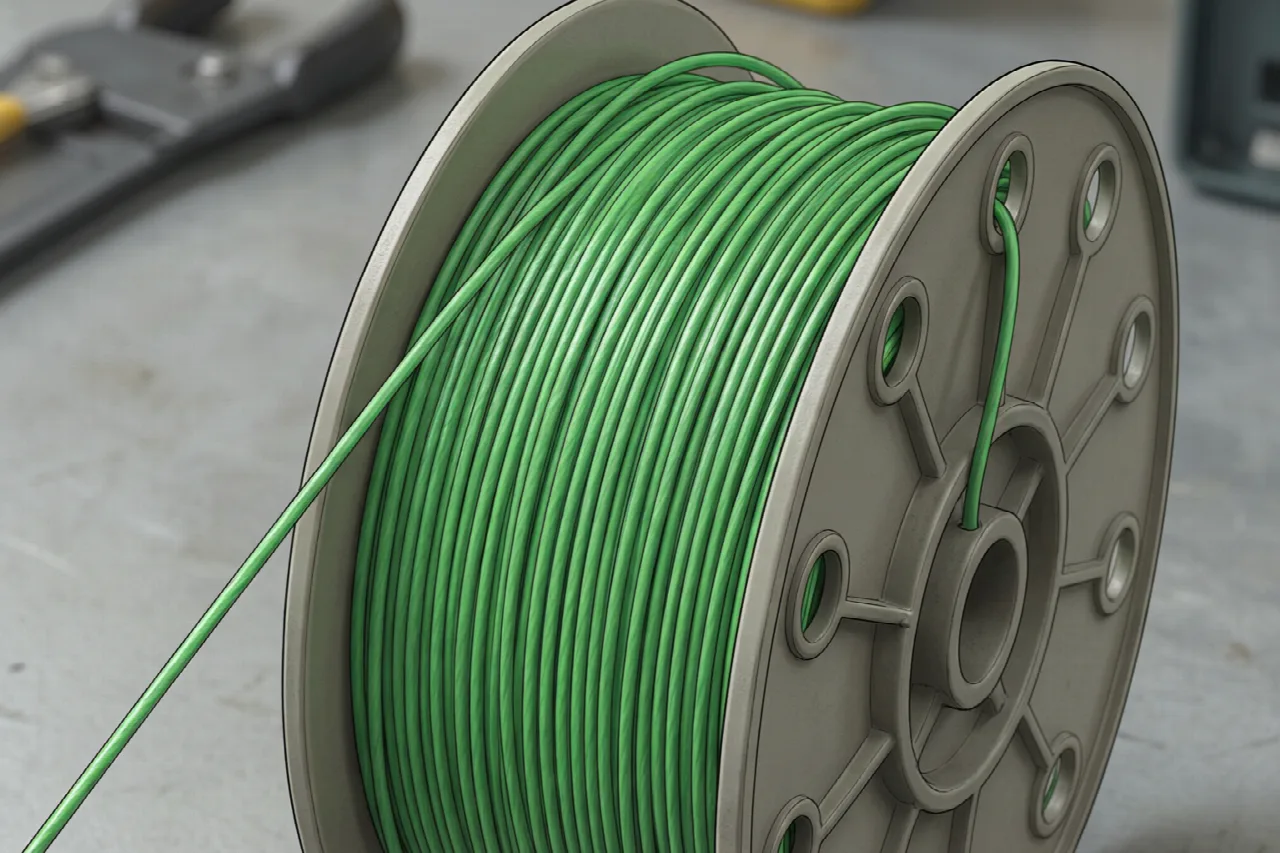
Cut a length of new trimmer line according to your manual’s specifications, typically between 15 and 25 feet depending on the model. Insert one end into one eyelet, then thread the line around the spool in the direction indicated by the arrow usually molded into the plastic. Wind the line tightly and evenly, maintaining consistent tension to prevent overlapping or loose coils.
Leave approximately 6 to 12 inches of line protruding from each eyelet. Thread these ends through the eyelets and reassemble the spool into the head. Twist the outer cap clockwise until it seats firmly, then test that the line spins freely before reattaching the spool head to the trimmer.
Advancing Line During Use
Once your trimmer is running and you’re actively trimming, the bump-feed mechanism activates whenever you tap the spool head firmly against the ground. This motion disengages a latch inside the head, allowing the spool to rotate slightly and feed out more line. Tap gently at first—a light tap may not engage the mechanism, but excessive force can break the internal parts.
If the line doesn’t advance after tapping, stop the trimmer and check for a jam. Remove the spool head and inspect for tangled or wrapped line, particularly around the eyelets. Cut away any debris and reload if necessary. Sometimes the bump-feed latch wears out over time and stops engaging, requiring spool head replacement.
During active use, tap the spool on the ground only when the trimmer is running and you need more line. Tapping excessively can damage the bump-feed mechanism and should be avoided. If you run completely out of line mid-job, you’ll need to remove the spool head and reload a fresh line rather than advancing from an empty spool.
Fixing Common Line Feeding Problems
Tangled line inside the spool is typically caused by uneven winding or line that wasn’t secured properly at the start of loading. The line unwinds during use and wraps around the spool mechanism. To fix this, remove the spool, carefully untangle the line, and reload using firm, even tension throughout. Secure the line end firmly before reassembling.
If line refuses to feed at all after tapping, the bump-feed latch may be stuck or damaged. Try tapping slightly harder, but if this doesn’t work, the internal mechanism likely needs service or replacement. Check your manual for spool head part numbers and availability.
Uneven feeding—where line comes out faster on one side—usually indicates the line wasn’t wound evenly or one eyelet is partially blocked. Remove the spool, inspect both eyelets for debris, and reload with careful attention to even tension on both sides of the spool.