Edging creates a clean boundary between landscape features—separating garden beds from lawn, defining pathways, or containing mulch and soil. A well-executed edging line enhances landscape definition and prevents soil migration. The specific method you choose depends on your project type, soil conditions, climate, and desired aesthetic. Whether installing metal edging, plastic border, landscape timber, or stone, the fundamental process involves planning, measuring, preparing the ground, and securing materials in place.
Assessing Your Edging Needs
Before selecting materials and tools, determine what type of edging your project requires. Landscape edging typically separates garden beds from lawn or defines planting areas. Pathway edging contains gravel or mulch and prevents material from spreading into surrounding areas. Raised bed edging contains soil within elevated planting boxes. Each application has different requirements for material type, height, depth, and installation method.
Consider your soil type and climate. In areas with frost heave, rigid materials may shift; flexible edging accommodates seasonal ground movement. Poorly draining soil requires drainage considerations behind edging to prevent water accumulation. Rocky or compacted soil requires different installation approaches than loose, sandy soil. Evaluate sunlight exposure and moisture patterns, as these affect material durability and performance over time.
Gathering Tools and Materials
Essential tools include a spade or edging tool for digging, a level for ensuring straight lines, a tape measure for accurate spacing, and stakes and string for marking your edging line. A rubber mallet or hammer secures materials, and a utility knife cuts flexible materials to length. Depending on your chosen edging type, you may need screws, nails, fasteners, or adhesive.
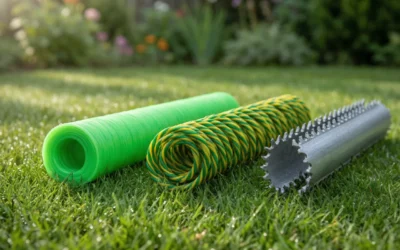
Material selection varies by application. Metal edging (steel or aluminum) offers durability and clean lines. Plastic edging is lightweight, flexible, and affordable. Landscape timber (treated wood or composite) creates rustic borders and raised beds. Stone or brick provides durable, attractive formal edging. Landscape fabric serves as an underlayment, preventing soil from migrating beneath edging. Backfill material—gravel, sand, or topsoil—stabilizes the edging after installation.
Preparing the Area
Mark your edging line using stakes and string, ensuring straight lines or smooth curves as desired. For curved edging, use a garden hose or rope to outline the shape before marking. Check that your marked line runs parallel to existing features like sidewalks, driveways, or lawn edges. Use a level or sight line to verify straightness over longer distances.
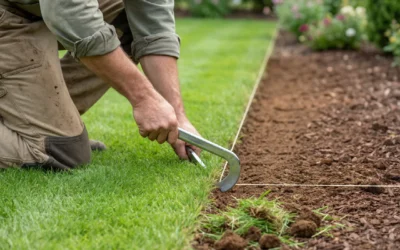
Clear vegetation, rocks, and debris from the marked line and the area where you’ll install edging. Remove grass and soil along both sides of the line to create space for material and anchoring. If installing fabric edging, lay the fabric first, then secure it with landscape pins. For rigid edging, expose the soil beneath where the edging will sit, ensuring full contact with the ground.
Installing the Edging
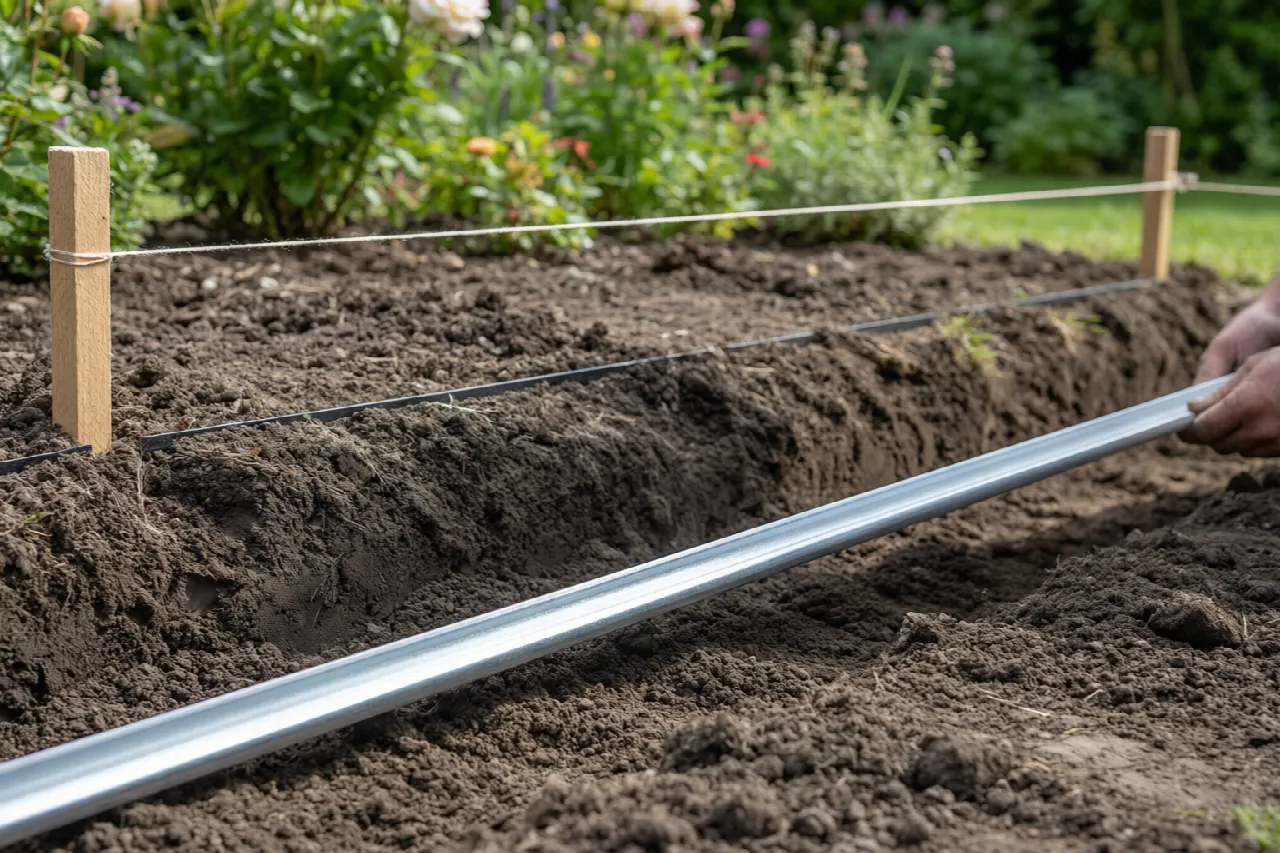
Trench depth varies by edging type and soil conditions. Metal or plastic edging typically requires a trench 2 to 4 inches deep, with the top edge sitting 1 to 2 inches above grade. Landscape timber sits on a leveled base and may extend 6 to 12 inches or more above ground. Stone or brick edging typically sits partially buried, with 1 to 3 inches below grade for stability.
For rigid materials, dig a trench along your marked line, keeping the bottom level and even. Test-fit the edging material as you install it, adjusting the trench depth to achieve proper height and alignment. Secure metal or plastic edging with anchors or fasteners according to manufacturer instructions. Landscape timber edging is secured with corner braces, posts, or overlapping joints. Stone or brick edging relies on weight and careful stacking or mortaring.
As you install each section, check alignment with a level or straightedge. Ensure consistent height and angle throughout. Fill gaps between rigid edging sections, or overlap sections slightly, depending on material type and design preference.
Finishing and Maintenance
Backfill behind and around the edging with appropriate material—gravel for drainage areas, topsoil for planting beds, or sand for leveling. Compact backfill gently to avoid shifting the edging. Add landscape fabric on the garden bed side of edging if desired, layering it under existing mulch or soil to prevent weed growth.
Initial maintenance includes checking edging alignment and stability after the first few weeks and again after seasonal weather changes. Tighten fasteners if needed and reset any material that has shifted. Ongoing maintenance includes removing debris, inspecting for damage, and adjusting height if settling occurs. Replace damaged or deteriorated sections to maintain the edging’s function and appearance.
Troubleshooting Common Issues
Edging that shifts or lifts often results from frost heave, water accumulation behind the material, or insufficient anchoring. Prevent frost heave by ensuring proper drainage and using flexible materials in freeze-thaw climates. If water accumulates, improve drainage by adding drainage material behind rigid edging or adjusting ground slope to direct water away.
Settling occurs when soil beneath edging compacts over time. Adjust height by adding backfill or, if necessary, by removing and reinstalling the edging on a properly prepared and compacted base. Damaged sections require removal and replacement. Metal edging that bends can sometimes be carefully straightened; significantly bent material should be replaced. Cracked or broken stone and brick cannot be repaired and must be replaced.