
Why Your Robot Vacuum Gets Lost: The Navigation Stack Explained
Modern robot vacuums from Roborock, Dreame, and iRobot don’t wander randomly—they triangulate their position using an onboard “navigation stack” that fuses three data sources: a spinning LiDAR turret emitting 360-degree laser scans, wheel-mounted optical encoders tracking distance and rotation, and an inertial measurement unit (IMU) sensing acceleration and tilt. When any one of these inputs degrades, the SLAM (Simultaneous Localization and Mapping) algorithm produces a corrupted map, and the robot’s confidence in its own position collapses. The result is the classic failure signature: the unit pauses mid-room, spins in place, declares “positioning error,” and either docks blind or resumes from a wrong origin.
Understanding this architecture matters because it tells you where to look first. LiDAR provides the absolute reference frame—it’s the only sensor that sees the room’s walls and furniture. The wheel encoders and IMU provide relative motion. When the LiDAR is reliable, the robot can continuously correct small odometry errors. When it isn’t, those small errors compound into catastrophic localization drift. This is why a single smudge of dust on the sensor dome can turn a perfectly mapped home into a maze the robot cannot navigate.
The Diagnostic Table: Matching Your Symptom to the Root Cause
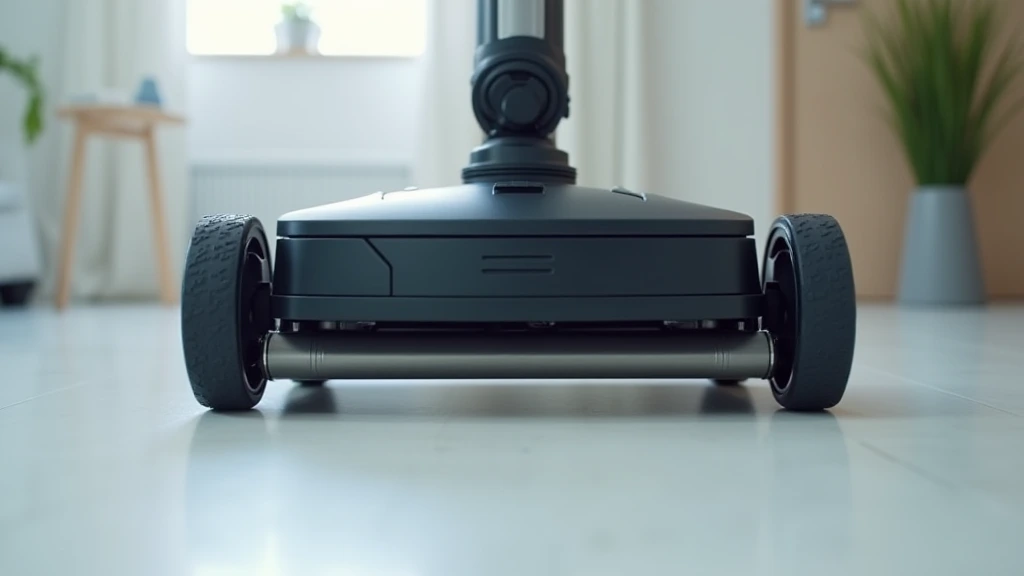

Before you reach for a screwdriver, identify which sensor layer is failing. The table below maps each common symptom to its most probable root cause, the affected hardware, and the fastest fix. Use it as your first-line triage tool rather than guessing.
| Symptom | Probable Root Cause | Affected Component | Diagnostic Check | Recommended Fix |
|---|---|---|---|---|
| Robot spins in place, “positioning error” in app | LiDAR dome obscured or scratched | LiDAR turret | Inspect dome for dust, smudges, or pet hair | Microfiber wipe; avoid solvents on the dome |
| Map shows rooms in wrong place, walls offset | Corrupted map data after a crash or move | SLAM map on device storage | Compare app map against actual room layout | Delete map and run a fresh full mapping pass |
| Robot bumps walls it previously avoided | Wheel encoder drift or debris in drive wheels | Wheel odometry | Check wheels spin freely; clean hair from axles | Clean wheels; recalibrate via app “reposition” |
| Robot docks at wrong angle or misses dock | IR dock sensor dirty or misaligned | Docking IR emitter/receiver | Wipe dock IR strip and robot’s rear sensor | Clean both IR surfaces; re-seat dock on level floor |
| Map works but coverage skips areas | IMU drift from hard bump or drop | IMU / gyroscope | Reboot; if persists, re-map | Full reboot, then delete and remap home |
| Robot enters a “no-go” zone repeatedly | Map too old; furniture moved since mapping | SLAM map reference frame | Verify furniture positions against map | Update map or add fresh no-go boundaries |
Notice that most entries funnel toward two fixes: physical sensor cleaning and a map rebuild. That is not coincidence—these two actions address the overwhelming majority of navigation failures across every major brand. The rest of this guide walks through each fix in field-tested order, so you solve the cheap, reversible problems before resorting to resets or warranty claims.
Step 1: The LiDAR Sensor Cleaning Fix
The LiDAR turret is the single most exposed and most neglected component on a robot vacuum. It sits on top of the chassis, spinning continuously at high RPM, and acts as a dust magnet. Over weeks of operation, airborne dust, pet dander, and cooking grease form a thin film on the plastic dome that scatters the laser beam before it can reflect off the room’s surfaces. The result is a degraded point cloud, and the SLAM algorithm starts seeing phantom obstacles or missing walls entirely.
To perform the cleaning fix, power the robot off and place it on a flat, clean surface. Use a dry microfiber cloth and wipe the entire dome in slow, circular motions, paying special attention to the seam where the dome meets the chassis—hair and debris accumulate there. If the dome has stubborn residue, dampen a corner of the cloth with distilled water only; never use alcohol, ammonia, or glass cleaner, as these can cloud or craze the plastic and permanently degrade laser transparency. After wiping, hold the dome up to a light source and inspect for scratches. A few hairline scratches are tolerable, but a heavily scuffed dome should be replaced as an OEM part.
Repeat this cleaning every two to four weeks depending on your environment. Homes with pets shed far more airborne dander, and kitchens generate grease films that accelerate dome fouling. If you find yourself cleaning the dome more than once a month and the robot still struggles, the issue has likely progressed past simple fouling into mechanical wear on the turret’s motor or bearing, which brings us to the next step.
Step 2: Rebuilding a Corrupted Robot Vacuum Map
When cleaning fails to restore navigation, the next suspect is the map itself. A robot vacuum map can become corrupted in several ways: the unit crashed into an obstacle and lost its reference frame, the home was physically moved to a new location, furniture was rearranged mid-cycle, or the device briefly lost power during a mapping run. In each case, the stored map no longer matches physical reality, and the robot’s localization engine spends its entire cycle trying to reconcile two incompatible worlds.
The reliable fix is a full map reset and remap. Open your brand’s app—Roborock, Dreame, and Xiaomi all follow the same general flow—navigate to map management, and select “Delete Map” or “Reset Map.” This clears the corrupted SLAM data from device storage. Then start a fresh full mapping run with all doors open and the floor cleared of loose cables and small objects. Let the robot complete the entire perimeter before interrupting it; a partial mapping pass creates a new, incomplete map that will trigger the same errors.
After the remap, immediately verify the result. Open the app’s map view and confirm that room boundaries match your actual walls, that no phantom obstacles appear, and that the dock is positioned correctly. If the map looks right but the robot still reports a room positioning error, proceed to the odometry recalibration step below—the map may be fine while the robot’s sense of its own motion is not.
Step 3: Recalibrating Wheel Odometry and the “Reposition” Routine
Wheel encoders are the robot’s internal speedometer, tracking how far each wheel has rotated to estimate distance traveled. When hair, carpet fibers, or debris wrap around the wheel axles, the wheels slip or bind, and the encoders report motion that never actually happened. Over a single cleaning cycle, these small errors compound, and the robot ends up believing it is two meters from where it physically sits. This is the classic cause of a Roborock or Dreame room positioning error that survives a clean LiDAR dome.
Start by inspecting the drive wheels. Flip the robot upside down and rotate each wheel by hand. They should spin freely with minimal resistance. If you feel binding, use tweezers or a seam ripper to carefully remove hair and fiber wrapped around the axle, then wipe the wheel surfaces clean. Pay attention to the small caster wheel at the front as well—it is a notorious hair trap and can cause erratic steering when clogged.
Once the wheels are mechanically clean, trigger the software recalibration. In the app, look for a setting labeled “Reposition,” “Calibrate,” or “Reset Position,” typically under device settings or maintenance. This routine instructs the robot to drive to known landmarks and re-sync its odometry with the LiDAR reference frame. Run it once, then test a single-room cleaning pass. If the robot now navigates cleanly, the recalibration worked. If it still drifts, the encoder hardware itself may be failing, which requires a service center visit rather than a software fix.
Step 4: Environmental Factors That Sabotage Navigation
Not every navigation failure originates inside the robot. Your home’s physical environment directly feeds the SLAM algorithm, and hostile conditions can defeat even a perfectly clean, perfectly calibrated unit. Low-light rooms are a common culprit—LiDAR is optical, and while it works in darkness, glossy or mirror-like surfaces can reflect the laser in ways that confuse the point cloud. Likewise, large expanses of featureless floor, like a blank white wall or a smooth dark rug, give the algorithm few reference points to anchor against.
Furniture that moves between cycles is another silent saboteur. If you shift a sofa or table between cleaning runs, the robot’s stored map becomes stale, and it will either avoid the new obstacle or try to drive through where the old map said the floor was. The practical rule is to keep furniture placement stable for at least a week after a remap, and to re-map after any significant rearrangement rather than expecting the robot to adapt on the fly.
Cord management deserves special attention. Loose charging cables, Ethernet runs, and lamp cords create thin, low obstacles that LiDAR sometimes cannot resolve at a distance. The robot may drive over them, get tangled, and lose its reference frame mid-cycle. Tucking cords under rugs or into cable channels is one of the cheapest navigation upgrades available, and it protects the unit’s wheels and encoders from debris at the same time.
Step 5: When to Reset the Device vs. Contact Support
If sensor cleaning, a map rebuild, and odometry recalibration all fail to restore navigation, you have two remaining options: a factory reset or a warranty service request. A factory reset wipes the map, the calibration data, and all app settings back to out-of-box state, which can clear persistent software corruption that survives individual map resets. The cost is that you must reconfigure no-go zones, schedules, and room assignments afterward, so treat it as a deliberate step rather than a first resort.
Perform the factory reset only after you have confirmed the hardware is mechanically sound. If the robot still reports a room positioning error after a clean dome, free-spinning wheels, a fresh map, and a full reset, the fault is almost certainly physical—a failing LiDAR motor, a dead encoder, or a worn IMU. At this point, contact the manufacturer’s support channel with your diagnostic notes. Most brands, including Roborock and Dreame, offer in-warranty repair for navigation hardware, and having a documented diagnostic trail speeds up the claim process considerably.
Before you ship the unit, check whether the manufacturer has published any firmware updates for your model. Navigation algorithms are frequently patched, and a known bug in the SLAM implementation is often resolved by a simple OTA update. Browsing the app’s update section is a five-minute check that occasionally saves you a week of shipping time. It is also worth confirming your unit’s serial against any recall or service advisory, which you can verify against the Consumer Reports Robot Vacuum Maintenance Standards for the latest guidance on known navigation defects across major brands.
The Maintenance Schedule That Prevents Future Errors
Prevention is cheaper than repair, and robot vacuums reward a disciplined care routine. The single most effective habit is a weekly LiDAR dome wipe, which we covered in Step 1 and which costs about thirty seconds. Pair that with a monthly drive-wheel inspection to catch hair buildup before it binds the encoders. These two actions alone will prevent the majority of the navigation failures described in this guide, and they require no tools beyond a microfiber cloth and a pair of tweezers.
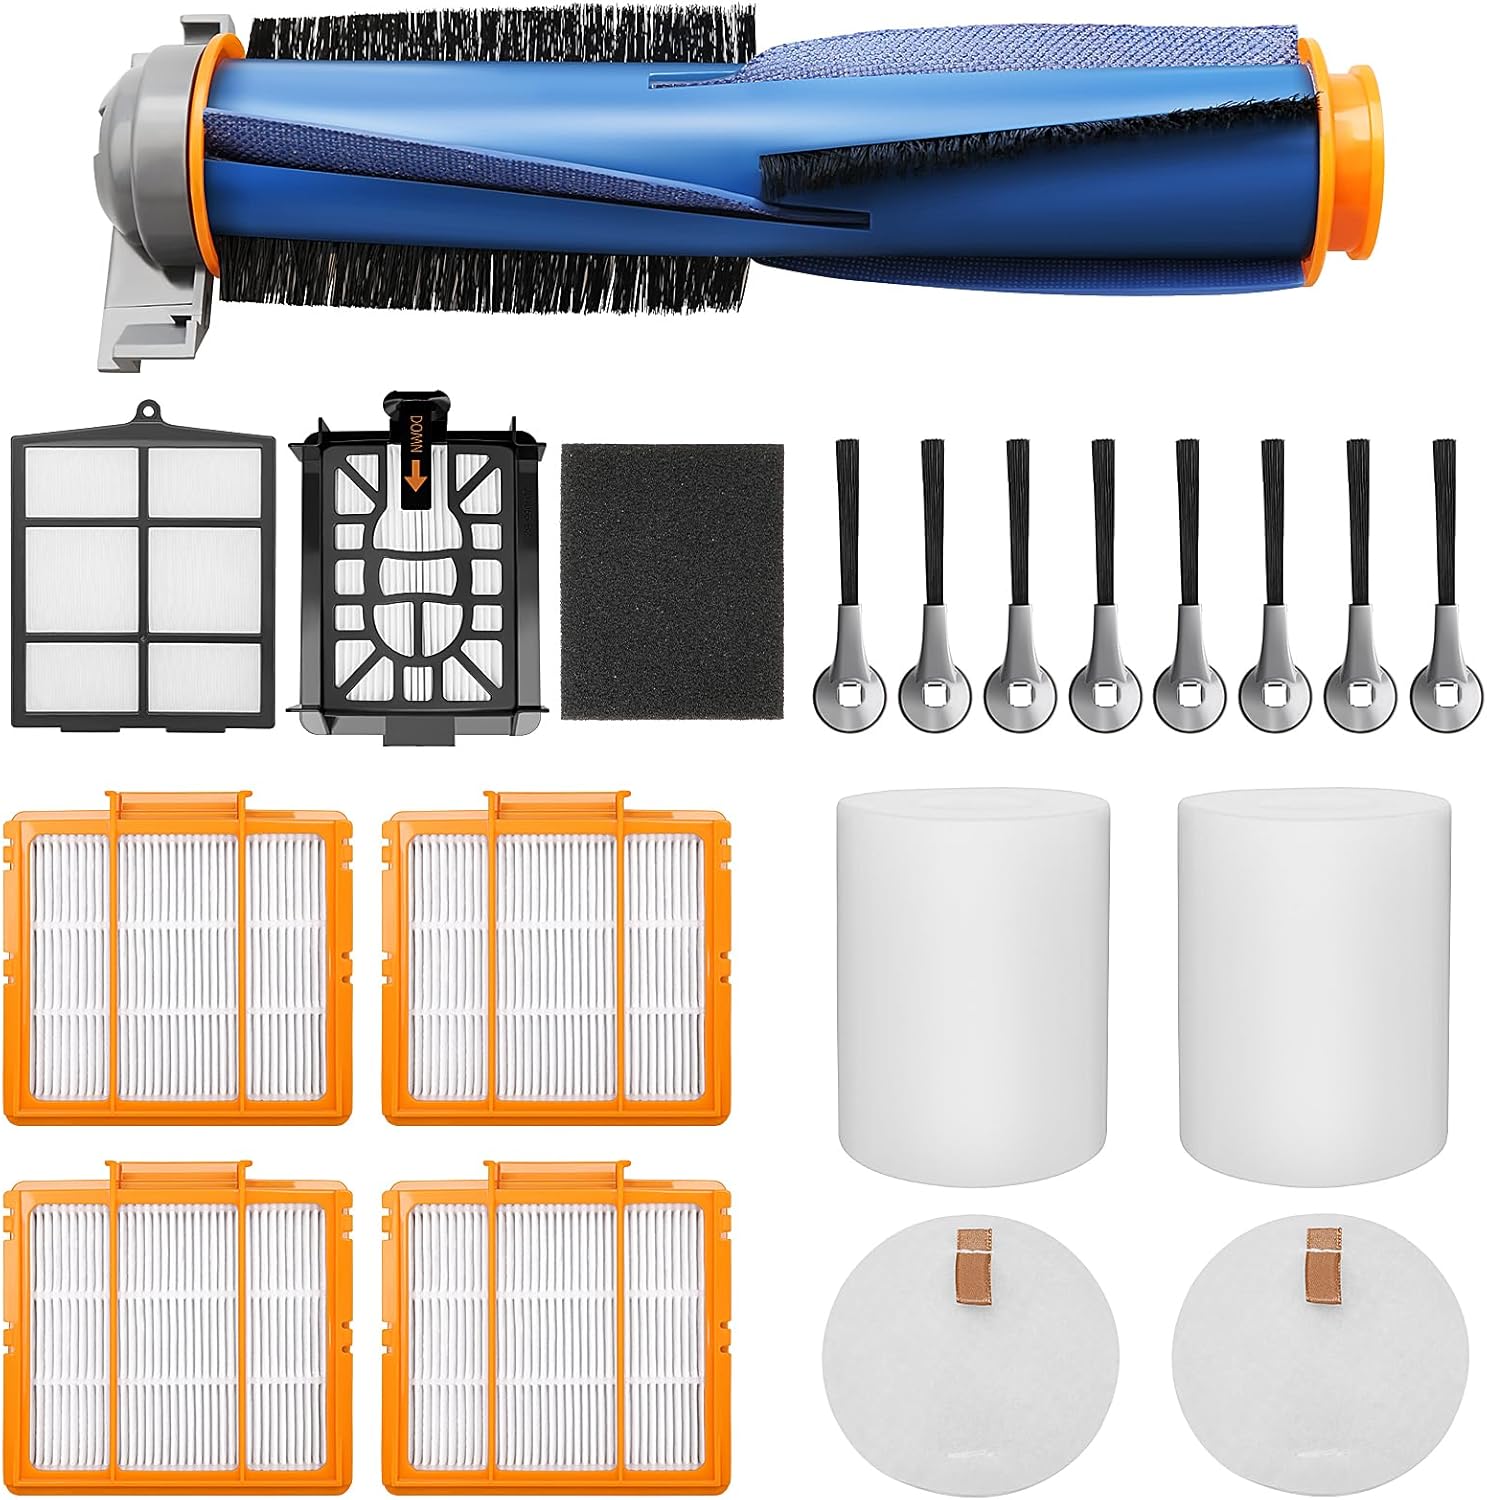
Build the rest of your routine around the robot’s consumables and its physical environment. Empty the dustbin after every cycle or two, clean the filters monthly, and replace the main brush and side brush on the schedule your app recommends—worn brushes reduce cleaning efficiency and can also throw off the robot’s perception of its own motion. Keep the dock’s IR sensors clean and the dock itself on a level, unobstructed floor, since the dock is the robot’s home reference point for every single cycle.
Treat the robot’s software as part of the maintenance loop. Check for firmware updates monthly, and re-map the home after any major furniture rearrangement or after moving the unit to a new residence. A robot that receives consistent cleaning, updated firmware, and an accurate map will run for years without a single positioning error, whereas a neglected unit will spend that same period lost in a corner of a room it has cleaned a hundred times.
Why This Fix Works: The Physics of SLAM Localization
Understanding why these fixes work is what separates a technician from someone following a checklist. SLAM localization is fundamentally a probabilistic process: the algorithm continuously estimates the robot’s pose—its position and orientation—by fusing the LiDAR point cloud with wheel odometry and IMU data, then updating that estimate as new measurements arrive. Every measurement carries uncertainty, and the algorithm’s job is to minimize the drift between what the sensors report and what the map predicts.
A dirty LiDAR dome increases the uncertainty of every laser measurement, which makes the algorithm trust its odometry more. But odometry drifts, and with the LiDAR degraded, there is nothing to correct that drift. The result is a feedback loop of increasing uncertainty that ends in the robot declaring it cannot locate itself. Cleaning the dome restores the LiDAR’s signal quality, re-anchoring the algorithm to an absolute reference frame. Rebuilding the map removes stale data that contradicts the current reference frame, and recalibration re-syncs the relative sensors to the absolute one.
This is the same underlying principle that governs system memory performance in a PC: everything in a computing system, from a robot’s SLAM stack to a desktop’s memory bus, depends on reliable, synchronized signals between components. Just as a memory timing error corrupts data, a sensor synchronization error corrupts a robot’s map. The maintenance you perform—cleaning, recalibration, and resetting—is fundamentally about restoring signal integrity across the navigation stack.
Comparing Robot Navigation to Other Smart Hardware Maintenance
The troubleshooting discipline you apply to a robot vacuum maps directly onto the broader world of consumer electronics. Consider how you maintain a desktop PC: you monitor safe hardware temperatures to prevent thermal throttling, you keep device driver maintenance current to avoid driver-level bugs, and you follow hardware maintenance routines to ensure thermal interfaces stay effective. A robot vacuum has no fans or thermal paste, but its LiDAR dome, wheel encoders, and firmware play exactly the same role: they are the physical interfaces that must stay clean, calibrated, and current for the device to function correctly.
The parallel extends to interface design. Just as a PC’s performance depends on the smart interface protocols linking its components, a robot’s navigation depends on the sensor fusion interface between LiDAR, odometry, and IMU. When one link in that interface degrades, the whole system suffers, regardless of how well the other links perform. Recognizing this pattern lets you diagnose any smart device faster, because you instinctively look for the weakest interface rather than the most obvious component.
This systems-thinking approach is the practical takeaway. You do not need to understand the mathematics of SLAM to fix a lost robot vacuum; you need to understand that every smart device is a chain of sensors, processors, and interfaces, and that the weakest link determines overall reliability. Maintain the links, keep the interfaces clean and calibrated, and the device will perform to spec. Neglect any single link, and the entire system fails in ways that look mysterious but are entirely predictable.
Final Checklist: A 10-Minute Recovery Routine
To close, here is the complete recovery routine in condensed form. Run these steps in order, testing navigation after each one, and stop as soon as normal operation resumes. This sequence resolves the vast majority of robot vacuum navigation failures without any disassembly, and it takes about ten minutes from start to finish.
- Clean the LiDAR dome with a dry microfiber cloth, inspecting for scratches under a light source.
- Inspect and clean the drive wheels, removing hair and debris from the axles and caster wheel.
- Wipe the dock and robot IR sensors, then confirm the dock sits level and unobstructed.
- Delete the corrupted map in the app and run a fresh full mapping pass with clear floors.
- Run the app’s reposition or recalibration routine to re-sync odometry with the LiDAR frame.
- Check for firmware updates and install any pending navigation patches.
- If all else fails, factory reset, reconfigure settings, and contact support with your diagnostic notes.
Bookmark this routine and run it the moment you see the first sign of a positioning error. Catching navigation drift early—when the robot is merely hesitant rather than fully lost—lets you fix the root cause with a quick dome wipe or map reset before the failure compounds into a full map corruption. That proactive habit is the difference between a robot vacuum that quietly cleans for years and one that spends its life lost in a corner of your living room.