Direct Answer: How to Change Oil in a Honda Lawn Mower
To change the oil in a Honda lawn mower, start by running the engine for a few minutes to warm the oil, which ensures it drains more completely. After disconnecting the spark plug wire for safety, position the mower so the drain port is over a collection pan, remove the drain plug or dipstick, and allow the old oil to drain fully. Replace the plug securely, refill the engine with the manufacturer-recommended oil type (typically SAE 30 or 10W-30), check the level with the dipstick, and dispose of the used oil at a certified recycling center.
Understanding the Oil Change Process for Honda Lawn Mowers
Regular maintenance is the cornerstone of owning a reliable piece of outdoor power equipment. For Honda lawn mowers, which are renowned for their durability and engineering precision, one of the most critical maintenance tasks is changing the engine oil. This process is not merely about swapping out fluids; it is about preserving the integrity of the internal combustion engine that powers your mower.
Why is Changing the Oil in My Honda Lawn Mower Important?
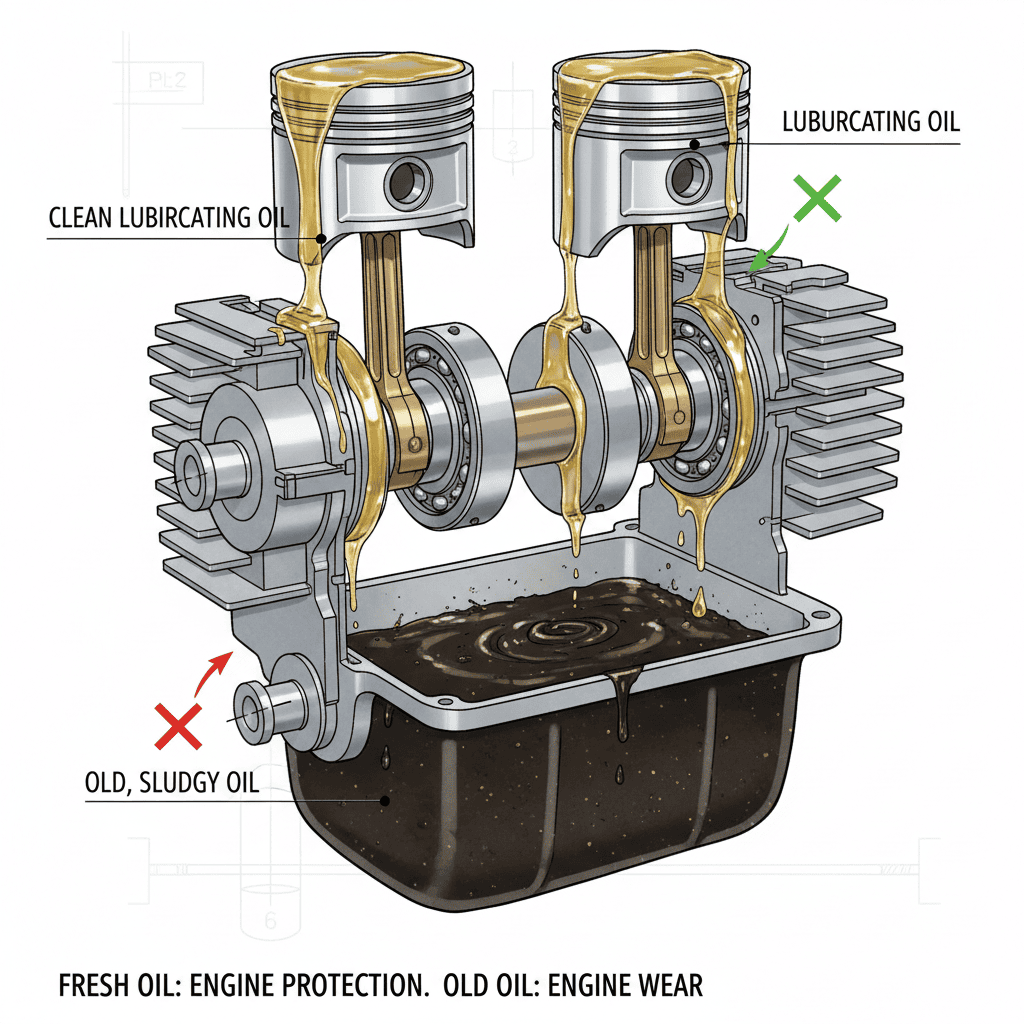
Engine oil serves multiple vital functions within your Honda mower’s engine. Primarily, it acts as a lubricant, reducing friction between moving metal parts such as pistons, crankshafts, and bearings. Without adequate lubrication, these components would grind against each other, generating excessive heat and leading to premature wear or catastrophic engine failure.
Beyond lubrication, oil helps to cool the engine by carrying heat away from critical components. It also acts as a cleaning agent, suspending dirt, metal particles, and combustion byproducts until they can be filtered out or removed during an oil change. Over time, oil breaks down due to thermal stress and contamination. When oil degrades, it loses its viscosity and protective properties, turning into a sludge that can clog engine passages and accelerate wear. Regular oil changes ensure that your engine always operates with clean, effective lubrication.
How Often Should I Change the Oil in My Honda Lawn Mower?
The frequency of oil changes depends on usage patterns and environmental conditions. Generally, Honda recommends changing the oil after the first 5 hours of operation for new engines to remove initial break-in debris. Thereafter, the standard interval is every 50 hours of operation or once per season, whichever comes first. If you use your mower frequently or in dusty conditions, you may need to change the oil more often. Always consult your specific model’s owner’s manual for the precise maintenance schedule, as riding mowers and walk-behind models may have different requirements.
What Are the Benefits of Using the Correct Oil Type?
Using the correct oil type and viscosity is crucial for optimal engine performance. Honda engines are designed to operate efficiently with specific oil grades that match their tolerances and operating temperatures. Using the wrong oil can lead to poor lubrication, increased fuel consumption, harder starting in cold weather, and potential voiding of the warranty. High-quality detergent oils classified as API Service Category SJ or later are typically recommended. These oils provide superior protection against wear and deposit formation, ensuring your Honda mower starts easily and runs smoothly throughout the cutting season.
Key Factors and Preparations Before You Start
Preparation is key to a successful and safe oil change. Gathering the right tools and materials beforehand prevents interruptions and ensures you can complete the task efficiently. Additionally, understanding the safety protocols is essential to prevent injury or damage to the mower.
What Tools and Supplies Do I Need for a Honda Lawn Mower Oil Change?
Before beginning, assemble the following items:
- New Engine Oil: Check your owner’s manual for the recommended type and quantity. Common types include SAE 30 for warmer temperatures and 10W-30 for varying climates.
- Drain Pan: A shallow container capable of holding the entire oil capacity of your engine (usually between 0.5 to 1.5 quarts for walk-behind mowers).
- Funnel: To pour new oil into the engine without spilling.
- Wrench or Socket Set: Required if your model has a bolt-on drain plug. Many Honda walk-behind mowers use a dipstick tube for draining, which requires no tools.
- Rags or Paper Towels: For wiping up spills and cleaning the dipstick.
- Gloves: Nitrile or latex gloves to protect your hands from hot oil and contaminants.
- Container for Used Oil: A sealed, leak-proof container for transporting used oil to a recycling center.
What Type of Oil Does My Specific Honda Lawn Mower Model Require?
Honda generally recommends using high-detergent motor oil that meets API service classification SJ or later. The viscosity grade depends on the ambient temperature:
- SAE 30: Recommended for consistent temperatures above 40°F (4°C). It provides excellent protection in warm weather.
- 10W-30: Suitable for varying temperatures and general use. It offers good performance in both cold starts and warm operation.
- Synthetic Oil: Some newer Honda engines may support synthetic oils, which offer better stability and protection under extreme conditions. Check your manual to confirm compatibility.
Never use multi-grade oils that do not meet the API specification, as they may not provide adequate protection for small air-cooled engines.
What Safety Precautions Must I Take Before Starting?
Safety should always be your top priority. Follow these precautions:
- Disconnect the Spark Plug: Always disconnect the spark plug wire before performing any maintenance. This prevents the engine from accidentally starting while your hands are near moving parts or hot surfaces.
- Allow the Engine to Cool Slightly: While warm oil drains better, hot oil can cause severe burns. Run the engine for a few minutes to warm the oil, then let it sit for 10–15 minutes to cool down to a safe handling temperature.
- Work in a Well-Ventilated Area: Perform the oil change outdoors or in a well-ventilated garage to avoid inhaling fumes.
- Secure the Mower: Ensure the mower is on a flat, level surface to prevent tipping and to ensure accurate oil level checking.
How Do I Properly Prepare the Mower for Oil Drainage?
Position your Honda lawn mower on a flat, level surface. If you have a walk-behind mower with a side discharge, orient the mower so that the oil fill cap/dipstick tube is facing downward or toward the drain pan if your model drains through the fill tube. For models with a dedicated drain plug, position the mower so the plug is accessible and directly over the drain pan. Place cardboard or old newspapers under the mower to catch any accidental drips and protect your driveway or garage floor.
Step-by-Step Guide to Changing the Oil in a Honda Lawn Mower
With your tools ready and safety measures in place, you can now proceed with the oil change. Follow these steps carefully to ensure a thorough and clean process.
Step 1: Warm Up the Engine
Start the Honda lawn mower and let it run for 3 to 5 minutes. This warms the oil, reducing its viscosity and allowing it to flow out more quickly and completely. Cold oil is thick and may leave significant residue in the engine crankcase. After warming, turn off the engine and wait approximately 10 minutes for it to cool slightly. This balance ensures efficient drainage while minimizing burn risk.
Step 2: Disconnect the Spark Plug Wire
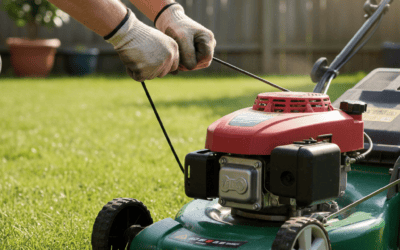
Locate the spark plug wire at the front or side of the engine. Firmly pull the boot off the spark plug terminal. Tuck the wire aside where it cannot accidentally reconnect. This is a critical safety step that isolates the ignition system.
Step 3: Position the Drain Pan
Place your drain pan beneath the oil drain point. For most Honda walk-behind mowers, the oil is drained through the same tube used for the dipstick. For riding mowers or specific commercial models, there may be a dedicated drain plug on the underside of the engine deck. Ensure the pan is positioned correctly to catch all the oil.
Step 4: Drain the Old Oil
For Models Draining via Dipstick Tube:
- Remove the oil filler cap/dipstick.
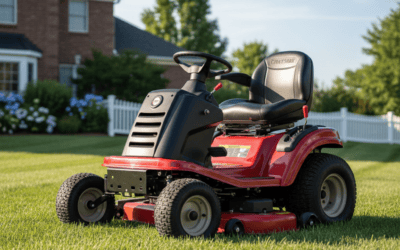
- Tilt the mower carefully so that the oil filler hole is the lowest point. Be cautious not to tilt the mower excessively if it has a carburetor that could flood or if fuel might leak from the tank. For many Honda mowers, tilting it onto its side with the air filter facing up is safe, but consult your manual to confirm.
- Allow the oil to drain completely into the pan. This may take several minutes. Gently rocking the mower can help dislodge trapped oil.
For Models with a Drain Plug:
- Use the appropriate wrench or socket to loosen the drain plug.
- Remove the plug by hand, allowing the oil to flow into the pan.
- Inspect the washer on the drain plug. If it is damaged or worn, replace it with a new one to ensure a proper seal.
- Once the oil has stopped dripping, reinstall the drain plug and tighten it securely. Do not overtighten, as this can strip the threads.
Step 5: Refill with New Oil
Return the mower to a level position. Insert a funnel into the oil fill tube. Pour the recommended amount of new oil into the engine. Refer to your owner’s manual for the exact capacity, which is typically around 0.58 quarts (0.55 liters) for many Honda GCV series engines, but can vary. It is better to add slightly less than the full amount initially, then check the level.
Step 6: Check the Oil Level
Insert the dipstick into the fill tube without screwing it in (if it is a screw-in type, just rest it on the threads). Pull it out and check the oil level. The oil should be between the upper and lower limits marked on the dipstick. If the level is low, add small amounts of oil and recheck until it reaches the full mark. Do not overfill, as excess oil can cause smoking, hard starting, and potential engine damage. Once the level is correct, securely reinstall the dipstick or oil cap.
Step 7: Reconnect the Spark Plug
Push the spark plug wire boot back onto the spark plug terminal until it clicks or feels secure. Ensure the connection is tight to prevent misfires.
Post-Change Steps and Maintenance Tips
Completing the oil change is not the end of the process. Proper disposal and final checks are essential for environmental responsibility and equipment longevity.
How Should I Dispose of the Used Oil Responsibly?
Used motor oil is a hazardous waste product that can contaminate soil and water sources if disposed of improperly. Never pour used oil down drains, on the ground, or into the trash. Instead, pour the cooled used oil from your drain pan into a sealed, leak-proof container, such as the empty bottles from your new oil. Take this container to a local automotive parts store, service station, or municipal recycling center that accepts used oil. Most facilities accept used oil for free. Recycling used oil allows it to be re-refined into new lubricants or processed into fuel, conserving natural resources.
What Should I Do After Changing the Oil to Ensure Everything Is Working Correctly?
After refilling and reconnecting the spark plug, start the mower and let it idle for a minute. Listen for any unusual noises and check for leaks around the drain plug or fill cap. If you see smoke, it may indicate that oil was spilled on the engine exterior during filling; wipe it off with a rag. If the smoke persists from the exhaust, verify that you did not overfill the engine. Take the mower for a short test run to ensure it operates smoothly. After the test run, turn off the engine and check the oil level one more time, as some oil may have circulated into the filter or galleries, potentially lowering the dipstick reading slightly.
Are There Any Additional Maintenance Tasks I Should Perform During an Oil Change?
An oil change is an excellent opportunity to perform other routine maintenance tasks:
- Air Filter Inspection: Check the air filter for dirt and debris. A clogged air filter restricts airflow, reducing engine performance and increasing fuel consumption. Clean or replace it if necessary.
- Spark Plug Check: Remove the spark plug and inspect the electrode. If it is fouled, corroded, or worn, replace it. A fresh spark plug ensures efficient combustion and easier starting.
- Blade Inspection: Check the mower blade for sharpness and damage. Dull blades tear grass rather than cutting it, leading to an unhealthy lawn. Sharpen or replace the blade as needed.
- General Cleaning: Wipe down the engine exterior to remove grass clippings and oil residue. Buildup can trap heat and pose a fire hazard.
By combining these tasks with your oil change, you maximize efficiency and ensure your Honda lawn mower remains in peak condition for the entire season.
Frequently Asked Questions
Can I use automotive oil in my Honda lawn mower?
While automotive oil may seem similar, it is not always ideal for small air-cooled engines like those in Honda lawn mowers. Automotive oils often contain friction modifiers designed for wet clutches in cars, which can cause slipping in mowers with integrated transmission systems. Additionally, small engines operate at higher temperatures and different RPMs than car engines. It is best to use oil specifically labeled for small engines or high-detergent motor oil meeting API SJ or later specifications, as recommended by Honda.
What happens if I overfill the oil in my Honda lawn mower?
Overfilling the engine with oil can cause several problems. Excess oil can foam, leading to inadequate lubrication and increased engine wear. It can also create pressure that forces oil past seals, causing leaks. In severe cases, oil may enter the combustion chamber, resulting in heavy white smoke from the exhaust, fouled spark plugs, and difficult starting. If you overfill, you must drain the excess oil immediately to prevent engine damage.
Do I need to change the oil filter when I change the oil?
Most Honda walk-behind lawn mowers do not have a replaceable oil filter; they rely on the oil screen and regular oil changes to keep the engine clean. However, some larger Honda riding mowers and commercial zero-turn models are equipped with spin-on oil filters. If your model has an oil filter, it should be replaced every time you change the oil, or at least every other oil change, depending on the severity of use. Consult your owner’s manual to determine if your specific model includes an oil filter and the recommended replacement interval.
Is it better to drain the oil through the dipstick tube or the drain plug?
Both methods are effective, but draining through the dipstick tube is common for many Honda walk-behind mowers because it is simple and requires no tools. However, draining through a dedicated drain plug (if equipped) is often cleaner and allows for a more complete removal of sediment that may settle at the bottom of the crankcase. If your model has a drain plug, using it is generally preferred. If you must tilt the mower to drain through the dipstick tube, ensure you tilt it in the correct direction (usually with the air filter up) to prevent fuel and oil from entering the carburetor or air filter housing.