Changing the oil in your lawn mower is one of the most important maintenance tasks you can perform to keep your engine running smoothly and extend its lifespan. The process is straightforward: warm up the engine by running it for a few minutes, then turn it off and disconnect the spark plug wire for safety. Place a drain pan under the oil drain location (either a plug under the deck or a dipstick tube, depending on your mower model), remove the drain plug or tilt the mower to drain oil, and let all old oil flow out completely. Replace the drain plug, then refill with the correct oil type and capacity specific to your engine brand—common grades include SAE 10W-30, 5W-30, or SAE 30, typically in volumes ranging from 0.5 to 0.8 quarts for walk-behind mowers and more for riding models. After reinstalling the dipstick, run the engine briefly, recheck the level, and dispose of used oil responsibly at a local recycling center.
Gather Tools and Prepare the Mower
Before you begin an oil change, assemble the necessary tools and materials to make the job efficient and safe. You’ll need a socket set or wrench to fit your drain plug, a drain pan large enough to catch all the old oil without spilling, fresh oil in the correct type and amount for your engine, a new oil filter if your mower has one, and absorbent materials like rags or paper towels for cleanup. Safety is paramount: wear work gloves to protect your skin from hot oil, and have your owner’s manual nearby to confirm oil type, capacity, and drain location specific to your mower model.
Preparing the mower properly ensures safer, more effective drainage. Start by running the engine for three to five minutes to warm the oil, which makes it flow more freely and carries out more contaminants. Warm oil drains faster and more completely than cold oil. Once you’ve shut off the engine, disconnect the spark plug wire by gently twisting and pulling it away from the spark plug—this prevents accidental starting while you work. Allow the engine to cool slightly so the oil is warm but not scalding. Position the mower on level ground and ensure it cannot roll or tip during the process; if working with a riding mower, engage the parking brake. Keep the area well-lit and clear of obstacles so you can work safely and see the drain plug or dipstick tube clearly.
Find the Drain Method for Your Mower Type
The location and method for draining oil depends on your specific mower design. Walk-behind push mowers typically have an oil drain plug located on the underside of the engine block, usually accessible by tipping the mower on its side—tip it so the carburetor side faces up to prevent oil from entering the air filter. Some walk-behind models may have a drain plug accessible from the top or side without tipping. Riding mowers and zero-turn models generally have a drain plug underneath the engine, sometimes requiring you to remove a skid plate or access panel first. A few older or simpler models lack a drain plug entirely and require you to carefully tilt or invert the mower to pour oil out through the filler tube—consult your manual before attempting this approach, as improper tipping can damage the engine.
Check your owner’s manual or search online for your specific engine brand and model number to confirm the exact drain location and method. Common engine manufacturers like Briggs & Stratton, Kohler, and Honda design their small engines with drain plugs, but positioning varies. If you cannot locate the drain plug after a careful inspection, refer to the manual or contact the manufacturer’s support line rather than guessing. Knowing the correct drain method prevents unnecessary damage and ensures complete oil removal.
Drain the Old Oil
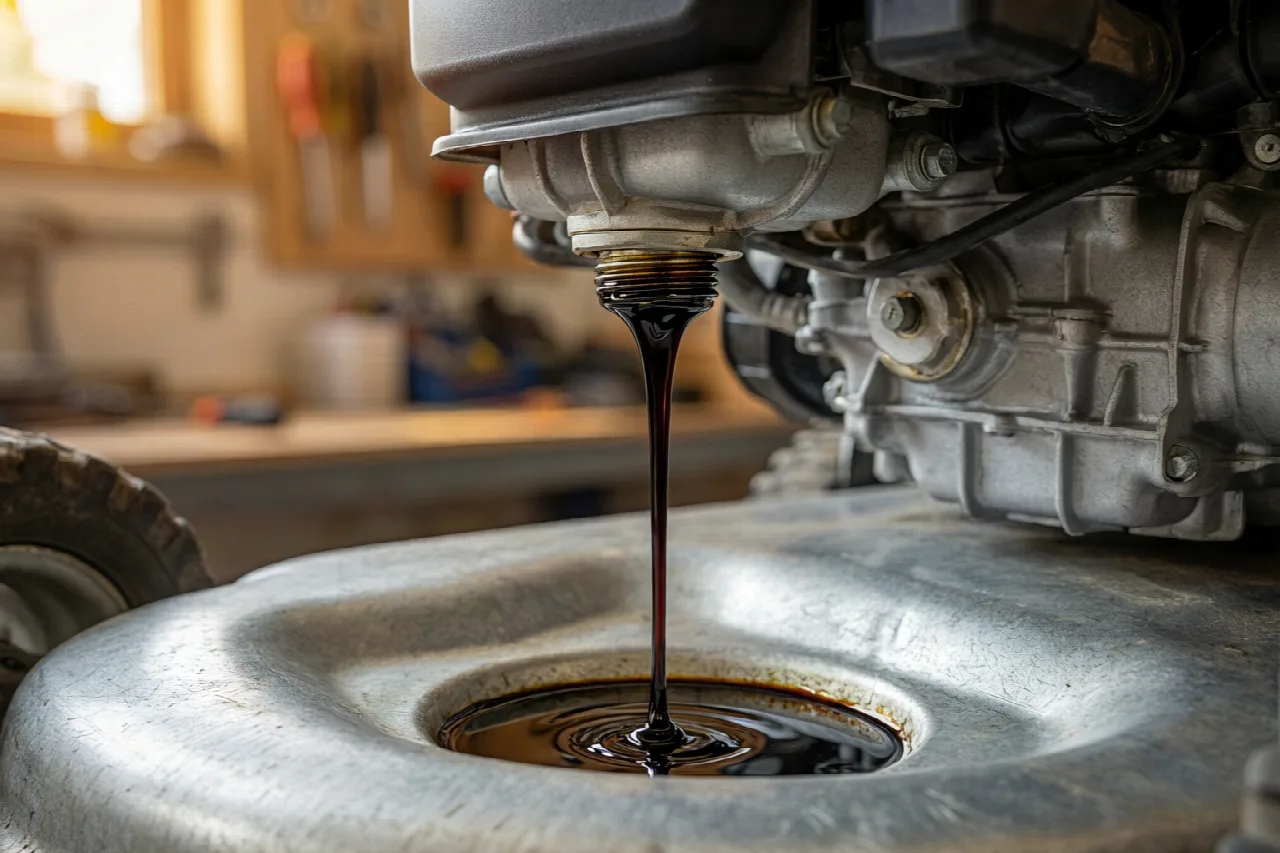
Position your drain pan directly under the drain plug or oil outlet before removing anything. Place the pan so it catches oil splashing or dripping; position it slightly to one side to make it easier to remove once full. Slowly unscrew the drain plug by hand if possible, or use your wrench if it’s tight. If the plug is stuck, apply penetrating oil around the base and wait a few minutes, then try again with steady pressure rather than sudden force—stripping the threads will create a larger problem. As soon as the plug is loose enough to remove by hand, carefully unscrew it the rest of the way, being prepared for hot oil to drip from the threads.
Allow the oil to drain completely into the pan. This typically takes five to ten minutes depending on engine size and oil temperature. You’ll know draining is complete when oil stops dripping consistently and only occasional drops fall. While waiting, wipe the drain plug threads clean with a rag to remove any debris or old sealant. Inspect the plug for damage; if it’s stripped, corroded, or damaged, replace it with a new one of the same size. Some drain plugs have a washer or crush ring that should be replaced each time—check your manual or the plug itself to see if replacement components came with your mower or are recommended for your engine brand.
Choose the Right Oil and Refill
Selecting the correct oil is critical for engine performance and longevity. Consult your owner’s manual or the engine manufacturer’s specifications—your engine brand and model number are usually stamped on the engine block or listed in your manual. Briggs & Stratton engines commonly use SAE 10W-30 or 5W-30 for general use, while some older or high-temperature applications may specify SAE 30. Kohler engines typically recommend SAE 10W-30 for most climates, though some models specify different grades depending on operating temperature ranges. Honda small engines often use 10W-30 as well, but always verify with your specific model. Oil viscosity matters: using the wrong grade can affect engine efficiency, starting ability, and component wear.
Check the oil capacity specified in your manual—walk-behind mower engines typically hold 0.5 to 0.8 quarts, while riding mower engines often hold 1.5 to 2 quarts or more. Use only the recommended capacity; overfilling can cause smoking, fouled plugs, and engine damage, while underfilling leads to inadequate lubrication and wear. Begin refilling by pouring about three-quarters of the recommended amount, then stop and check the level using the dipstick. Insert the dipstick fully into the fill tube, remove it, and observe where the oil level reaches on the stick—it should be between the minimum and maximum marks. Add small amounts of oil until the level reaches the full mark, rechecking after each addition. Reinstall the dipstick securely in the fill tube.
Final Checks and Oil Disposal
After refilling, start the engine and let it run at idle for one to two minutes to circulate the fresh oil through the system. Turn off the engine, wait a minute for oil to settle, then remove the dipstick again and recheck the oil level. It may be slightly lower than immediately after filling, as oil fills galleries and passages inside the engine; add a bit more if needed to bring it back to the full mark. This final check ensures adequate lubrication without overfilling. Once satisfied with the level, reconnect the spark plug wire firmly onto the spark plug—you should hear a click when it seats properly.
Used lawn mower oil must be disposed of responsibly. Never pour old oil down a drain, into the soil, or into a storm drain—it contaminates groundwater and harms ecosystems. Instead, collect the used oil in a sealed container and take it to a local recycling center, quick-lube facility, or hazardous waste collection event; most accept used oil for free or a small fee. Many retailers that sell oil also accept used oil for recycling. Regular oil changes extend your mower’s engine life and maintain performance; check your manual for recommended intervals, which typically range from every 50 operating hours to annually for homeowners, depending on your specific engine and usage patterns.
For more hands-on benchmarks and buying recommendations, consult our guides on heavy-duty chainsaw buyer guide, as well as high-CFM commercial leaf blower guide.