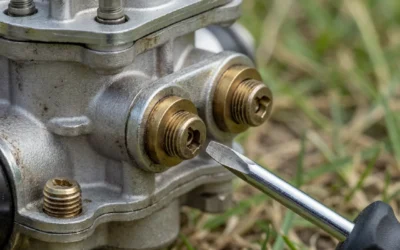
A dirty carburetor on your Briggs and Stratton lawn mower can cause starting problems, rough idling, and poor engine performance. Cleaning the carburetor is a manageable maintenance task that restores fuel flow and combustion efficiency without requiring professional service. This guide walks you through identifying when cleaning is needed, gathering the right tools, safely removing and disassembling the carburetor, performing a thorough cleaning, and reinstalling it correctly.
When Does a Briggs and Stratton Carburetor Need Cleaning?
Several symptoms indicate that your Briggs and Stratton carburetor needs attention. A mower that struggles to start, especially after sitting idle for several months, often has a clogged carburetor. Rough idling, hesitation during acceleration, or an engine that dies shortly after starting are common warning signs. Black smoke from the exhaust or an unusually rich smell suggest fuel system issues related to carburetor buildup.
Stale fuel is a primary culprit behind carburetor problems. When gasoline sits unused in the tank and carburetor, it oxidizes and leaves varnish deposits that coat the fuel passages and jets. This sticky residue blocks the precise fuel metering that the carburetor requires. If your mower has been stored without fuel stabilizer for several months, a carburetor cleaning is often the first troubleshooting step.
In most cases, cleaning the carburetor resolves these issues and returns the engine to normal operation. However, if the carburetor has internal corrosion, a leaking or damaged needle valve, or severely deteriorated gaskets, replacement may be more practical than repeated cleaning attempts.
Tools and Safety Precautions
Gather the following tools before beginning: a socket set or adjustable wrench, a Phillips and flat-head screwdriver, carburetor cleaner (spray or soaking type), compressed air or a hand-operated air pump, clean rags or paper towels, a small soft wire or brass brush, a container for small parts, and a new carburetor gasket kit designed for your engine model.
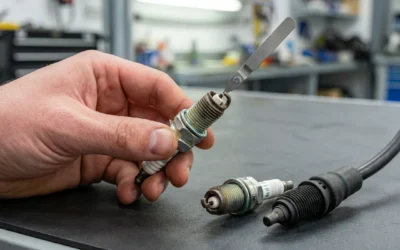
Safety comes first when working with fuel systems. Disconnect the spark plug wire from the spark plug to prevent accidental engine startup. Work outdoors or in a well-ventilated area because carburetor cleaner has strong fumes. Do not smoke or use open flames nearby. Wear safety glasses to protect your eyes from debris and cleaner spray. Allow the engine to cool completely before disassembly if it has been running.
Disconnecting the spark plug wire is essential because it prevents the engine from firing if the flywheel is accidentally turned during disassembly. This simple step eliminates the risk of unexpected startup or hand injuries. Never assume the mower is safe to work on without this precaution.
Step-by-Step Carburetor Removal
Begin by draining the fuel tank or, at minimum, the carburetor bowl. Locate the fuel line running from the tank to the carburetor and carefully disconnect it by loosening the hose clamp with a screwdriver or wrench. Place a container beneath to catch any residual fuel. If the fuel line is attached to the carburetor with a barbed fitting, gently pull or twist it to remove it.
Next, remove the air filter assembly, which typically consists of a cover, filter element, and mounting bracket. Loosen the bolts or clips holding these components and set them aside. With the air filter removed, you now have clear access to the carburetor. Locate the carburetor mounting bolts (usually two to four) and loosen them with the appropriate wrench or socket. If the carburetor is difficult to remove, try gently rocking it side to side rather than forcing it.
Once loose, carefully lift the carburetor away from the intake manifold. Disconnect the throttle cable and, if present, the choke cable by loosening their retaining clips or removing the cotter pins. If your mower has a fuel shutoff solenoid, disconnect its electrical connector. Place the carburetor on a clean work surface and inspect the intake gasket; if it is damaged or crumbly, note that you will need a replacement when reassembling.
Cleaning the Carburetor Jets and Passages
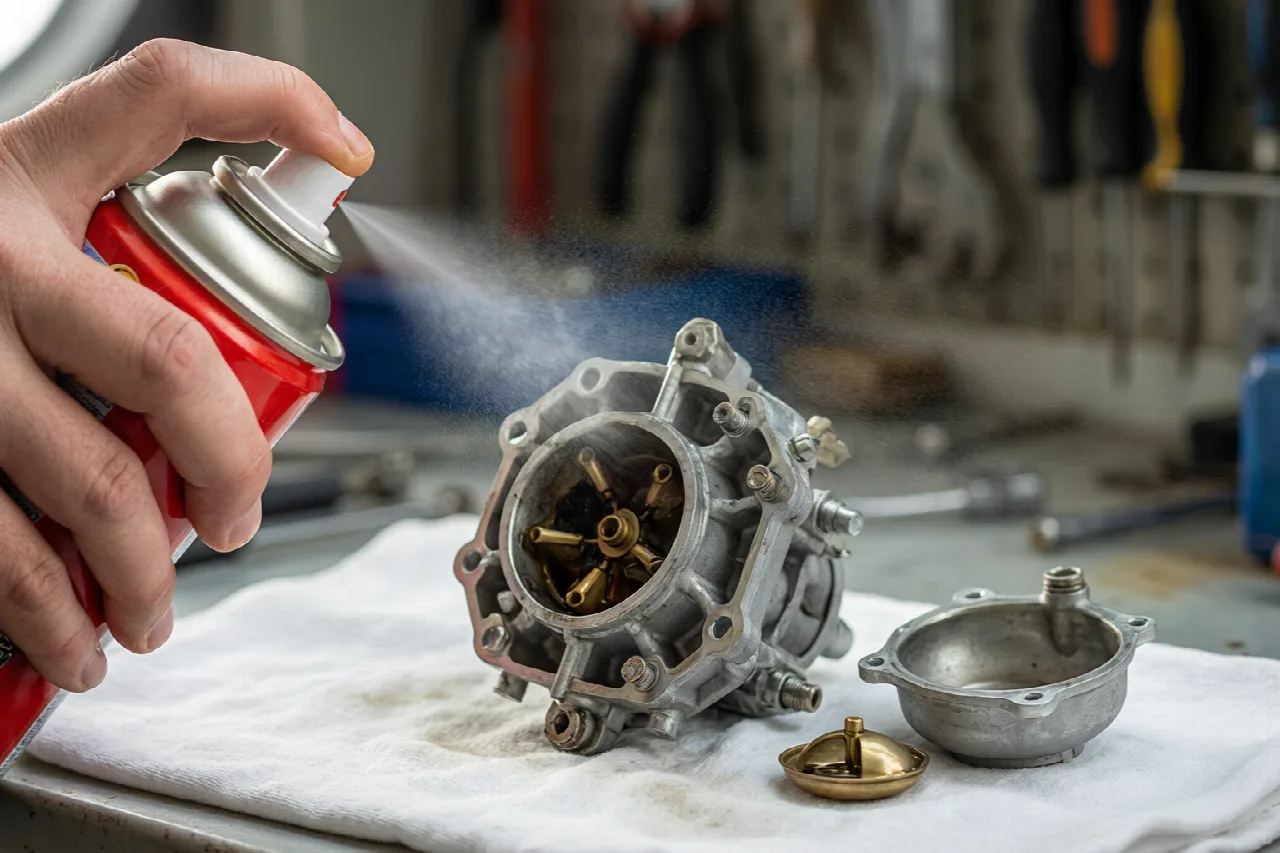
Begin disassembly by removing the float bowl. This is typically a single bolt located at the bottom of the carburetor; remove it and carefully lower the bowl. Inside, you will find the float and the needle valve. The float bowl collects sediment and varnish, so empty any old fuel into a container and rinse the bowl with carburetor cleaner.
Inspect the float and needle valve for cracks or deposits. If the needle is sticky or the float appears damaged, replacement through a carburetor rebuild kit may be necessary. Set the float assembly aside in a clean container to prevent loss of small parts.
With the float bowl removed, you can access the internal passages. Spray carburetor cleaner directly into the passages, jets, and orifices. Pay particular attention to the main jet (the larger central opening) and the idle passages (the smaller holes around the perimeter). Use a small soft brass wire, toothpick, or compressed air to gently clear any blockages. Do not use steel wire or forceful tools because they can enlarge the precise orifices and damage the carburetor. If debris persists, apply more cleaner and allow it to soak for a few minutes before repeating.
For stubborn varnish buildup, you may soak the carburetor body (without the float and needle valve) in a container of carburetor cleaner for several hours or overnight. Follow the cleaner manufacturer’s instructions for soaking time and safety precautions. After soaking, use compressed air or a hand pump to blow remaining cleaner and debris out of all passages.
Reassembly and Reinstallation
Once all passages are clean and dry, reverse the disassembly process. Reinstall the float and needle valve into the float bowl, then carefully position the bowl back onto the carburetor body. Insert the retaining bolt and tighten it snugly without over-tightening, which can crack the casting.
Before reinstalling the carburetor on the engine, replace the intake gasket with a new one from a gasket kit. This prevents fuel and air leaks that would cause starting problems and rough running. Align the carburetor with the intake studs, insert the mounting bolts, and tighten them evenly in a cross pattern (similar to tightening wheel lugs) to ensure an even seal.
Reconnect the throttle cable and choke cable, ensuring they move freely and return to their resting positions without binding. Reattach the fuel line, making sure the connection is tight and the hose clamp is secure. If your engine has a fuel shutoff solenoid, reconnect its electrical connector. Finally, reinstall the air filter assembly and its cover.
Troubleshooting Common Issues
After reinstallation, reconnect the spark plug wire and attempt to start the mower. If it starts and runs smoothly, the cleaning was successful. If the engine still runs rough, hesitates, or won’t stay running, a few adjustments may help. Check that all fuel and air connections are tight and that there are no leaks around the carburetor gasket.
If the mower starts but idles poorly, you may need to adjust the idle speed or mixture screws. Consult your engine’s owner manual for the location and procedure for these adjustments; they are typically on the carburetor body. Small adjustments in quarter-turn increments often restore smooth idle. If the engine still misbehaves after cleaning and adjustment, the carburetor may have internal damage that cleaning cannot resolve, and replacement would be the next step.