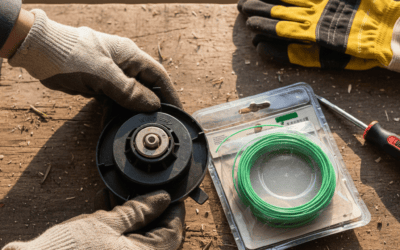
Quick Answer: How to Remove a Weed Eater Head
To remove a weed eater head, first disconnect power by unplugging the device or removing the spark plug wire (gas models). Locate the retaining bolt at the base of the head where it connects to the shaft. Using the correct wrench or hex key, turn the bolt counterclockwise—though some models use reverse threads and turn clockwise instead. Once loose, unscrew by hand and lift the head away. The process takes 5–10 minutes and requires only basic tools.
Safety Precautions Before Removing a Weed Eater Head
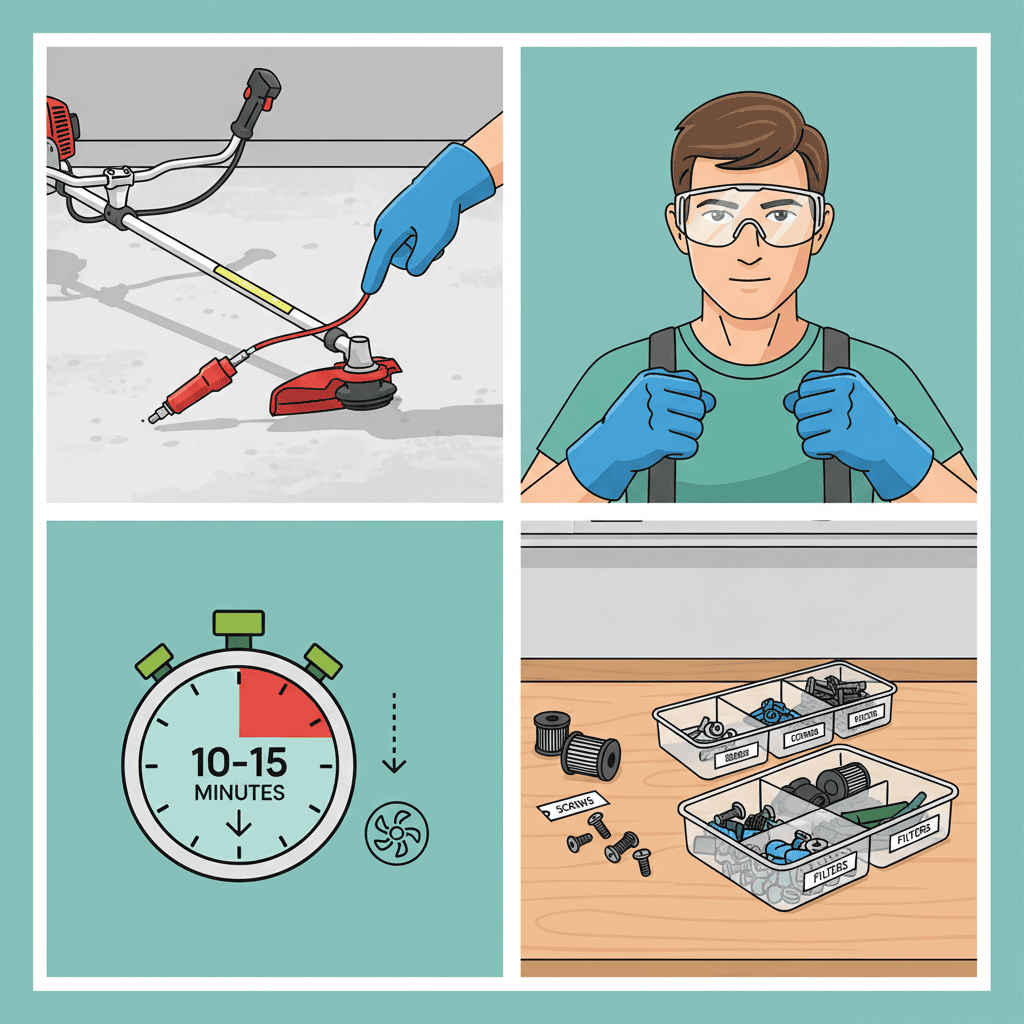
Working on power tools safely starts with eliminating the risk of accidental startup:
- Disconnect power completely. For gas models, remove the spark plug wire. For corded electric trimmers, unplug from the outlet. For battery-powered units, remove the battery pack entirely.
- Allow the engine to cool. If you’ve been using a gas weed eater, wait 10–15 minutes before working on it. The head, shaft, and engine housing can reach high temperatures.
- Wear safety glasses and work gloves. Protect your eyes from debris and your hands from sharp edges on the trimmer head and any metal burrs on the shaft.
- Work on a clean, flat surface. Use a workbench or table to prevent bolts and small parts from rolling away and getting lost.
- Keep the manual nearby. Manufacturer instructions vary by model; reference your specific model’s documentation to confirm bolt direction and specifications.
Tools and Materials You’ll Need
Head removal requires minimal equipment, though having the right size tool prevents damage and frustration:
- Adjustable wrench or socket set. Most weed eater bolts range from 8mm to 16mm. An adjustable wrench works for any size, but a socket that fits snugly reduces the risk of stripping the bolt.
- Hex key set (Allen wrench). Some models, especially battery-powered units from brands like DeWalt and Makita, use hex bolts instead of traditional fasteners.
- Penetrating oil (optional but helpful). If the bolt hasn’t been removed in years or shows rust, spray it with penetrating oil like WD-40 and wait 10–15 minutes to loosen it.
- Clean cloth or brush. Remove dirt and grass debris from the bolt and surrounding area before starting work.
- Owner’s manual or manufacturer documentation. This confirms the correct bolt direction (standard or reverse-threaded) for your specific model.
How to Remove the Head on Gas-Powered Weed Eaters
Gas trimmers are the most common type and follow a straightforward removal process:
- Stop the engine and let it cool. Turn off the weed eater and wait 10–15 minutes for the engine to cool completely.
- Remove the spark plug wire. Locate the spark plug on the engine (usually visible on top or side). Gently pull the wire cap straight off the plug terminal. This prevents accidental starting.
- Locate the retaining bolt. The head attaches to the drive shaft via a single bolt at the center base. Look for a bolt head or hex socket at the point where the trimmer head meets the shaft.
- Determine bolt direction. Check your manual or look for markings on the head or shaft. Most gas models use standard threading (turn counterclockwise to loosen), but some Echo, Stihl, and Husqvarna models use reverse threads (turn clockwise to loosen). Using the wrong direction can damage the bolt.
- Apply penetrating oil if stuck. Spray the bolt liberally with penetrating oil and wait 10–15 minutes if it appears corroded or hasn’t been removed recently.
- Loosen the bolt. Insert the correct wrench or socket and turn firmly in the correct direction. Use steady, even pressure rather than sudden force.
- Unscrew by hand. Once loose, finish unscrewing the bolt by hand and set it aside in a safe place—do not lose it.
- Lift the head away. Gently pull the head straight up and away from the shaft. Some heads may need slight twisting as they separate.
How to Remove the Head on Electric (Corded) Weed Eaters
Corded electric trimmers follow nearly identical steps to gas models, with one critical safety difference:
- Unplug the trimmer. Locate the power cord and pull the plug from the wall outlet. Never work on a corded electric tool while it remains plugged in, even if turned off.
- Inspect the cord for damage. Before beginning, check the power cord for cuts, cracks, or exposed wires. Do not use a damaged cord.
- Locate and loosen the retaining bolt. Follow the same steps as gas models: find the bolt at the head base, determine its direction (nearly all corded models use standard left-hand threading), and turn counterclockwise with the appropriate wrench or hex key.
- Remove the bolt and lift the head. Unscrew fully by hand and pull the head straight up and away from the shaft.
Note: Corded trimmers typically have less powerful motors than gas models, so their bolts are often easier to loosen. If you encounter resistance, apply penetrating oil and wait rather than forcing it.
How to Remove the Head on Battery-Powered Weed Eaters
Battery-powered trimmers from brands like DeWalt, Makita, and Ryobi use modern fastener designs and are often the easiest to work on:
- Remove the battery pack. Locate the battery on the handle or rear of the unit and press the release button or lever. Pull the battery straight out and set it aside.
- Locate the head retaining bolt or clip. Battery models sometimes use a traditional bolt, but many use a quick-release clip or lever system. Check your manual to identify which system your model uses.
- For bolt systems: Most battery models use standard hex bolts. Turn counterclockwise with the appropriate hex key or wrench.
- For clip systems: Press or pull the release clip or lever as directed in your manual. The head may separate with minimal effort or require a gentle pull.
- Remove the head. Once the fastener is disengaged, lift the head straight up and away from the shaft.
Advantage: Battery-powered models rarely experience corroded or stuck bolts because they’re newer technology. Head removal typically takes less than 5 minutes.
Troubleshooting Stuck or Difficult Heads
If the head refuses to come loose, try these techniques before giving up:
- Apply penetrating oil and wait. Spray the bolt and surrounding area generously with penetrating oil (WD-40, PB Blaster, or equivalent). Wait 15–30 minutes, then try again. Repeat if needed.
- Use a larger or longer wrench. Increased leverage often breaks stuck fasteners loose. An adjustable wrench may slip; a proper socket with a breaker bar provides better control.
- Apply heat (gas models only). Use a heat gun or hair dryer to warm the bolt head and surrounding metal for 2–3 minutes. Heat causes metal to expand slightly and can release corrosion. Never use an open flame.
- Tap the bolt gently with a hammer. Tap around the bolt head with a rubber mallet or hammer. Vibration can break the corrosion seal. Follow with another attempt to turn the wrench.
- Check the bolt direction. Verify your manual’s specifications. Turning the wrong direction on a reverse-threaded bolt will tighten it further. Check online forums for your specific model if you’re unsure.
- Seek professional help if severely stuck. If the bolt breaks or refuses to budge after these attempts, take the trimmer to a small-engine repair shop or authorized dealer. Forcing a stuck bolt risks stripping threads or breaking the shaft.
Understanding Head Types: Heads vs. Spools vs. Bump Feed Systems
Weed eater heads come in different designs, but head removal process is similar across all types:
- Fixed-spool heads. The cutting line wraps around a permanent spool. The entire assembly attaches via the retaining bolt. Removal is straightforward—the spool comes with the head.
- Bump-feed heads. These allow you to advance line by lightly tapping the head on the ground. The head includes a spring-loaded mechanism inside but removes the same way as fixed spools.
- Automatic-feed heads. The line advances automatically as it wears. Like bump-feed systems, they attach via the retaining bolt and remove identically.
- Modular spool systems. Some newer models allow spool replacement without removing the entire head. Check your manual—if your model has a removable spool cover, you may only need to remove that section instead of the whole head.
Regardless of type, the head itself (the entire cutting mechanism assembly) attaches to the drive shaft with a single bolt. Removal steps remain the same.
Common Reasons for Removing a Weed Eater Head
Understanding why you need to remove the head helps ensure you’re performing the right procedure:
- Replace a worn or damaged head. If the head cracks, the spool breaks, or the cutting line cannot be reloaded, replacing the entire head is often more economical than repairing it.
- Reload cutting line. Some designs require head removal to reload line, though many modern bump-feed heads allow line replacement without removing the head. Check your manual first.
- Repair the drive shaft. Shaft damage or bearing problems may require head removal for access or shaft replacement.
- Clean or maintain the shaft. Grass, dirt, and debris accumulate around the shaft base. Removing the head allows thorough cleaning.
- Store the trimmer for off-season. Some users remove the head to reduce the trimmer’s footprint for winter storage.
- Troubleshoot vibration or noise. A loose or damaged head causes excessive vibration. Removal and inspection can identify the problem.
How to Reinstall the Head After Removal
Reassembly is essentially the reverse of removal, but proper installation is critical:
- Inspect the shaft and bolt. Before reinstalling, examine the drive shaft for damage, dirt, or corrosion. Wipe it clean with a cloth. Check the bolt for stripped threads or damage.
- Align the head with the shaft. Most heads have a keyway or flat section that must align with a corresponding key or flat on the shaft. Align these before sliding the head on.
- Slide the head onto the shaft. Push the head straight down until it bottoms out against the shaft collar or stop.
- Thread the bolt by hand first. Screw the bolt in by hand to ensure it threads correctly and no cross-threading occurs.
- Tighten with a wrench. Turn the bolt clockwise (for standard threading) or counterclockwise (for reverse threading) until snug. Tighten firmly but do not over-tighten—aim for hand-tight plus a quarter turn, or follow your manual’s torque specification if provided.
- Double-check bolt security. Give the head a gentle tug to confirm it’s secure. There should be no wobbling or play.
- Reconnect power (if applicable). Reinstall the spark plug wire on gas models or reconnect the battery on cordless models. Plug in corded electrics.
- Test at low speed. Run the trimmer briefly at low speed to confirm the head is secure and balanced. Listen and feel for vibration that might indicate loose installation.
Frequently Asked Questions
Can I remove the head without tools?
Not typically. The retaining bolt requires a wrench or hex key to loosen. Attempting to loosen it by hand risks stripping the bolt or your hands. Proper tools are essential and inexpensive. An adjustable wrench or basic hex key set costs under $15.
What if I can’t find the retaining bolt?
The bolt is always at the point where the head connects to the shaft. Look directly beneath the head at the center of the assembly. On some models, dirt or grass buildup obscures it—use a brush to clean the area first. If you still cannot locate it, consult your owner’s manual or search online for your specific model number.
Is the bolt direction the same on all weed eaters?
No. Most models use standard left-hand threading (counterclockwise to loosen), but some Stihl, Echo, and Husqvarna models use reverse threading (clockwise to loosen). Always check your manual or model documentation before loosening the bolt. Turning the wrong direction can damage the bolt and make removal harder.
How often should I remove and clean the head?
Head removal for cleaning is optional and depends on usage. For frequent users (weekly trimming), removing and cleaning the head once per season helps remove built-up grass and debris. For occasional users, annual or bi-annual cleaning is sufficient. Head removal is most commonly done when replacing the head, reloading line, or troubleshooting problems.