Direct Answer: How to Sharpen Riding Mower Blades
Sharpening riding mower blades requires you to disconnect the mower, safely remove each blade, use a metal file or angle grinder to restore the cutting edge at a 30–45 degree angle (depending on manufacturer specs), check blade balance with a balancer tool, and reinstall the blades with proper torque. Blade balance is critical on riding mowers—unbalanced blades cause dangerous vibration, deck damage, and premature wear. Most blades need sharpening every 20–40 hours of mowing or when they appear visibly dull.
Why Blade Sharpness Matters for Riding Mowers
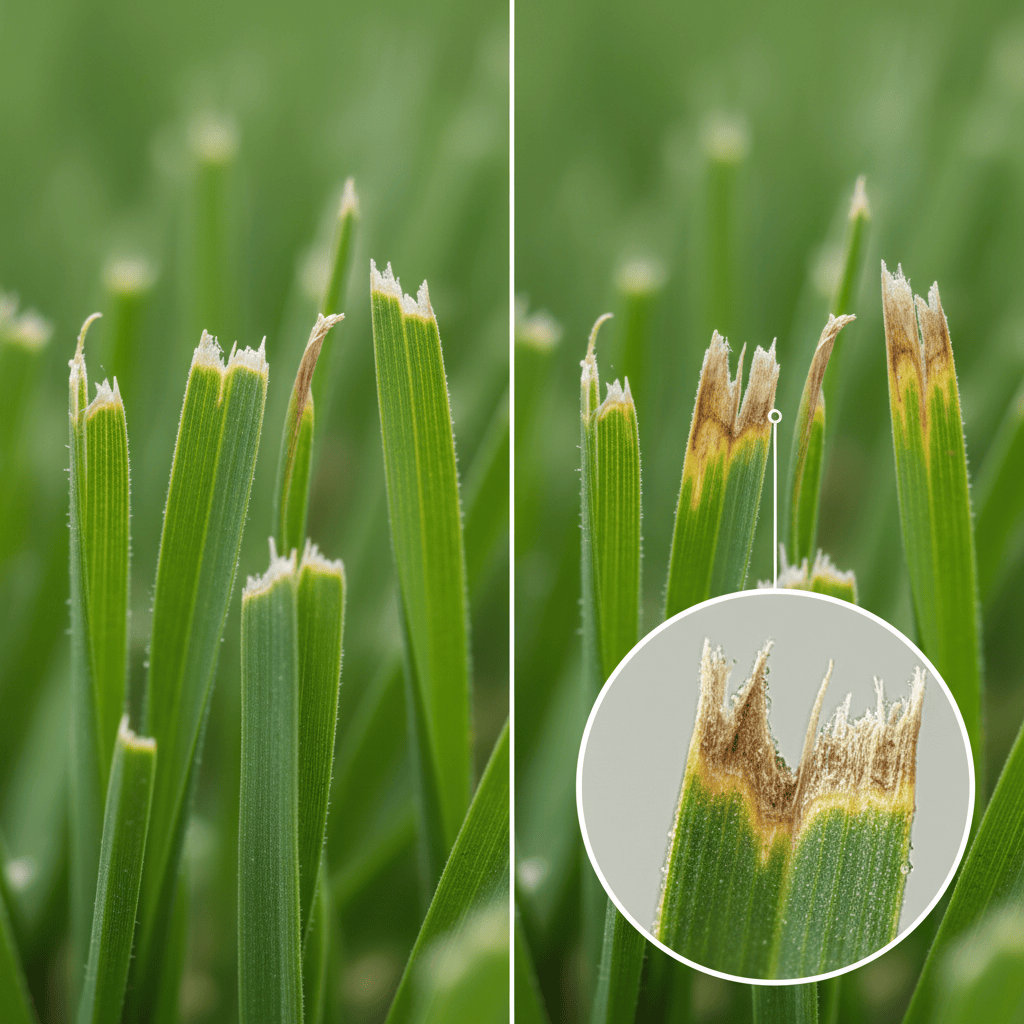
Dull blades don’t cut grass cleanly—they tear and shred the grass tips, creating brown, ragged edges that invite disease and stress the plant. On a riding mower, dull blades also increase engine load, forcing the mower to work harder and burning more fuel. Additionally, a dull blade can cause uneven cut heights across the deck, leaving visible stripes in your lawn.
More critically, a dull blade often becomes unbalanced during use, as metal loss occurs unevenly. Unbalanced blades spinning at 3,000+ RPM create severe vibration that damages the spindle bearings, cracks the deck, and eventually causes blade failure mid-mow. Riding mowers are far more sensitive to blade imbalance than push mowers because the blades spin faster and the deck structure is rigidly mounted.
Tools and Safety Equipment You’ll Need
- Wrench or socket set – To remove blade bolts (size varies by mower; check your manual)
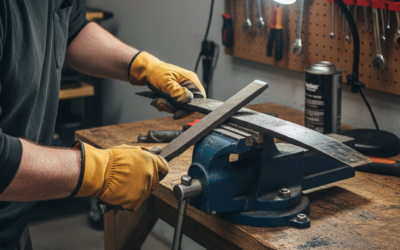
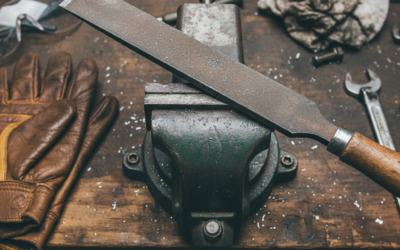
- Metal file – A 10–12 inch mill file or flat file for hand sharpening, or a 4–6 inch bastard-cut file for detail work
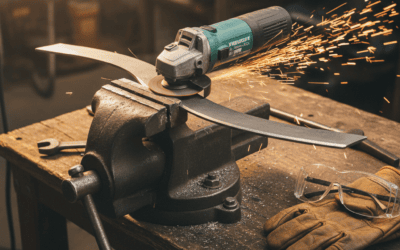
- Angle grinder (optional) – Faster than filing but requires experience to avoid removing too much material or changing blade angle
- Blade balancer tool – A cone-shaped or magnetic balancer that mounts on a stand; essential for detecting imbalance
- Blade marking pen or paint – To label blades so you reinstall them in their original orientation
- Work gloves – Heavy leather or cut-resistant gloves
- Eye protection – Safety glasses mandatory when grinding or filing
- Hearing protection – If using an angle grinder
- Disconnect tool or spark plug wire caps – To ensure the mower cannot start during blade work
Safety note: Never work on blades while the engine is running or warm. Wait at least 15 minutes after shutdown, and disconnect the spark plug wire or remove the battery negative terminal to prevent accidental engine start.
How to Safely Remove Mower Blades
Step 1: Prepare the mower. Park on level ground, turn off the engine, and wait 15 minutes. Disconnect the negative battery terminal or remove both spark plug wires. Engage the parking brake. If your mower has a fuel shutoff valve, close it.
Step 2: Access the deck. Depending on your mower design, you may need to lower the mower deck fully, remove a deck cover, or access blades from underneath. Consult your owner’s manual for the exact procedure. Some riders require you to remove the deck entirely; others allow blade access from above.
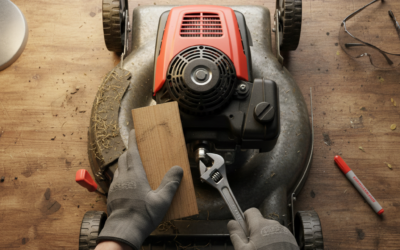
Step 3: Mark the blades. Before removing any blade, use a paint pen or marker to draw a line on the top of each blade and a corresponding mark on the deck or spindle housing. This ensures you reinstall each blade in its original orientation—a critical detail for deck balance. Mark left, center (if applicable), and right blades separately.
Step 4: Remove the first blade. Using the correct wrench or socket, loosen the blade bolt. Most blades have a single center bolt; some have two. Turn counterclockwise. Note: on some mowers, left-side blades have left-handed threads. If a bolt doesn’t turn easily, check the direction. Place bolts in a labeled container so you don’t lose them.
Step 5: Support the blade. As you remove the bolt, support the blade with your other hand so it doesn’t drop. Carefully lift the blade away from the spindle and lay it flat on a clean work surface. Repeat for each blade on the deck.
Step-by-Step Blade Sharpening Process
Step 1: Inspect the blade. Before sharpening, examine the blade for cracks, deep nicks, bent sections, or burn marks. Minor nicks can be filed out, but blades with deep cracks, bends, or severe damage should be replaced rather than sharpened—they won’t perform safely even after sharpening.
Step 2: Establish the cutting angle. Most riding mower blades are sharpened to a 30–45 degree angle; check your mower’s manual or the blade manufacturer’s specifications. If no spec is available, 30–35 degrees is a safe default that balances sharpness with durability. Use a digital angle gauge or a simple angle guide made from wood or plastic to maintain consistency.
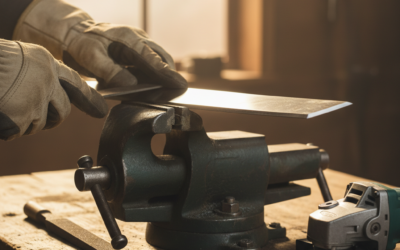
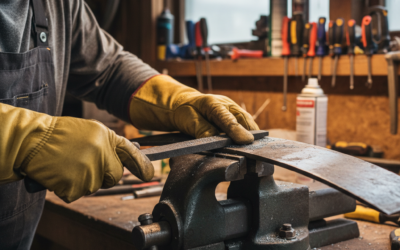
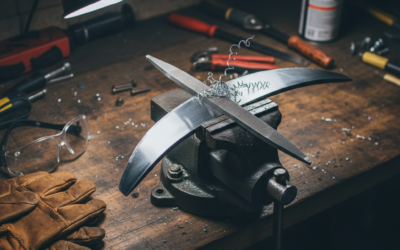
Step 3: File or grind the blade edge. Secure the blade in a bench vise with the leading cutting edge facing you. Begin at one end and draw the file across the edge at your target angle, moving away from your body. Make 3–5 passes on each side of the edge, using moderate pressure. The goal is to remove just enough material to restore a sharp, shiny edge. Do not round over the blade tip.
If using an angle grinder, attach a metal-cutting wheel and use light passes at the same angle. Grinders remove material much faster—stop frequently to check progress and avoid overheating the blade (which can soften the metal and reduce sharpness).
Step 4: Match both blade halves. Most blades have two cutting edges—one on each end. File or grind both sides equally so the blade remains balanced. This is critical: if you sharpen one end more aggressively than the other, the blade will be unbalanced no matter what you do later.
Step 5: Check the edge. Run your finger carefully (gloved) along the sharpened edge. A sharp blade should feel smooth and slightly keen; an unsharpened blade feels rounded or dull. The edge should appear shiny and uniform along its length, with no flat spots or dull areas.
Checking and Correcting Blade Balance
Blade balance is where many DIYers fail. Even a small imbalance—equivalent to 5 grams on a 1-pound blade—causes severe vibration on a riding mower. This is why a blade balancer tool is mandatory, not optional.
How to check balance: Place the sharpened blade on a blade balancer cone, adjusting the cone height so the blade rests freely without touching the base or sides. A balanced blade sits level. An unbalanced blade tips to one side—the heavier side hangs lower.
Correcting imbalance: If one side is heavier, remove a small amount of material from that side’s tip using your file or grinder. Make light passes (2–3 strokes), then retest on the balancer. Repeat until the blade rests level. Removing material from the heavier side corrects imbalance better than adding material to the lighter side, which weakens the edge.
Why balance matters on riding mowers: At 3,000+ RPM, an unbalanced blade creates centrifugal forces that vibrate the spindle and deck. Over weeks, this vibration cracks welds, loosens bolts, damages spindle bearings, and eventually causes blade or spindle failure—potentially mid-mow, which can be dangerous. Proper balance eliminates this risk and extends mower life by years.
Reinstalling and Testing Sharpened Blades
Step 1: Verify orientation. Use the marks you made before removal to reinstall each blade in its original position and orientation. Reversing a blade’s direction or swapping left and right blades compromises deck balance.
Step 2: Align and secure. Position the blade on the spindle, aligning the center hole with the spindle shaft. Insert the bolt(s) and hand-tighten. Consult your manual for the correct torque specification—typically 35–90 ft-lbs depending on mower size and spindle design. Use a torque wrench to apply the exact torque. Over-tightening can strip threads; under-tightening allows the blade to slip.
Step 3: Reinstall all blades. Repeat for each blade on the deck, ensuring all are balanced and torqued to spec.
Step 4: Reconnect the spark plug wires or battery. Reconnect the negative battery terminal or reattach both spark plug wires. Engage the fuel shutoff valve if you closed it.
Step 5: Test the mower. Start the mower and let it run at idle for 30 seconds, listening for abnormal vibration or noise. Slowly increase throttle and listen. A properly sharpened and balanced deck runs smoothly with minimal vibration. If you hear a loud clunking, severe vibration, or grinding noise, stop immediately, disconnect the spark plugs, and recheck blade installation and balance.
Step 6: Mow a test strip. On a calm day, mow a small area and inspect the cut. A sharp blade cuts cleanly, leaving no brown edges or tear marks. The cut height should be even across the deck width. If you see stripes, uneven height, or torn grass, recheck blade sharpness and balance.
Maintenance Schedule and When to Sharpen
Sharpening frequency: Most riding mower blades need sharpening every 20–40 hours of mowing, depending on mowing conditions. Sandy, rocky, or abrasive soil dulls blades faster; fine, clay-based soil preserves sharpness longer. A homeowner mowing 1–2 times weekly typically sharpens blades 4–6 times per season (spring through fall).
Signs blades need sharpening:
- Grass tips appear brown or ragged instead of cleanly cut
- The mower produces excessive vibration or humming
- Cut height becomes uneven across the deck
- Engine load increases noticeably (engine sounds strained)
- You notice visible wear, nicks, or flat spots on blade edges
When to replace instead of sharpen: If a blade has deep cracks, is bent or warped, has multiple large nicks, or shows severe metal fatigue (pitting or discoloration from overheating), replacement is safer and more cost-effective than sharpening. A replacement blade costs $15–40; damaged blades that fail mid-mow can damage spindles, which cost $100–300 to replace.
When to Call a Professional
Professional blade sharpening services are worth considering if you lack a balancer tool, are uncomfortable working under a mower deck, or have several decks to maintain. A shop typically charges $25–75 per blade, including removal, sharpening, balancing, and reinstallation. For a three-blade deck, that’s $75–225, compared to $50–150 in tools and an hour or two of your time for DIY sharpening.
Call a professional if your blade sharpening produces no improvement in cut quality, if the mower continues to vibrate after blade replacement, or if you suspect spindle damage. A damaged spindle requires professional service and is beyond DIY blade maintenance.
Frequently Asked Questions
What angle should mower blades be sharpened to?
Most riding mower blades are sharpened to 30–45 degrees. Consult your mower’s manual or blade manufacturer for the exact specification. A 30–35 degree angle is sharp and durable; higher angles (40–45 degrees) are more durable but less sharp. Maintain consistency on both blade halves to preserve balance.
Can I use a regular metal file instead of a grinder?
Yes. A 10–12 inch mill file or flat file works well and gives you more control than a grinder, reducing the risk of removing too much material or overheating the blade. Filing takes longer but is safer for beginners. A grinder is faster but requires care to avoid damage. Either tool works; choose based on your comfort level.
What happens if I don’t balance the blades after sharpening?
An unbalanced blade causes severe vibration, which damages spindle bearings, cracks the mower deck, loosens bolts, and eventually leads to blade or spindle failure. On riding mowers, vibration damage happens quickly and is expensive to repair. Balancing is not optional—it’s essential for safety and mower longevity.
How often should I sharpen my blades if I mow twice a week?
Mowing twice weekly in typical conditions means you’ll likely need sharpening every 3–4 weeks during mowing season, or roughly 4–6 times per season (spring through fall). If you mow sandy or rocky terrain, sharpen more frequently. Monitor cut quality and sharpen when grass tips turn brown or ragged.