As an Amazon Associate we earn from qualifying purchases. When you buy through our links, we may earn a commission at no extra cost to you. Prices and availability are subject to change on Amazon. Affiliate disclosure ›
How to Remove Battery from Lawn Mower
Learn how to safely remove a lawn mower battery with our comprehensive guide. Includes safety precautions, tools needed, step-by-step instructions, and troubleshooting tips for riding and push mowers.
Quick Answer: How to Remove Battery from Lawn Mower
Quick Answer: Turn off the mower and disconnect the spark plug wire to prevent accidental starting. Locate the battery (usually under the seat on riding mowers or in a compartment on self-propelled models), remove any hold-down bracket, disconnect the negative terminal first, then the positive terminal using an appropriate wrench, and carefully lift the battery out.
Safety Precautions Before Removing the Battery
Before you touch your lawn mower’s battery, safety must come first. Taking a few minutes to prepare can prevent electrical shock, burns, and accidental engine startup.
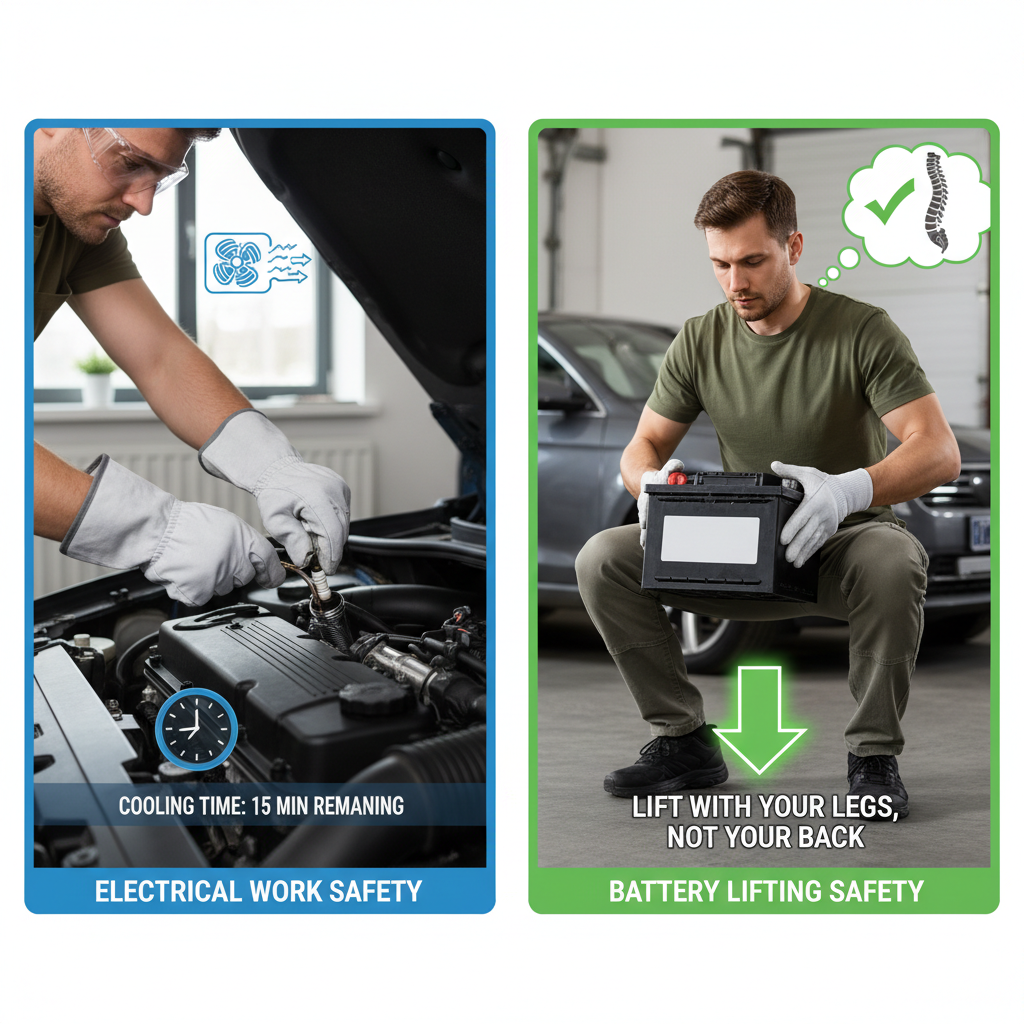
Turn off the engine and let it cool. Wait at least 5 to 10 minutes after turning off the mower to ensure the engine has cooled completely. A hot engine can cause burns and increases the risk of accidental starting.
Disconnect the spark plug wire. This is critical. Locate the spark plug wire (the rubber-coated wire connected to the spark plug) and carefully pull it off the spark plug. This prevents the engine from accidentally starting while you work.
Wear safety gear. Put on work gloves to protect your hands from sharp edges and corrosion. Safety glasses are recommended to protect your eyes from battery acid splashes if you’re working with older lead-acid batteries.
Work in a well-ventilated area. If you’re removing a battery indoors or in a garage, ensure adequate ventilation. Lead-acid batteries can emit hydrogen gas, which is flammable.
Disconnect the negative terminal first. This is essential for electrical safety. Always disconnect the negative (black) terminal before the positive (red) terminal to prevent electrical arcs or short circuits.
Tools and Materials You’ll Need
Gather these basic tools before you start. Most homeowners already have these items on hand:
Wrench or socket set: Typically 8mm, 10mm, or 13mm sizes work for most lawn mower batteries. Check your mower’s manual for the exact size.
Screwdriver: A flathead or Phillips screwdriver may be needed to remove hold-down brackets or access screws.
Work gloves: Nitrile or cotton gloves protect your hands from corrosion and sharp battery terminals.
Safety glasses: Protects your eyes from acid spray or debris.
Baking soda and water (optional): Useful for cleaning corroded battery terminals before removal.
Battery terminal brush (optional): Helps clean corrosion from terminals.
Locating the Battery on Your Mower
Battery location varies significantly depending on your mower type. Identifying where your battery is located is the first step toward safe removal.
Riding Lawn Mowers
On most riding mowers, the battery is located under the seat. To access it:
Lift the seat or remove seat bolts (usually 2 to 4 bolts secured with a wrench or screwdriver).
The battery is typically mounted in a plastic or metal compartment beneath the seat.
Note any hold-down brackets, straps, or foam padding around the battery.
Self-Propelled Push Mowers
Self-propelled push mowers store the battery in a side compartment or mounted on the frame:
Check near the rear wheels or along the mower’s side.
Some models have a removable plastic cover that must be unclipped or unscrewed first.
The battery may be held in place with a simple bracket or strap.
Manual/Corded Mowers
If your mower is a basic manual push model with no engine, it has no battery. Only electric, self-propelled, or riding mowers require battery removal.
Step-by-Step Battery Removal Process
Step 1: Prepare the Work Area
Park your mower on a flat, level surface in a well-lit area. Ensure the engine is off and cool, and the spark plug wire is disconnected.
Step 2: Access the Battery Compartment
Depending on your mower type, remove the seat, unclip covers, or unscrew access panels to expose the battery. Take photos before disassembling so you remember how components fit back together.
The position and color of the terminal connectors (red = positive, black = negative)
Any foam padding or insulation around the battery
Step 4: Remove the Hold-Down Bracket
If a bracket or strap secures the battery, use your wrench or screwdriver to remove it. Set all hardware aside in a safe place so you don’t lose it. If the bracket is rusted or stuck, apply penetrating oil (like WD-40) and wait 15 minutes before trying again.
Step 5: Disconnect the Negative Terminal First
This step is critical. Using your appropriately sized wrench, loosen the nut on the negative (black) terminal. Work the connector off the battery post. Do not let the wrench touch both the negative and positive terminals simultaneously, as this can create a short circuit. Users looking for related component recommendations can explore our dyson v8 cyclone vs bissell featherweight stick breakdown.
Step 6: Disconnect the Positive Terminal
Once the negative terminal is completely disconnected, use your wrench to loosen and remove the positive (red) terminal connector. Tuck these connectors away so they don’t accidentally touch metal or each other.
Step 7: Remove the Battery
Grip the battery firmly with both hands and lift it straight up and out of the compartment. Lawn mower batteries typically weigh 10, 20 pounds, so use your legs, not your back. If the battery seems stuck, gently rock it side to side while lifting. Never force it, as you could crack the battery case. Before finalizing equipment decisions, refer to our comprehensive bissell crosswave hydrosteam vs shark stainforce comparison.
Handling Different Battery Types
Lead-Acid Batteries
Most traditional lawn mowers use sealed lead-acid (SLA) batteries. These are robust and reliable but require careful handling:
Keep them upright to prevent acid leakage
Avoid dropping or striking the battery, as this can crack the case and cause acid exposure
If acid spills, neutralize it with baking soda and water, then rinse thoroughly
These batteries can emit hydrogen gas, so ensure ventilation
Lithium-Ion Batteries
Newer battery-powered and hybrid mowers often use lithium-ion batteries. Handling differs slightly:
These are lighter and safer than lead-acid batteries
They generate no gas and pose no acid hazard
Handle them with the same care as any electronic device, avoid dropping or exposing to extreme heat or cold
Check the manufacturer’s instructions, as some models have a power button or safety lock that must be engaged before removal
Troubleshooting Common Removal Issues
Corroded Battery Terminals
White, blue, or green crusty buildup on terminals is corrosion. It doesn’t prevent removal, but it makes connections difficult:
Use a battery terminal brush or fine steel wool to scrub away corrosion
Mix baking soda and water into a paste, apply to corroded areas, and scrub
Rinse with clean water and dry completely before reconnecting
Stuck or Frozen Terminals
If terminal connectors won’t budge:
Apply penetrating oil and wait 10 to 15 minutes
Gently rock the connector back and forth while pulling
Use a terminal puller tool (inexpensive at any hardware store) if available
Never strike the connector with a hammer, as you could damage the battery
Battery Won’t Lift Out
If the battery feels stuck in its compartment:
Check that all hold-down brackets are fully removed
Look for any wires or straps you may have missed
Gently rock the battery side to side while lifting
If it still won’t move after 30 seconds of gentle rocking, stop and inspect for hidden fasteners
You’re uncertain about your mower model or battery type
Terminals are severely corroded or broken
The mower has unusual electrical components you’re unfamiliar with
After Battery Removal: Storage and Reinstallation
Temporary Storage
If you’re removing the battery temporarily (for replacement or maintenance):
Store it in a cool, dry place away from direct sunlight
Keep the battery in an upright position (for lead-acid types)
Store it away from children and pets
If storing for more than a month, consider a trickle charger to maintain charge
Reinstalling the Battery
When you’re ready to reinstall:
Place the battery back in its compartment in the same orientation
Connect the positive (red) terminal first (opposite order from removal)
Connect the negative (black) terminal second
Tighten both connectors securely with your wrench
Replace the hold-down bracket and secure it
Reinstall the seat or cover
Reconnect the spark plug wire
Start the mower and verify it operates normally
Testing After Reinstallation
After reinstalling the battery, run a quick test:
Turn the ignition key on and listen for the starter motor
Attempt to start the engine
Check that all lights and electric features (if applicable) function normally
If the mower doesn’t start, the battery may be discharged and need charging
Frequently Asked Questions About How To Remove Battery From Lawn Mower
Q: Why must I disconnect the negative terminal before the positive terminal?
A: Disconnecting the negative terminal first prevents electrical arcs and short circuits. Your mower’s frame and engine are grounded to the negative terminal, so if you disconnect the positive first and then touch the negative to metal, you create a dangerous short circuit that can cause sparks, burns, or damage to the mower’s electrical system.
Q: Can I remove the battery myself, or do I need a professional?
A: Most homeowners can safely remove a lawn mower battery with basic hand tools and 15 to 20 minutes of time. You don’t need a professional unless the battery is damaged, terminals are severely corroded, or you’re unsure about your specific mower model. When in doubt, consult your mower’s owner manual or contact the manufacturer.
Q: How often should I remove and inspect my mower battery?
A: For seasonal mowers, remove and inspect the battery once a year, typically at the end of mowing season before long storage. Check for corrosion, cracks, or leaks. For year-round use, inspect the battery every 6 months or if you notice starting problems.
Q: What should I do if I accidentally spill battery acid?
A: Neutralize lead-acid battery acid immediately by sprinkling baking soda over the spill. The baking soda will bubble and fizz as it reacts with the acid. Once it stops fizzing, sweep or wipe up the material and rinse the area thoroughly with water. Wear gloves and avoid skin contact. If acid contacts your skin, rinse immediately with large amounts of water and seek medical attention if burning persists.
Related Maintenance and Operating Guides
To keep your equipment running at peak operating efficiency, explore our related technical walkthroughs and maintenance tutorials:
Follow the manual’s disconnect order, which often starts with the negative terminal, to reduce the chance of an accidental short. Keep metal tools away from both terminals while the cables are loose. General guidance on battery safety for outdoor power equipment is available from American National Standards Institute (ANSI).