Why You Might Need to Remove Your Mower Blade
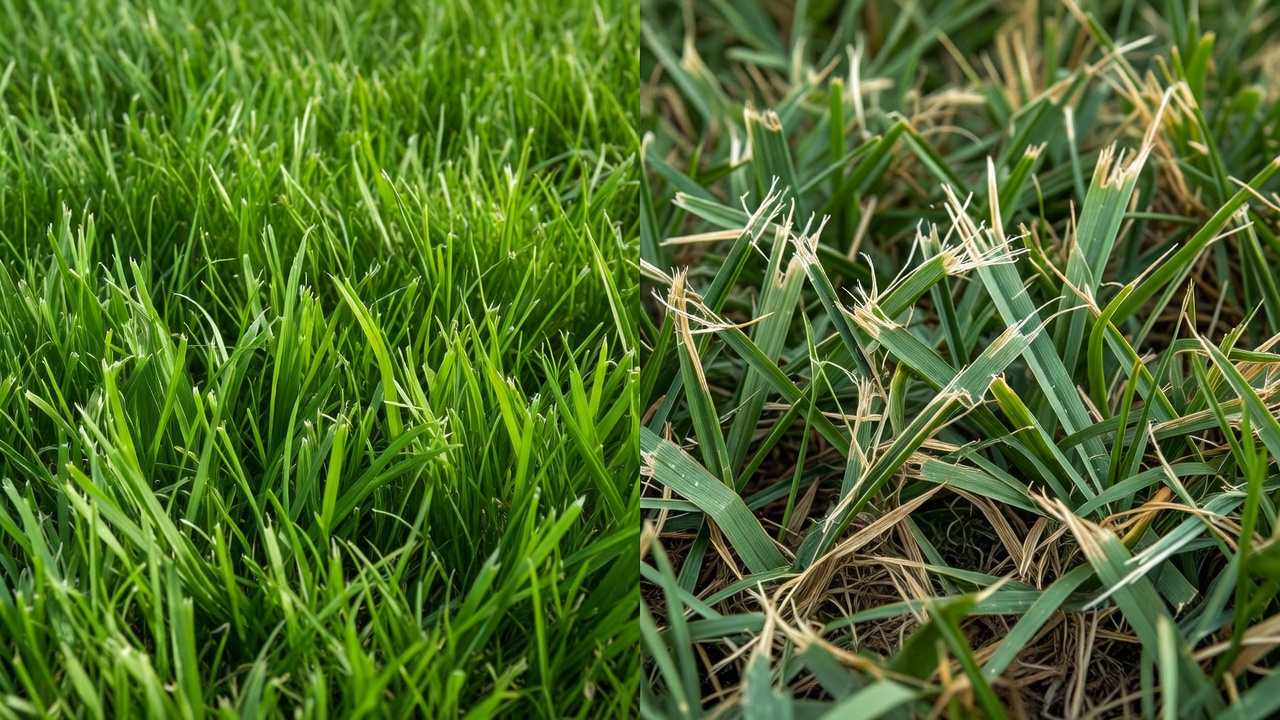
Removing your mower blade is a routine maintenance task that every lawn mower owner should know how to perform. The most common reasons to remove a blade include sharpening a dull blade, replacing a damaged or worn blade, cleaning debris buildup on the blade or deck, inspecting for cracks or damage, and performing seasonal maintenance.
A sharp blade cuts grass cleanly, promoting healthier lawn growth and reducing disease susceptibility. Dull blades tear grass tips, causing brown, jagged edges that leave your lawn vulnerable to stress and fungal infections. Most manufacturers recommend sharpening blades every 20–40 operating hours, depending on lawn conditions and debris encountered.
Knowing how to safely remove your blade also helps you determine when professional help is needed versus when you can handle maintenance yourself. Simple sharpening and cleaning are easily done at home; however, bent blades, severe damage, or seized bolts may warrant professional service.
Essential Safety Precautions Before Starting
Safety must be your first priority when working with mower blades. The blade is sharp, heavy, and can cause serious lacerations or crushing injuries if mishandled. Follow these critical precautions every time:
- Disconnect spark plug wires: This is the single most important step. Removing the spark plug wires or disconnecting the battery on electric mowers prevents accidental engine starting, which could cause the blade to rotate unexpectedly and cause severe injury.
- Allow the engine to cool: Wait at least 15–30 minutes after operation before working on the blade. The engine, muffler, and deck can reach temperatures exceeding 200°F and cause burns.
- Wear appropriate protective gear: Wear heavy work gloves to protect against sharp blade edges and cuts. Safety glasses protect your eyes from debris and grass particles. Steel-toed boots prevent crush injuries if the blade or mower shifts.
- Secure the mower: If your mower has wheels, engage the parking brake. For safety, consider using wheel chocks or blocks to prevent the mower from rolling.
- Position correctly: When tipping a rotary mower on its side to access the blade, always tip it so the carburetor and air filter face upward. Tipping it the wrong way allows fuel and oil to enter the carburetor, damaging the engine.
- Work in a clean, well-lit area: Clear the workspace of obstacles and ensure adequate lighting so you can see the blade attachment clearly and avoid tripping or dropping tools.
Tools and Materials You’ll Need
Before you begin, gather these tools and materials to make the job easier and safer:
- Appropriate wrenches: Most rotary mower blades use a 5/8-inch or 9/16-inch socket or box wrench. Consult your mower’s manual for the exact size. An adjustable wrench works if you don’t have the right size, but a fixed wrench or socket provides better grip and reduces the risk of slipping.
- Blade holder or block of wood: When loosening the bolt, you’ll need to prevent the blade from spinning. A commercial blade holder or even a block of wood wedged against the blade prevents rotation.
- Paint marker or masking tape: Mark the blade’s top (engine-facing) side before removal so you can reinstall it in the same orientation. Reinstalling a blade upside down or reversed can cause vibration and poor cutting performance.
- Towel or rag: Use this to wipe away grass buildup and debris from the blade and deck area.
- Container for small parts: Keep the bolt and any washers together in a small container to prevent losing them.
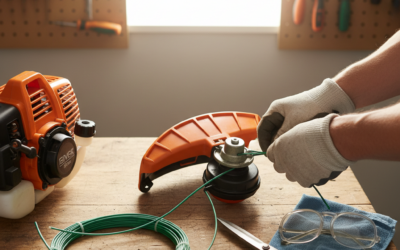
- Work gloves and safety glasses: Heavy-duty work gloves protect against sharp edges; safety glasses protect your eyes.
Step-by-Step: Removing a Rotary Mower Blade
Follow these detailed steps to safely remove a blade from a standard rotary mower:
Step 1: Prepare the Mower
Start by disconnecting the spark plug wires from both spark plugs (on two-cylinder engines, disconnect both). If your mower has a battery (electric start or fuel-injected engine), consider disconnecting the negative battery terminal for added safety. Allow the engine to cool for at least 15–30 minutes after operation.
Step 2: Position the Mower for Access
Tip the mower onto its side, ensuring the carburetor and air filter face upward. This is critical—tipping it the wrong way allows fuel and oil to enter the carburetor and damage the engine. If you’re unsure which direction is correct, check your mower’s manual. Position the mower on a flat, stable surface where you can work comfortably.
Step 3: Locate and Prepare the Blade Bolt
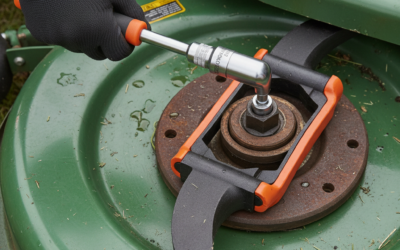
Look underneath the mower deck for the blade attachment bolt at the center of the blade. Most rotary mowers have a single bolt holding the blade to the spindle. Before loosening the bolt, use your blade holder or a block of wood wedged firmly against the blade to prevent it from spinning. This step is crucial—without it, the bolt will simply rotate the blade instead of loosening.
Step 4: Mark the Blade Position
Using a paint marker or masking tape, mark the top (engine-facing) side of the blade. This ensures you can reinstall the blade in the exact same orientation. Many blades have directional designs, and reversing them can cause vibration and poor cutting.
Step 5: Loosen and Remove the Bolt
With the blade firmly held in place, use your wrench to loosen the bolt. On most mowers, the blade bolt turns counterclockwise. If the bolt is tight or corroded, apply penetrating oil (like WD-40) and wait 10–15 minutes before trying again. Once loose, continue turning by hand until the bolt comes free. Place the bolt in a container so you don’t lose it.
Step 6: Remove the Blade
Once the bolt is removed, carefully lift the blade away from the deck. Be cautious of the sharp edges. Lay the blade on a clean surface with your mark facing up, confirming you can see your orientation mark clearly. Do not set the blade edge-down on concrete or hard surfaces, as this can dull the edge before you have a chance to sharpen it.
Removing Blades on Reel Mowers and Specialty Models
Reel mowers operate differently from rotary mowers and have a different blade removal process. Instead of a single rotating blade, reel mowers have multiple blades that spiral and cut grass against a stationary bedknife.
For reel mowers: Blade removal often requires loosening bolts on the reel cylinder assembly itself, which may require removing the reel from the mower frame. This process is more complex and often requires consulting your specific mower’s manual. Some reel mowers have proprietary systems requiring specialized tools. If your reel mower requires blade removal, consult the manufacturer’s manual or consider professional servicing, as improper removal can affect blade alignment and cutting quality.
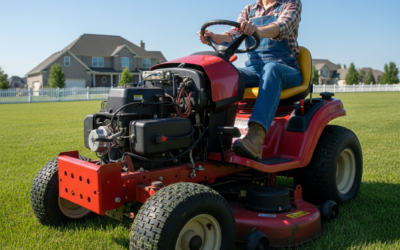
For specialty and commercial models: Some riding mowers, zero-turn mowers, and commercial-grade equipment use proprietary attachment systems or multiple blades with separate removal procedures. Always consult your mower’s manual first—attempting removal without proper guidance can damage the mower or result in injury.
Common Challenges and How to Solve Them
Stuck or Seized Blade Bolt
If the bolt won’t budge, apply penetrating oil around the bolt head and wait 15–30 minutes. Tap the wrench gently with a rubber mallet to help break the corrosion. If it’s still stuck, apply more penetrating oil and wait several hours or overnight. Never force the wrench—you risk breaking it or stripping the bolt head. If the bolt remains stuck after multiple attempts, consider professional help to avoid damaging the mower.
Rusted or Corroded Blade
Rust on the blade itself doesn’t usually prevent removal, but it may indicate the blade needs replacement rather than sharpening. If the rust is surface-level, you can remove it with a wire brush and proceed with sharpening. If the blade has deep pitting or corrosion spots, it’s safer to replace it entirely, as structural integrity may be compromised.
Blade Won’t Budge During Removal
If the blade itself seems stuck (not just the bolt), ensure the bolt is completely removed and try gently tapping the blade with a rubber mallet to break any corrosion or buildup around the mounting hole. Do not force it—continued forcing can damage the deck or spindle.
When to Seek Professional Help
Contact a professional if the blade bolt remains seized after multiple attempts with penetrating oil, the mower has a proprietary blade system you’re unfamiliar with, the blade appears bent or structurally damaged, or you’re uncomfortable working with power equipment. A small service fee is worth avoiding injury or equipment damage.
After Removal: Inspection and Maintenance
Inspecting Your Blade
Once removed, inspect the blade carefully for damage. Look for cracks, deep gouges, bent edges, or broken corners. Minor nicks can be sharpened out, but severe damage (cracks, large breaks, or bending) means the blade should be replaced. Bent blades cause vibration and uneven cutting and should never be reinstalled.
Sharpening Your Blade
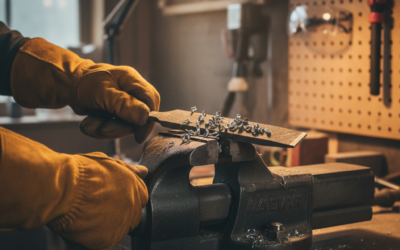
If inspection shows the blade is suitable for sharpening, use a metal file, angle grinder, or sharpening stone to restore the cutting edge. Maintain the blade’s original angle (typically 30–45 degrees, depending on the blade design) and ensure both ends are sharpened equally to prevent vibration. Always sharpen from the top (engine-facing) side toward the cutting edge, never the reverse. Take light passes and avoid removing excessive metal.
Replacing Your Blade
If the blade is damaged or worn beyond sharpening, replace it with an OEM (original equipment manufacturer) blade or a high-quality aftermarket equivalent designed for your mower model. Mismatched blade specifications can cause vibration, poor cutting, or damage to the mower.
Cleaning the Deck
With the blade removed, this is an excellent time to clean the mower deck. Use a stiff brush or putty knife to remove dried grass, dirt, and debris. Buildup in the deck reduces airflow and cutting efficiency. A clean deck also makes it easier to spot any damage to the deck itself.
Reinstalling Your Blade
When ready to reinstall, ensure your orientation mark is visible and facing upward. Insert the blade and thread the bolt by hand first to avoid cross-threading. Once hand-tight, use your wrench to tighten firmly. Make sure the blade is secure—a loose blade can come free during operation and cause serious injury.
Frequently Asked Questions
Q: How often should I remove and sharpen my mower blade?
A: Most manufacturers recommend sharpening blades every 20–40 operating hours, depending on lawn conditions. If you mow a half-acre lawn once weekly, this typically means sharpening every 4–8 weeks during the mowing season. If you frequently encounter rocks, sticks, or rough terrain, sharpen more frequently.
Q: Can I sharpen my blade while it’s still attached to the mower?
A: While technically possible, it’s not recommended. Removing the blade allows you to inspect it fully, sharpen it accurately on a workbench, and ensure both blade ends are sharpened equally. Sharpening an installed blade risks damaging the deck and makes it difficult to maintain proper blade angle and balance.
Q: Which direction should I tip my mower to access the blade?
A: Always tip the mower so the carburetor and air filter face upward. This prevents fuel and oil from entering the carburetor. If you’re unsure which direction is correct, consult your mower’s manual—tipping it wrong can cause engine damage.
Q: What should I do if my blade is bent?
A: Do not attempt to straighten or reinstall a bent blade. Bent blades cause severe vibration, uneven cutting, and can damage the mower’s spindle and bearings. Replace the blade with a new one of the correct size and specification for your mower.
Key Takeaways
Removing a mower blade is a manageable DIY task when you follow proper safety procedures. Always disconnect spark plug wires, allow the engine to cool, position the mower correctly, and secure the blade to prevent rotation while loosening the bolt. Mark the blade’s orientation before removal, inspect it for damage, and sharpen or replace it as needed. With the right tools and precautions, you can maintain your mower’s cutting performance and extend its lifespan. If you encounter stuck bolts, proprietary systems, or damaged equipment, don’t hesitate to contact a professional—your safety is more important than saving a service fee.