How to Draw a Lawn Mower: A Step-by-Step Guide for Beginners
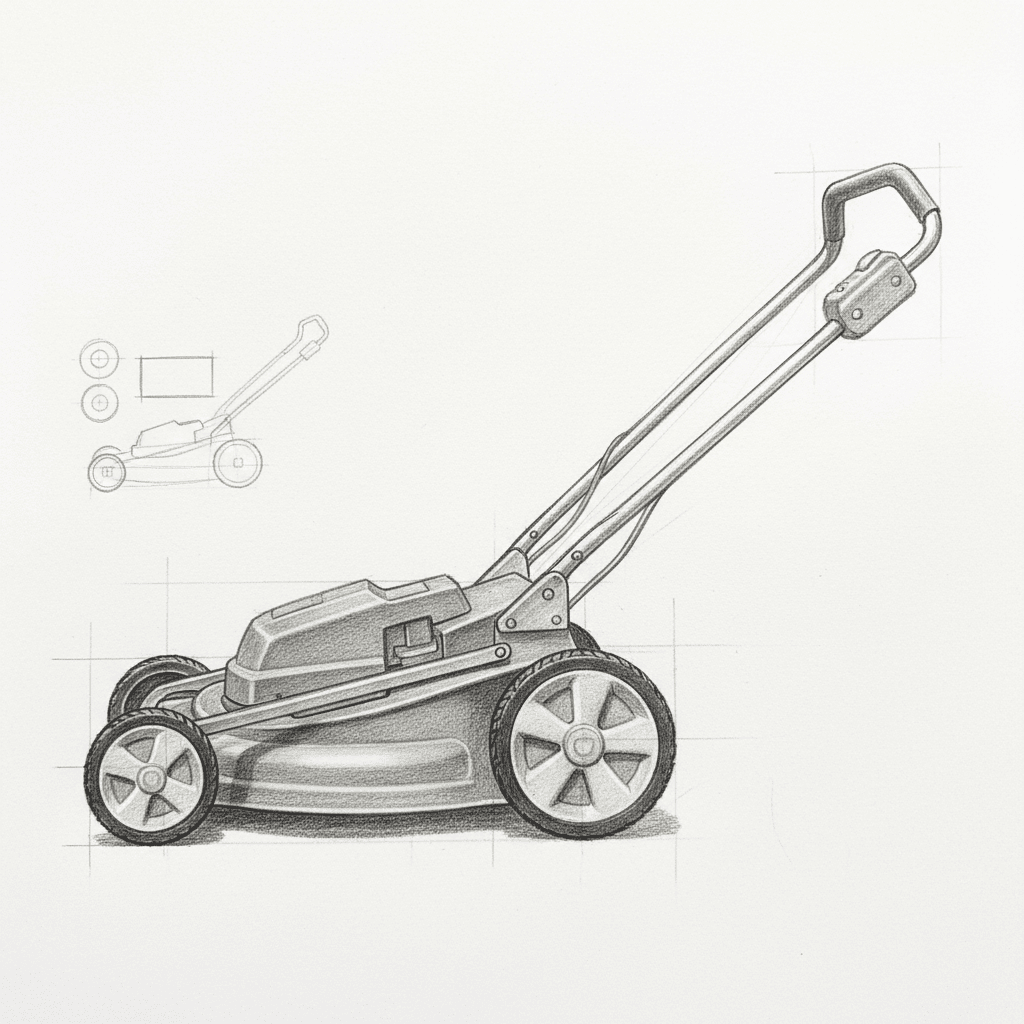
To draw a lawn mower, start by sketching the basic shapes: a rectangle for the body, circles for wheels, and a handle. Add details like the engine, grass catcher, and blade housing. Outline with darker lines, erase guidelines, and add shading for depth. For a riding mower, use a larger body with a seat and steering wheel. Use reference images for accuracy and practice with different styles like cartoon or realistic sketches.
Understanding the Drawing Process
Before you begin, it’s helpful to clarify the artistic intent. Drawing a lawn mower is a great exercise for beginners, focusing on basic shapes and proportions. You don’t need advanced artistic skills; patience and practice are key. For materials, a simple pencil and paper work perfectly, though digital tools like drawing tablets or apps can also be used.
Common questions at this stage include:
- What type of lawn mower should I draw? A basic push mower is the simplest starting point. Riding mowers or robotic mowers add more complexity.
- Do I need advanced skills? No. This guide is designed for beginners, breaking down the process into manageable steps.
- What materials are recommended? Start with a graphite pencil (HB or 2B), an eraser, and plain paper. For digital artists, any basic drawing software will suffice.
Key Factors to Consider Before Drawing
Planning your drawing helps ensure a satisfying result. Consider the style you want to achieve. A realistic sketch requires attention to detail and shading, while a cartoon style allows for more creative freedom and simpler shapes. A technical diagram focuses on accuracy and labeling, which is less about artistry and more about information.
Reference images are invaluable. Search for photos of lawn mowers from different angles. Pay attention to proportions: the relationship between the wheels, body, and handle. Perspective is also important; decide if you’re drawing the mower from the front, side, or a three-quarter view.
Step-by-Step Guide to Drawing a Basic Push Lawn Mower
Follow these steps to create a simple illustration of a standard push lawn mower.
Step 1: Sketch the Basic Shapes
Lightly draw a horizontal rectangle for the main body of the mower. This is the deck that houses the blade. Below this rectangle, draw two circles of equal size for the wheels. Position them towards the front and back of the rectangle. From the back of the rectangle, draw two lines extending upward and backward to form the handle.
Step 2: Add the Core Details
On top of the body rectangle, sketch a smaller shape for the engine or motor housing. At the front, you can add a curved line to represent the grass catcher bag if your model has one. Refine the handle by making it slightly thicker and adding a crossbar at the top for the grip.
Step 3: Refine and Outline
Go over your light sketch with darker, more confident lines. Define the edges of the body, wheels, and handle. Add details like the wheel spokes, the engine’s pull cord, and the blade housing underneath. Erase any unnecessary guidelines.
Step 4: Add Shading and Depth
To make your drawing look three-dimensional, add shading. Determine a light source (e.g., from the top left). Shade the areas opposite the light source, such as under the body, behind the wheels, and on the side of the engine. Use cross-hatching or smooth gradients to create texture.
Variations and Tips for Other Lawn Mower Types
Once you’ve mastered the basic push mower, you can adapt the steps for other types.
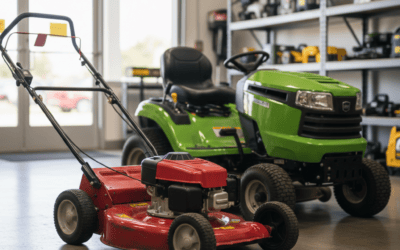
- Riding Lawn Mower: Start with a larger, more boxy rectangle for the body. Add a seat shape on top and a steering wheel in front of it. The wheels will be larger, and you can include details like headlights and a mower deck underneath.
- Robotic or Zero-Turn Mower: These often have a low-profile, sleek design. Focus on a rounded or angular body with prominent sensors or bumpers. The wheels may be positioned differently, and there’s no traditional handle.
- Creative Scenes: To enhance your drawing, add a background like a lawn, a fence, or a house. Draw grass clippings being ejected from the side to show the mower in action.
Direct Answers to Common Drawing Questions
Here are quick solutions to frequent issues beginners face.
- Most common mistakes: Rushing the initial sketch, incorrect proportions (e.g., wheels too small), and forgetting to use reference images.
- Improving speed and confidence: Practice drawing the basic shapes repeatedly. Start with simple outlines before adding details. Don’t aim for perfection on your first try.
- Online resources: Many free video tutorials on platforms like YouTube break down the process visually. Websites with step-by-step image guides can also be helpful.
Frequently Asked Questions
What is the easiest type of lawn mower to draw for a beginner?
A basic push lawn mower is the easiest to start with. Its design is composed of simple geometric shapes: a rectangular body, circular wheels, and a straight handle. This simplicity makes it ideal for practicing proportions and basic shading techniques without being overwhelmed by complex details.
How do I make my lawn mower drawing look more realistic?
To achieve a realistic look, focus on three key areas: accurate proportions, detailed textures, and effective shading. Use high-quality reference photos to get the shapes right. Add textures like the grain of plastic on the body or the rubber of the tires. Most importantly, apply consistent shading based on a single light source to create depth and volume.
Can I draw a lawn mower digitally?
Absolutely. Digital drawing tools offer great flexibility. You can use layers to separate your sketch, outlines, and shading, making edits easier. Many drawing apps have symmetry tools that can help with even shapes. The core steps of sketching basic shapes, adding details, and applying shading remain the same whether you use pencil or a digital stylus.
How long does it typically take to draw a lawn mower?
The time varies based on your skill level and the desired detail. A simple sketch of a basic push mower might take 15-30 minutes. A more detailed, shaded, or realistic drawing of a riding mower could take an hour or more. The key is to work at a comfortable pace and not rush the foundational steps.