Direct Answer: How to Sharpen Zero Turn Mower Blades
Sharpen zero turn mower blades by first disconnecting the spark plug wires and removing the blades from the deck. Inspect each blade for damage, then use a metal file or angle grinder to sharpen the cutting edge at a 30–45 degree angle, removing equal amounts from both sides. After sharpening, check blade balance using a blade balancer or improvised hanging method to ensure equal weight distribution—this critical step prevents vibration and deck damage. Finally, reinstall the balanced blades securely, reconnect the spark plugs, and test the mower before regular use.
Why Blade Sharpening Matters for Zero Turn Mowers
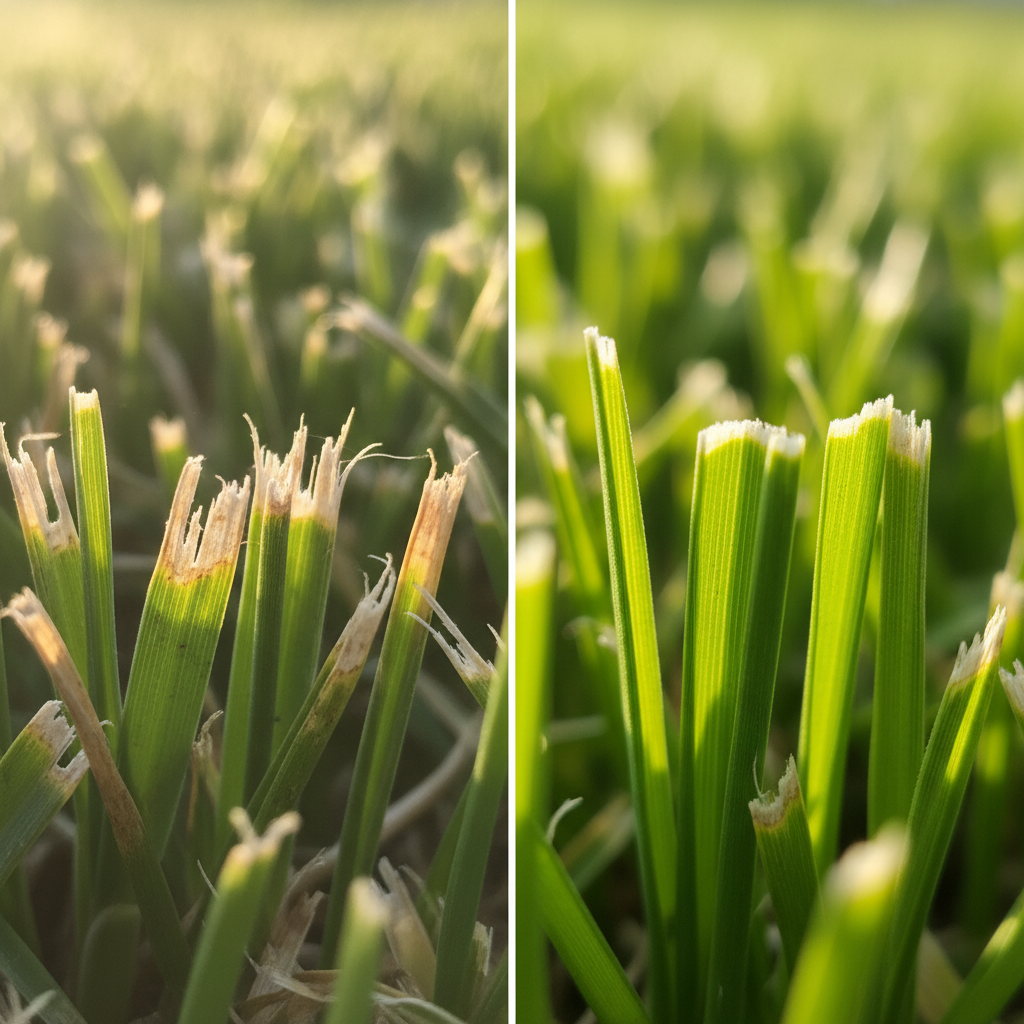
Dull blades don’t cut grass cleanly; instead, they tear and bruise the leaf blade, leaving brown or ragged edges that stress the lawn and invite disease. This damage reduces your mower’s cutting efficiency, forces the engine to work harder, burns more fuel, and creates an uneven, unhealthy-looking lawn. Sharp blades produce clean cuts that promote faster healing, better water retention, and disease resistance in your turf.
Zero turn mowers typically require blade sharpening every 20–50 hours of operation, depending on lawn conditions. Properties with sandy soil, gravel, or debris need more frequent sharpening because abrasive material dulls blades faster. Mowing thick, dry grass also accelerates blade wear compared to mowing soft, well-watered turf.
Signs your blades need sharpening:
- Lawn has brown or torn grass tips after mowing
- Mower vibrates excessively during operation
- Engine struggles or bogs down under normal cutting load
- Cutting deck produces uneven strip patterns
- Fuel consumption increases noticeably
Safety Precautions Before Starting
Working on mower blades is dangerous if the engine can accidentally start. Always take these steps before touching the blades:
- Disconnect the spark plug wires by pulling the rubber boots away from both spark plugs. This physically prevents engine ignition.
- Engage the parking brake and place the zero turn mower on a flat, level surface.
- Allow the engine to cool completely if you’ve been mowing. Hot metal can cause severe burns.
- Wear work gloves to protect your hands from sharp blade edges and rust.
- Use safety glasses to shield your eyes from metal shavings during grinding or filing.
- Never work alone. Have someone nearby in case of injury.
Removing Blades from the Zero Turn Deck
Access the blades by tilting the mower deck or lifting it on ramps (consult your manual for your specific model’s procedure). Most zero turn mowers have blades bolted to the underside of a flat cutting deck.
Tools needed:
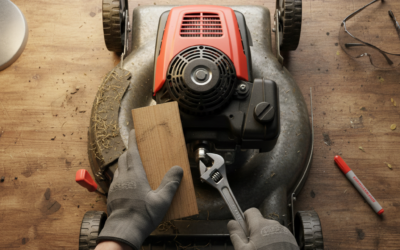
- Socket wrench or adjustable wrench (size depends on your mower model)
- Blade removal tool or screwdriver (to hold the blade steady while loosening)
- Wooden block or soft clamp
- Paint marker or tape
Removal steps:
- Locate the blade bolts on the underside of the deck. Most zero turn mowers have two or three blades.
- Mark blade orientation with paint or tape on the top side so you remember which way the blade faces when reinstalling. Some blades are directional and will fail to cut properly if reversed.
- Hold the blade steady using a wooden block or soft clamp—do not use your hands or they may slip into the sharp edge.
- Loosen the bolt with a wrench by turning counterclockwise. Blade bolts typically turn leftward to loosen (standard direction).
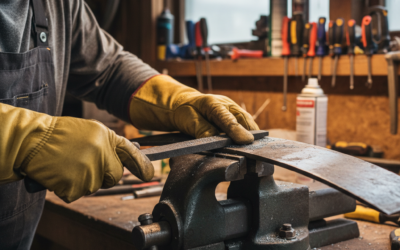
- Remove the bolt and carefully lift the blade free. Place it on a clean workbench or vice to prevent damage to the cutting edge.
- Repeat for each blade if your mower has multiple blades.
Inspecting Blades for Damage and Wear
Before sharpening, evaluate whether a blade is worth restoring or should be replaced. Sharpening only works on dull but structurally sound blades.
Replace the blade if you find:
- Large cracks or fractures in the metal—these will worsen under the stress of mowing and eventually fail catastrophically.
- Bent or warped sections that don’t flatten when placed on a true surface. Bent blades cannot be safely straightened and create dangerous vibration.
- Significant material loss from impact damage. If a large section of the cutting edge is missing or severely gouged, replacement is safer than attempting repair.
- Rust or corrosion pits that have deeply etched the blade surface. Severe corrosion weakens the blade structurally.
- Blade thickness below manufacturer specifications. If your mower manual lists a minimum thickness and your blade is thinner, replace it.
Blades suitable for sharpening:
- Dull edges with no cracks or major damage
- Blades with surface rust or light discoloration (these clean up during sharpening)
- Minor nicks at the cutting edge that can be filed or ground out
Sharpening Techniques and Tool Options
The goal is to restore a sharp, clean edge at the correct angle without removing excess material or creating an imbalanced blade. You have three main options:
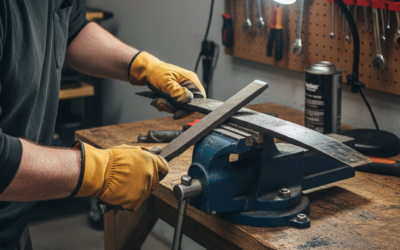
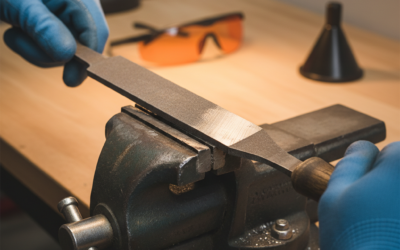
Option 1: Metal File (Manual Method)
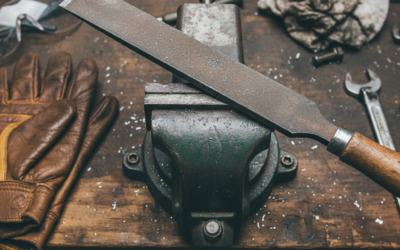
A 10–12 inch mill file or bastard file works for light sharpening and is safest for beginners.
Steps:
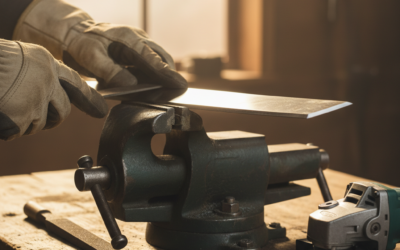
- Secure the blade in a bench vise with the cutting edge facing upward.
- Identify the existing edge angle (typically 30–45 degrees; check your mower manual if available).
- Hold the file at that angle and stroke it across the cutting edge in one direction only—away from your body.
- File both sides of the blade equally to maintain balance. Count your strokes: if you make 10 strokes on one side, make 10 on the other.
- Continue until the edge is visibly sharp and reflects light consistently.
- Remove any burrs by stroking the flat back of the blade lightly with the file.
Pros: Precise control, low risk of overheating metal, safest for beginners.
Cons: Slow and labor-intensive for severely dull blades; requires significant physical effort.
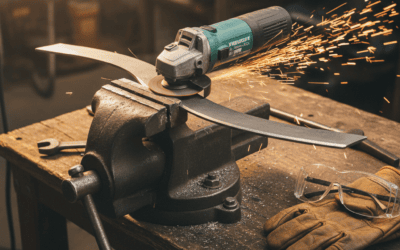
Option 2: Angle Grinder (Fast Method)
An angle grinder with a metal wheel removes dull material quickly but requires skill to avoid overheating or creating an uneven edge.
Steps:
- Secure the blade in a vise, cutting edge upward.
- Put on safety glasses and a dust mask.
- Start the grinder at medium speed and approach the cutting edge at a 30–45 degree angle.
- Use light, even pressure; let the wheel do the work. Do not force it.
- Make passes on one side, then flip the blade and make equal passes on the other side to maintain balance.
- Frequently check the blade’s temperature with a wet glove—if it sizzles, stop and let it cool. Overheating weakens the metal.
- Test the edge by carefully running your thumb perpendicular to it (not along it). A sharp blade will catch your skin slightly.
Pros: Fast results; efficient for heavily dulled blades.
Cons: Risk of overheating metal, reducing its hardness; requires practice to keep angles consistent; dust and sparks are hazardous.
Option 3: Professional Sharpening Service
Many lawn mower shops and farm equipment dealers offer blade sharpening for $10–$20 per blade. They have specialized equipment and expertise to sharpen accurately and balance blades perfectly.
Pros: Professional-grade results; proper balancing guaranteed; eliminates risk of user error.
Cons: Requires dropping off the mower or removing and transporting blades; adds time and cost.
Sharpening angle guidelines: Most zero turn mower blades are sharpened to a 30–45 degree angle. Check your mower’s manual or the blade itself for the manufacturer’s specification. When in doubt, 30–35 degrees is a safe standard that works well for most residential mowers.
The Critical Blade Balancing Step
This is the most overlooked yet essential part of blade sharpening. Unbalanced blades cause severe problems that go far beyond a poor cut:
- Excessive vibration that shakes the operator and makes steering difficult
- Uneven wear on the cutting deck frame and spindle bearings
- Accelerated component failure and costly repairs
- Uneven cutting patterns across the deck width
- Premature blade wear from the vibration itself
When you sharpen a blade, you remove material from the cutting edge. If you remove more material from one side than the other, the blade becomes heavier on one end, creating imbalance. Even a small difference (as little as 0.5 ounces) becomes noticeable at mower deck speeds.
How to Check Blade Balance
Method 1: Blade Balancer Tool ($15–$40)
A blade balancer is a simple cone-shaped tool that lets the blade rock on its center hole. If one side is heavier, that side will dip. Balance it by removing material from the heavy side until the blade stays level.
Method 2: Improvised Hanging Method
- Drill or use the existing center hole to hang the blade on a nail or bolt.
- Let the blade hang freely and observe which side dips downward.
- That side is heavier. Remove a small amount of material from that side using a file or grinder.
- Hang it again and recheck. Repeat until the blade stays level.
Method 3: Blade Balancer App (Smartphone)
Some smartphone apps use the phone’s accelerometer to detect balance. Rest the blade on the phone’s center and see if the app indicates level balance. This method is less precise than mechanical balancers but provides a quick check.
Important: After balancing, you may need to make a final light sharpening pass to restore the cutting edge that was dulled during the balancing process. This is normal and necessary.
Reinstalling Sharpened Blades
Proper reinstallation ensures safe operation and correct cutting performance.
- Retrieve your paint-marked blades and place them on the workbench, marks facing up.
- Verify the blade orientation by looking at the angle of the cutting edge. Most blades have one edge that faces downward during mowing; your mark should indicate this direction.
- Position the blade on its bolt with the correct orientation. Some blades have arrows or numbers molded into them indicating the direction of rotation.
- Hand-thread the bolt first to avoid cross-threading it.
- Tighten the bolt firmly using a wrench. Consult your mower manual for the recommended torque specification (typically 35–90 foot-pounds depending on the mower). Blades must be secure but not over-tightened, which can strip threads or crack the blade.
- Repeat for all blades, ensuring each is installed with correct orientation and balanced tightness.
- Lower or reset the deck to its normal cutting height.
- Reconnect both spark plug wires by pushing the rubber boots firmly onto the plugs until they seat with a click.
Testing Before Regular Use
Before mowing your lawn, run a short test:
- Start the mower in an open area away from people and obstacles.
- Engage the cutting deck and listen for unusual vibration or noise.
- Drive forward slowly and feel for excessive shaking through the steering controls.
- If vibration is significant, stop immediately and recheck blade installation and balance.
- If all seems normal, mow a small section and inspect the cut quality. The grass should have clean, sharp edges without tears.
Maintenance Schedule and Frequency
Establish a regular sharpening routine based on usage:
| Usage Pattern | Recommended Frequency | Hours Between Sharpenings |
|---|---|---|
| Light residential (once weekly, 0.5–1 acre) | Every 4–6 weeks | 20–30 hours |
| Regular residential (2–3 times weekly, 1–2 acres) | Every 2–3 weeks | 30–50 hours |
| Heavy use (daily or large property, 3+ acres) | Every 1–2 weeks | 15–25 hours |
| Abrasive conditions (sandy soil, gravel) | Add 50% more frequency | Reduce by half |
You can estimate your mower’s runtime by tracking hours on the engine’s hour meter (if available) or by keeping a simple log of mowing dates and durations. Many modern zero turn mowers have digital displays showing accumulated engine hours.
Frequently Asked Questions
How sharp should zero turn mower blades be?
A properly sharpened blade should have a clean, thin edge that reflects light consistently when held at an angle. You can test sharpness by carefully running your thumb perpendicular (not along) to the edge—a sharp blade will catch slightly on your skin without cutting. It should feel similar to a knife edge, not dull or rounded.
Can you sharpen blades without removing them from the mower?
Not safely or effectively. Removing blades allows you to inspect them for damage, secure them properly for sharpening, and critically, balance them afterward. Attempting to sharpen blades while installed risks injury, creates an uneven edge, and leaves you unable to balance them. Always remove blades for sharpening.
What’s the difference between sharpening and blade replacement?
Sharpening restores a dull blade’s edge and is a maintenance task repeated every 20–50 hours. Blade replacement is necessary when a blade is cracked, severely bent, or worn beyond safe limits. A typical mower blade lasts 3–5 seasons with regular sharpening before replacement becomes necessary. New blades typically cost $30–$80 per blade depending on mower model.
Why do some people recommend flipping blades instead of sharpening?
Older advice suggested rotating blades so the unused (non-cutting) side becomes the new cutting edge. Modern blades are single-sided and cannot be flipped safely—the non-cutting side is not designed for contact with grass and will perform poorly. Current best practice is to sharpen both edges of bi-directional blades or replace single-use blades when dull.