Safety Precautions Before Removing a Lawnmower Blade
Removing a lawnmower blade carries serious injury risks if done carelessly. The blade is sharp and the mower can start unexpectedly, so following safety steps is non-negotiable.
Disconnect the Spark Plug
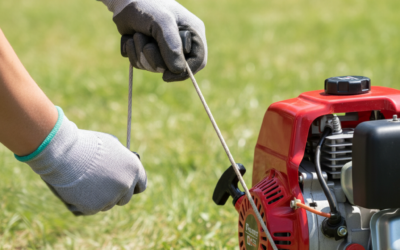
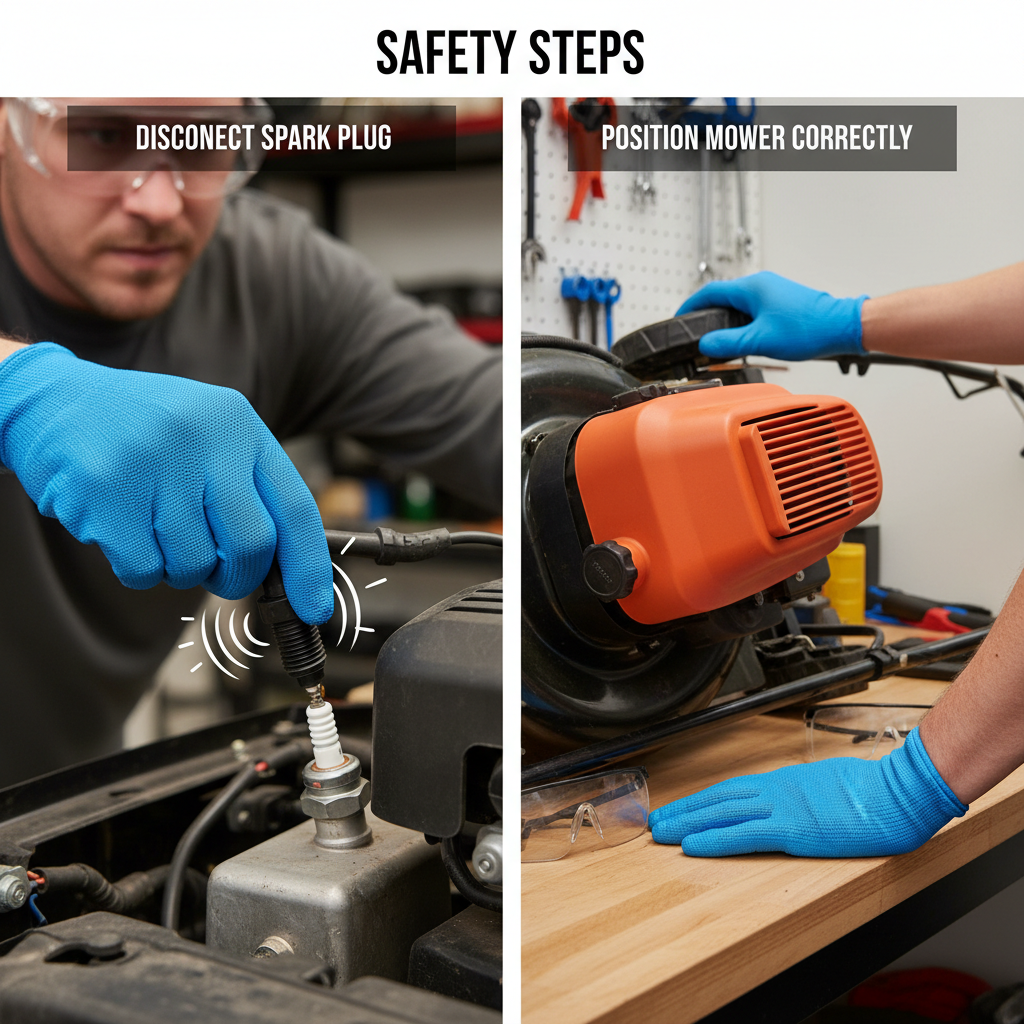
The most critical safety step is disconnecting the spark plug wire or removing the spark plug entirely. This prevents the engine from starting accidentally while you work. Simply pull the wire boot off the spark plug—you’ll hear a slight pop. If you’re concerned about the wire reconnecting, you can remove the spark plug with a spark plug socket.
Drain Fuel and Oil
If you’re tipping the mower on its side, drain the fuel tank or position it carefully to avoid spills into the carburetor. For most small mowers, you can tip them with the air filter side up to prevent fuel from entering the engine. If draining, use a siphon pump or drain plug. Also consider draining or checking the oil level—some older mowers may leak if tipped.
Secure the Mower Properly
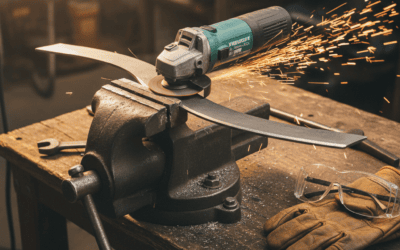
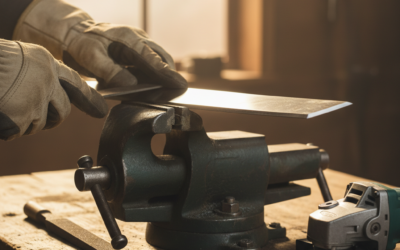
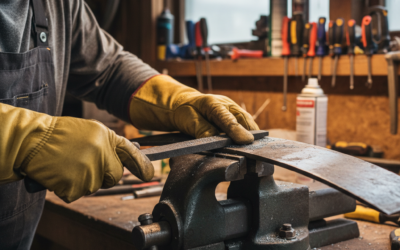
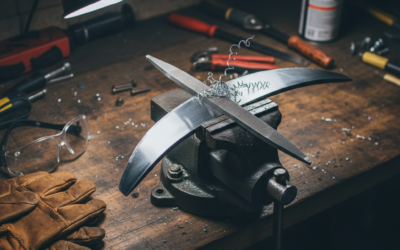
Never work under an unsupported mower. If tipping it on its side, place it on a flat, stable surface with the air filter facing upward. For riding mowers or when working on a flat surface, use a jack and secure the mower with jack stands or blocks. A workbench vise is ideal for small push mower decks.
Wear Protective Gear
Wear heavy work gloves and safety glasses. The blade is extremely sharp and can cause deep lacerations. Never reach near the blade without gloves, and keep your hands clear of the blade edge when loosening or tightening fasteners.
Tools and Materials You’ll Need
Gather these items before starting to ensure smooth removal:
- Socket wrench or open-end wrench: Most rotary mower blades use a 5/8-inch or 1/2-inch bolt. Check your manual or measure the bolt head.
- Block of wood or rubber mallet: Helps hold the blade steady while you unbolt it, preventing rotation.
- Marking paint or tape: Essential for marking the blade’s top side so you reinstall it correctly.
- Work gloves and safety glasses: Protect against cuts and debris.
- Flat surface or vise: To safely position the mower during removal.
- Torque wrench (optional): Useful for reinstalling the blade to manufacturer specifications.
Understanding Your Mower Blade Type
Different mower designs use different blade configurations, which affects how you remove them.
Rotary Blade Mowers
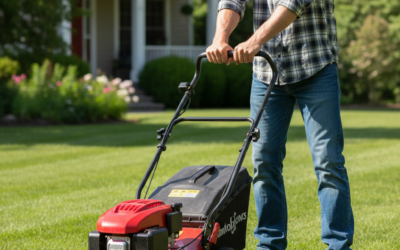
Most common residential push and riding mowers use a single horizontal blade that spins rapidly beneath the mower deck. The blade is bolted to the center spindle with one or two bolts. Rotary blades are the easiest to access and remove—simply tip or secure the mower, locate the center bolt, and unbolt it. These blades typically have a top and bottom side, with the cutting edge facing downward.
Reel Blade Mowers
Reel mowers use multiple cylindrical blades that roll against a fixed blade bar, creating a cutting action similar to scissors. Reel blade removal is more complex and usually requires removing the reel assembly itself—a task best left to professionals unless you have mechanical experience. This guide focuses on rotary mower blade removal.
Locating the Blade Bolt
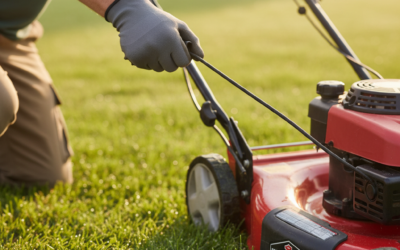
On rotary mowers, access the blade by tipping the mower on its side (air filter up) or removing the mower deck. You’ll see the blade bolt protruding from the center of the blade or spindle. Some mowers have a single center bolt; others have the bolt accessible from the top of the deck through an opening.
Step-by-Step Blade Removal Process
Step 1: Prepare the Work Area
Lay the mower on a flat, clean surface. If working on a deck removed from the mower, secure it in a vise with wood blocks to protect the finish. Ensure good lighting so you can see the blade clearly.
Step 2: Mark the Blade’s Top Side
Use a permanent marker or paint pen to mark the top (non-cutting) side of the blade with a line or arrow. This marking is critical—if you reinstall the blade upside down, it won’t cut and can damage the mower. Some blades have manufacturer markings like “TOP” that you should verify.
Step 3: Stabilize the Blade
Place a wooden block against the blade to prevent it from rotating while you unbolt it. Some people use a rubber mallet to gently tap the block into place. The goal is to hold the blade steady without damaging it or your hand.
Step 4: Remove the Center Bolt
Using the appropriate wrench size, turn the bolt counterclockwise. On most mowers, the bolt head points downward when the mower is on its side. Turn slowly and steadily—you may need to apply firm pressure if the bolt is tight. Once loose, unscrew it by hand and set it aside in a safe place.
Step 5: Carefully Lift the Blade Away
Once the bolt is removed, gently lift the blade straight up and away from the spindle. Be cautious of the sharp edges and don’t touch the cutting edge. Inspect the spindle shaft for rust or debris—clean it if needed before reinstalling.
Reinstalling or Storing Your Blade
Temporary Storage
If you’re sharpening the blade or replacing it temporarily, store it in a safe location out of foot traffic. Hang it on a wall hook or place it blade-down on a workbench with a protective cover. Keep it away from children and pets.
Blade Sharpening Considerations
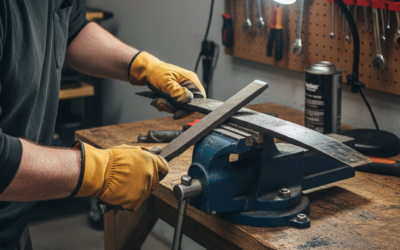
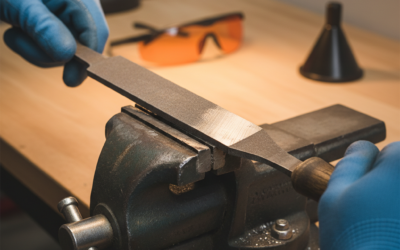
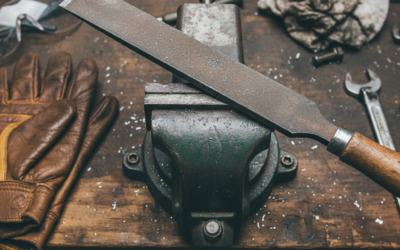
When sharpening, maintain the blade’s balance—unequal weight distribution causes vibration and poor cutting. File each side of the blade equally. If one side is significantly more worn, sharpen conservatively to keep the blade balanced. If the blade is severely damaged or bent, replacement is safer than attempting to repair it.
Reinstalling the Blade
When reinstalling, align your mark with the top side of the blade facing up. Slide the blade back onto the spindle shaft, ensuring it seats fully. Insert the bolt and hand-tighten first. Then use the wrench to tighten firmly—most residential mower blades require 35-90 foot-pounds of torque depending on the mower model. Check your owner’s manual for the exact specification. Use a torque wrench if available to avoid over-tightening or under-tightening.
Frequently Asked Questions
Can I remove a lawnmower blade without disconnecting the spark plug?
No. Always disconnect the spark plug wire before working on the blade. Even without the key in the ignition, some mowers can start if the blade catches or if you accidentally bump the starter. Disconnecting the spark plug eliminates this risk entirely and takes only seconds.
What if the blade bolt won’t loosen?
If the bolt is stuck, apply penetrating oil (like WD-40) and wait 15-30 minutes. Try again with a wrench that fits snugly—a loose wrench can strip the bolt head. If still stuck, try tapping the wrench gently with a hammer to break the corrosion. Never force it excessively or you’ll strip the bolt, requiring bolt extraction tools.
Why do I need to mark the blade before removal?
Marking ensures you reinstall the blade in the correct orientation. Installing a blade upside down prevents proper cutting and can cause significant vibration and damage. The marking also helps you identify the blade later if you have multiple mowers or spares.
How often should I remove and inspect my mower blade?
Inspect your blade at the start of each mowing season and after hitting rocks, stumps, or hard objects. Most blades last 1-3 seasons before needing sharpening or replacement. Dull blades tear grass instead of cutting cleanly, inviting disease and poor turf health. If you mow frequently or on rough terrain, inspect every 20-30 hours of use.
Common Mistakes to Avoid
- Forgetting to disconnect the spark plug: The most dangerous mistake—always disconnect first.
- Tipping the mower with the air filter facing down: Fuel can flood the engine, making it hard to start and potentially damaging internal components.
- Reinstalling the blade upside down: Your marking prevents this error.
- Working on an unsupported mower: Use jack stands or secure the mower in a vise.
- Overtightening the blade bolt: This can strip the spindle shaft or crack the blade. Follow torque specifications.
- Neglecting blade balance: Unbalanced blades cause vibration and poor cutting performance.
When to Call a Professional
If your blade bolt is severely corroded or stripped, if the spindle shaft is damaged, or if you’re uncomfortable working with tools, contact a lawn mower repair shop. Blade removal is a basic maintenance task, but complicated issues like spindle damage require professional service. Cost for professional blade removal and sharpening typically ranges from $30-$60, which may be worthwhile if you’re unsure of your abilities.