


Pros
- Six-pack bundle listed in the product title
- Square profile line named in the product title
- Commercial 5 lb size listed for heavier use
Cons
- Trimmer compatibility is not verified in supplied data

Pros
- Six-pack bundle listed in the product title
- Star profile line named in the product title
- Commercial 5 lb size listed for heavier use
Cons
- Line length and trimmer fit are not stated in supplied data

Pros
- Title lists 1280 feet of line length
- Square profile named in the product title
- Lists a 5 lb line rating
- Title describes it as commercial-style line

Pros
- Title lists .095-inch square nylon line
- Lists 1280 feet of line length
- Manufacturer states fit with most string trimmers
- Lists a 5 lb line rating
What You Need Before You Start (Safety & Supplies)
Getting safety right before touching the head is not optional — trimmer blades and spinning line generate serious lacerations. Safety steps also differ by power source.
Gas Trimmers
- Turn the engine off and let it cool completely.
- Disconnect the spark plug wire from the spark plug — this prevents accidental ignition if the engine is bumped during restringing.
- Set the trimmer on a flat, stable surface.
Corded Electric Trimmers
- Unplug the power cord from the outlet before touching the head.
- Do not rely on the power switch alone — switches can fail.
Cordless (Battery) Trimmers
- Remove the battery pack before starting — this is the only reliable lockout on cordless tools.
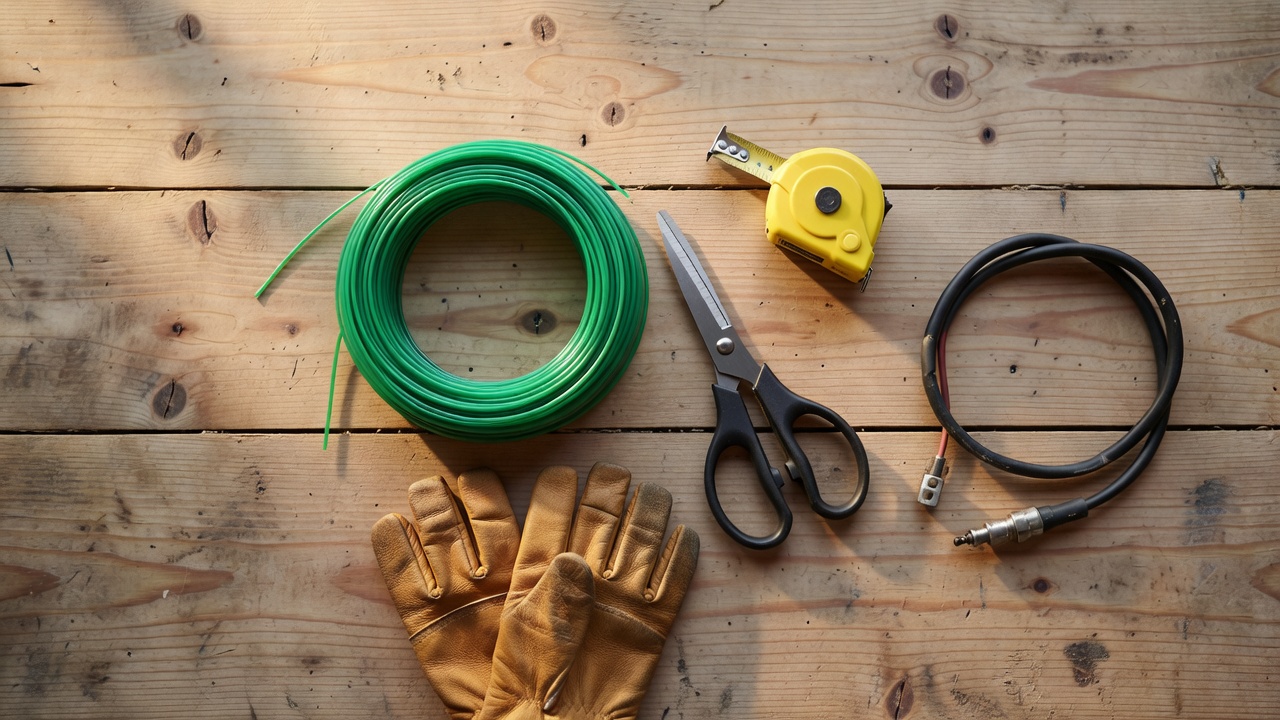
Supplies Checklist
- Replacement trimmer line (correct diameter — see the size chart below)
- Scissors or a utility knife to cut line cleanly
- Work gloves (trimmer line edges are sharp)
- Tape measure or the length guide stamped on the spool housing
- Owner’s manual for your specific model (winding direction and eyelet count vary)
No specialty tools are required for most consumer heads. Some commercial heads use a retaining bolt in the center of the cap — a flathead or Phillips screwdriver handles that.
How to Identify Your Weed Eater Head Type Before Stringing
Head type determines the entire restringing method. Identify yours before cutting any line. When planning workspace deployment, consider the engineering criteria outlined in our jbl partybox club 120 vs sony srs xv500 guide.
Bump-Feed Head (Semi-Automatic)
The most common head on consumer gas and corded electric trimmers. Recognizable by a rounded plastic knob on the bottom — the bump knob. When the knob is tapped on the ground during operation, a spring mechanism advances fresh line through the eyelets. Line is wound onto a removable spool inside the cap. Most Husqvarna, Ryobi (gas), and Weed Eater-brand models use bump-feed heads. When planning workspace deployment, consider the engineering criteria outlined in our jbl partybox club 120 vs sony srs xv500 guide.
Auto-Feed Head (Automatic)
Common on newer cordless models such as the Ryobi One+ 18V and Black+Decker EASYFEED series. The head advances line automatically using centrifugal force as the spool spins — no bumping needed. The spool still requires manual winding during restringing, but some brands (Black+Decker EASYFEED) use a push-button line-loading system that eliminates winding entirely; pre-wound replacement spools are inserted as a single unit. For additional operational safety benchmarks, see our published testing notes on z890 vs x870e motherboard.
Fixed-Line Head (Pre-Cut Segments)
Used on STIHL AutoCut heads and select commercial models. No spool and no winding — short pre-cut line segments (typically 7–12 inches) are inserted directly into eyelets in the head body. When a segment wears down, you stop, reinsert a new segment, and resume. No disassembly of a cap is required.
Quick Identification Test
- Bump knob on the bottom → bump-feed
- No knob, smooth bottom, auto advances during use → auto-feed
- Line inserts into slots or holes in the outer head body (no cap to remove) → fixed-line
Trimmer Line Size Chart: Correct Gauge by Brand and Model
Using the wrong line diameter causes two failure modes: line that is too thin snaps immediately; line that is too thick jams the eyelet and prevents feeding. Always confirm against your owner’s manual or the diameter stamp on the spool housing. The table below reflects common published specifications — verify for your specific model number before purchasing line. For additional operational safety benchmarks, see our published testing notes on z890 vs x870e motherboard.
| Brand / Model Range | Common Line Diameter | Head Type | Notes |
|---|---|---|---|
| Weed Eater brand (Husqvarna-owned) — consumer gas | 0.065″ – 0.080″ | Bump-feed | Check spool housing stamp; lighter residential models use 0.065″ |
| Husqvarna 115iL / 525L / 535LS | 0.080″ – 0.095″ | Bump-feed / T25 head | T25 head accepts up to 0.095″; confirm per model |
| STIHL FS 38 / FS 55 / FS 91 | 0.080″ – 0.095″ | AutoCut (fixed-line) or bump-feed | AutoCut C 5-2 uses pre-cut segments; confirm head installed |
| Ryobi One+ 18V / 40V cordless | 0.065″ – 0.080″ | Auto-feed / bump-feed | PCB300B and similar use 0.065″; heavier 40V models use 0.080″ |
| Black+Decker EASYFEED (LST series) | 0.065″ | Auto-feed | Pre-wound replacement spool (AF-100) recommended; bulk line compatible |
| Husqvarna / STIHL — commercial backpack / heavy-duty | 0.095″ – 0.105″ | Bump-feed | Heavier gauge for brush cutting; verify shaft and head ratings |
Where to find your model’s exact spec: The required diameter is stamped or molded onto the spool housing or printed on the underside of the spool cap. It is also listed in the owner’s manual under “replacement line” or “accessories.”
How to String a Bump-Feed Weed Eater Head (Step-by-Step)
This procedure applies to the majority of consumer gas trimmers and many corded electric models. To compare alternative configurations, check our hands-on review of marshall stanmore iii vs harman kardon onyx studio 8.
- Disconnect power using the method for your trimmer type (spark plug wire, unplug, or remove battery).
- Remove the spool cap. Most caps have two tabs on opposite sides — squeeze them simultaneously and pull the cap straight off. Some caps unscrew counterclockwise. Check your manual if the cap does not release with tab pressure.
- Lift out the spool and remove the spring underneath it if present — note the spring orientation so you can replace it correctly.
- Clear old line. Pull out all remaining line from both channels. Wipe the spool and cap interior clean.
- Measure and cut new line. Read the length stamped on the spool housing — commonly 20 ft per strand for single-line spools, or 20–25 ft per strand for dual-line spools. Cut at that length. For dual-line spools, cut two equal strands.
- Find the anchor hole. This is a small notch or hole in the spool hub. Insert the first 1–2 inches of one line end into the anchor hole to lock it.
- Wind in the correct direction. The arrow on the spool face indicates which direction to wind. Winding against the arrow causes the line to unwind during operation and fail to feed. Wind in tight, even, overlapping layers — do not crisscross strands.
- For dual-line spools: Wind the first strand, filling the bottom channel, then insert the second strand in the second anchor hole and wind it in the same direction in the upper channel. Keep the two strands separated by the divider rib on the spool.
- Leave 6 inches free on each strand. Hold the wound line in place with your thumb so it does not unravel.
- Feed free ends through the eyelets on the trimmer head — one strand per eyelet. Pull until the line catches and holds.
- Reinstall the spring (if present) in its original orientation, then set the spool into the head.
- Press the cap on until both tabs click into place. If the cap resists, the spool is overfilled — remove it, unwrap 2–3 turns, and try again. Forcing an overfilled spool is the leading cause of cap failure.
- Tap the bump knob on pavement once with the trimmer still off to confirm the line advances freely.
How to String an Auto-Feed Weed Eater Head (Step-by-Step)
Auto-feed heads on models such as the Ryobi One+ and Black+Decker EASYFEED advance line automatically during operation. The spool winding process is identical to bump-feed in principle, but the cap release and reassembly method differs by brand.
Option A: Wind Bulk Line onto the Spool (All Auto-Feed Brands)
- Remove the battery.
- Remove the spool cap — on most auto-feed heads this is a twist-off cap (rotate 90° counterclockwise then pull) rather than a tab-squeeze cap.
- Remove the old spool and clear all old line.
- Cut new line at the length shown on the spool housing (often 20 ft for 0.065″ line on lightweight cordless models).
- Wind onto the spool following the directional arrow. Auto-feed spools typically use a single line and single channel — no dual-strand winding. Maintain tight, even wraps.
- Leave 5–6 inches free, thread the free end through the eyelet in the head, and seat the spool.
- Twist the cap clockwise until it locks. You should hear or feel a click.
- Test the auto-feed mechanism by reinstalling the battery and running the trimmer briefly at full throttle in an open area. The centrifugal mechanism should advance the line as it wears. If the line does not advance, check that the free end is fully seated in the eyelet and that the spool is not overfilled.
Option B: Pre-Wound Replacement Spool (Black+Decker EASYFEED, some Ryobi)
- Remove the battery, then twist off the cap.
- Pull out the empty spool and discard it (or re-wind it with bulk line using Option A).
- Drop the pre-wound replacement spool (e.g., Black+Decker AF-100) into the head.
- Feed the line end through the eyelet.
- Twist the cap back on until it locks.
Pre-wound spools are faster but cost more per restring than bulk line. Bulk line is compatible with all auto-feed heads as long as the diameter matches. Users looking for related component recommendations can explore our dyson v8 cyclone vs bissell featherweight stick breakdown.
How to Load Line in a Fixed-Line (Pre-Cut) Trimmer Head (Step-by-Step)
Fixed-line heads — including the STIHL AutoCut C 5-2 and C 26-2 — use no spool and no winding. Pre-cut line segments slide into eyelets in the head body. The head does not disassemble for restringing.
- Disconnect the spark plug wire (STIHL heads are gas-powered on most models that use AutoCut fixed-line systems).
- Cut pre-cut segments to the length specified in your manual — typically 7–12 inches depending on the head model. Bulk line can substitute for proprietary pre-cut pieces as long as the diameter matches.
- Locate the eyelet channels on the outer edge of the head body. Fixed-line heads have 2–4 channels depending on the model (the AutoCut C 5-2 has two channels; the C 26-2 has two as well but a larger head).
- Fold one line segment in half (for heads that use folded segments) or insert it straight if the channel is designed for single-insertion — confirm this in the manual for your specific AutoCut model.
- Push the segment firmly into the channel until equal lengths extend from both sides of the head. The channel has a friction fit that holds the line in place during operation.
- Repeat for all channels.
- Reconnect the spark plug wire and test. No bump knob test applies — fixed-line heads deliver constant line length until it wears to the cutter blade on the guard.
Can you use bulk line instead of pre-cut pieces? Yes — cut bulk line to the length stamped on the head or specified in the manual. Diameter must match exactly. The friction-fit channel does not care whether the segment came from a pre-cut pack or a bulk spool. Before finalizing equipment decisions, refer to our comprehensive bissell crosswave hydrosteam vs shark stainforce comparison.
Common Weed Eater Restringing Mistakes and How to Fix Them
Trimmer Line Keeps Breaking Right After Restringing
Cause: Line diameter is too thin for the head, the line is old and brittle (UV-degraded), or the free end extending from the eyelet is too short and gets severed by the guard blade immediately. Fix: Use line diameter within spec for your model, store bulk line sealed and out of direct sunlight, and leave at least 4–6 inches extending from the eyelet after reassembly.
Line Won’t Feed When I Bump the Head
Cause 1 — Wrong winding direction: Line wound against the arrow on the spool tightens instead of releasing when the bump knob engages the spring mechanism. Remove the spool and rewind in the correct direction. Cause 2 — Overfilled spool: Too much line creates friction that prevents the spring from advancing the spool. Remove 2–3 turns. Cause 3 — Broken or missing spring: Inspect and replace the bump spring.
Trimmer Line Is Melting or Fusing Inside the Spool
Cause: Heat from friction when line layers bind against each other — most commonly from cross-wound layers or overfilling. Line-to-line contact at high RPM generates enough heat to weld adjacent strands. Fix: Wind in tight, even, non-overlapping rows; do not exceed the fill line marked inside the spool or the length stamped on the housing. Using round-profile line rather than twisted or star-shaped profile also reduces inter-strand friction.
The Spool Cap Won’t Snap Back On
Cause: Overfilled spool prevents the cap from seating fully over the spool rim. The cap tabs cannot engage their locking recesses when the spool sits too high. Fix: Remove 2–3 turns of line, reseat the spool, and try again. Do not force the cap — cracked cap tabs are a common and avoidable repair cost.
I Wound the Line in the Wrong Direction — Do I Have to Start Over?
Yes. Unwrap the incorrectly wound line, re-insert the end into the anchor hole, and rewind following the directional arrow. Winding in the wrong direction is not a cosmetic error — the bump-feed and auto-feed mechanisms are directional by design, and incorrect winding causes the line to jam rather than feed.
Everything You Need to Know: How To Put String In Weed Eater Head FAQ
How long should the trimmer line be when I cut it?
Cut to the length stamped on your spool housing — this is the most accurate reference. As a general benchmark, most consumer spool housings specify 20–25 ft per strand. Exceeding that length causes overfilling, which jams the spool inside the cap and prevents line from feeding.
Can I use any brand of trimmer line in my weed eater head?
Brand does not matter — diameter does. Any trimmer line at the diameter specified for your head (confirmed via the spool housing stamp or owner’s manual) will function correctly regardless of manufacturer. Line profile (round, twisted, star-shaped) affects cutting aggressiveness and noise but does not affect compatibility with the spool itself.
Is “Weed Eater” a brand or a generic term?
Both. Weed Eater is a registered brand currently owned by Husqvarna Group, applied to a line of consumer gas and electric string trimmers sold in North America. It is also widely used as a generic term for any string trimmer regardless of manufacturer — similar to how “Kleenex” is used for facial tissue. This article uses “weed eater” in the generic sense throughout except where the Weed Eater brand is specifically named.
How often should I restring my weed eater?
There is no fixed interval — restring when the line wears down to the point where the bump knob no longer advances usable length, or when line breaks repeatedly at the eyelet. Heavy users trimming large properties may restring every few sessions; light residential users may restring once or twice per season. Keeping a pre-cut length of line in your trimmer bag removes any friction from getting it done promptly.
For more detailed testing breakdowns and top recommendations, check our in-depth guide to cordless stick vacuum buyer guide.
For more hands-on benchmarks and buying recommendations, consult our guides on robotic pool cleaner comparison guide, as well as deep carpet cleaning machine reviews, as well as automated robotic vacuum cleaning systems, as well as all-in-one vacuum steam mop combo guide.
Mechanical safety standards, operational tolerances, and protective gear guidelines align with benchmark specifications established by the American National Standards Institute (ANSI).









