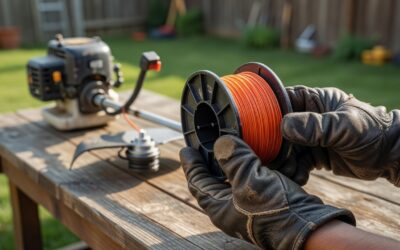
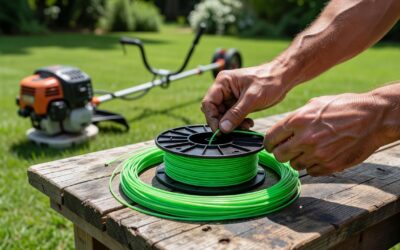
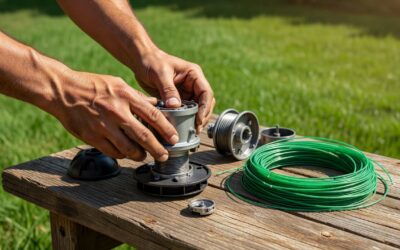
Quick Answer: Disconnect power first (unplug, remove the battery, or kill the engine and remove the spark plug). Engage the shaft lock or hold the shaft stationary. Turn the retaining nut or center bolt clockwise to loosen on most gas trimmers — because the thread is reverse (left-hand) threaded. On electric and battery models, thread direction varies by brand. Once the fastener is off, pull the head straight off the arbor. Some heads use a press-tab or snap-collar release instead of a threaded fastener entirely.
Safety First: Disconnect Power Before You Touch the Head
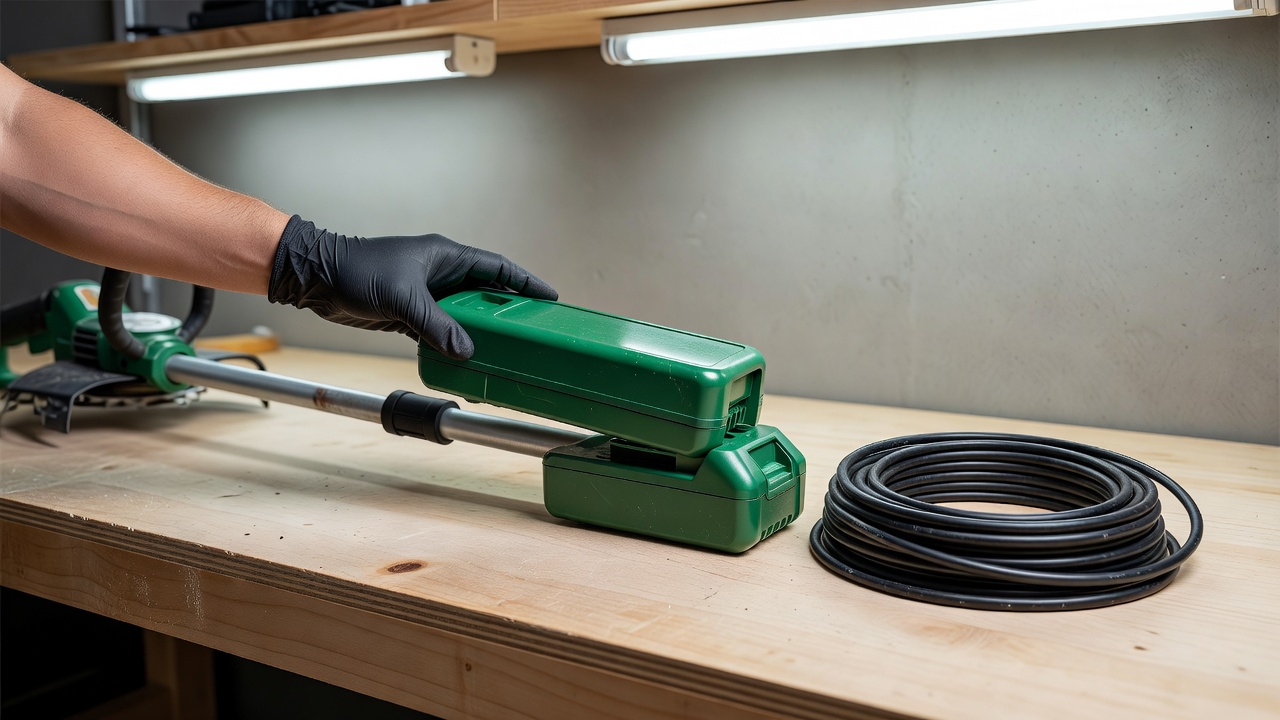
Every trimmer head removal starts the same way regardless of brand, head type, or shaft style: eliminate all possibility of accidental startup.
- Battery-powered trimmer: Press the battery release tab and slide the battery pack completely off the tool before doing anything else. Do not rely on the safety trigger alone.
- Corded electric trimmer: Unplug the power cord from the wall outlet. Confirm the cord is clear of the work area so it cannot be accidentally kicked back in.
- Gas trimmer: Turn the engine off, allow it to cool for at least two minutes, then disconnect the spark plug wire from the spark plug and tuck the wire away from the plug terminal. This prevents any accidental compression-start while you apply torque to the head.
Wear cut-resistant gloves throughout. Trimmer line ends and blade-adapter edges are sharp even when the unit is off. Eye protection is recommended — debris and old line fragments are dislodged during removal.
Identify Your Head Type and Thread Direction Before You Turn Anything
Turning a fastener the wrong direction strips threads or tightens a reverse-threaded nut further. Identify both variables before applying any force.
Head Types
- Bump-feed head: The most common type. A spring-loaded spool inside the head feeds new line when you tap the bump knob on the ground. Removal involves unscrewing a retaining nut or the bump knob itself.
- Fixed-line head (pre-cut line): Individual line segments are inserted into eyelets. No spool inside. Usually held by the same threaded arbor bolt as a bump-feed unit.
- Speed-feed / rapid-load head: Line is threaded through a central channel and wound by spinning the head. Removal method is identical to bump-feed — threaded fastener on the arbor.
- Blade attachment head: A metal or plastic disc held by an arbor bolt and often a separate blade brake washer. Requires the same shaft-lock technique but typically uses a standard (right-hand) thread bolt and may need a specific wrench size.
Thread Direction Quick-Reference Table
| Brand / Model Line | Power Source | Thread Direction | Fastener Type |
|---|---|---|---|
| Most gas trimmers (general) | Gas | Reverse (left-hand) — loosen clockwise | Retaining nut or bump knob |
| STIHL (AutoCut series) | Gas | Left-hand — loosen clockwise | Spanner-hole nut (no hex drive) |
| Ryobi (most lines) | Gas / Battery | Reverse — loosen clockwise | Retaining nut |
| Husqvarna | Gas / Battery | Left-hand on most gas; verify battery model | Retaining nut or bolt |
| EGO Power+ | Battery | Snap-collar (select models) or standard thread — check model | Snap-collar tab or arbor bolt |
| Black+Decker | Corded / Battery | Standard (right-hand) on most models — loosen counterclockwise | Center bolt or AFS auto-feed housing |
Always confirm thread direction in your specific model’s operator manual before applying torque. Manuals are available on each brand’s official support site by entering the model number.
Tools You May Need
- Allen wrench / hex key: Commonly 8 mm or 10 mm for the arbor bolt; some models use a proprietary size — check your manual.
- Open-end wrench or pliers: For retaining nuts on gas trimmers. Wrap pliers jaws in tape to avoid scoring the nut.
- Spanner wrench: Required for STIHL AutoCut heads, which have two spanner holes and no hex socket.
- Shaft-lock pin (built-in): Most modern trimmers have a blade-lock or shaft-lock button — no separate tool needed.
- Penetrating oil: For corroded or seized threads only. Apply sparingly and allow 10–15 minutes of dwell time.
- Cut-resistant gloves and safety glasses.
Many bump-feed and speed-feed heads require no tools at all — the head unscrews by hand once the shaft is locked.
Step-by-Step: How to Remove a Threaded Bump-Feed or Fixed-Line Trimmer Head
This sequence covers the standard threaded-fastener removal used on the majority of gas, battery, and corded electric trimmers.
- Disconnect power — battery out, cord unplugged, or spark plug wire removed. Confirm the unit cannot start.
- Position the trimmer — lay it on a flat surface with the head facing up, or hold it steady with one hand. Some users place the shaft across a workbench with the head hanging off the edge for easier access.
- Engage the shaft lock — locate the blade-lock or shaft-lock button, typically a small button or pin on the gearbox housing near the head. Press and hold it firmly. On models without a shaft lock, insert an Allen wrench through the arbor hole (if present) to pin the shaft, or use a strap wrench around the head body to prevent rotation.
- Determine your turn direction — refer to the table above or the label molded into the head housing (many heads stamp an arrow or the word “LOOSEN” with a directional arrow). Gas trimmers: turn the retaining nut or bump knob clockwise to loosen. Standard-thread models: turn counterclockwise.
- Break the fastener loose — apply steady, firm force in the correct direction. Avoid jerking, which can strip threads. If the fastener won’t move, see the Troubleshooting section below before applying more force.
- Unthread the retaining nut or center bolt completely — hold your other hand under the head to catch small parts as the fastener comes free.
- Note the order of any washers or springs — before sliding the head off, photograph the assembly. Most bump-feed heads have a spring and one or two washers between the head and the gearbox housing. Reinstallation requires the same order.
- Slide the head straight off the arbor — pull axially (straight out along the shaft axis). If it resists, check that the retaining nut is fully unthreaded. Do not pry laterally, which can damage the arbor threads.
- Set aside all small components — nut, washers, spring, and spool — in a container so nothing rolls away.
Brand-Specific Removal Notes
STIHL (AutoCut and PolyCut Heads)
STIHL AutoCut heads use a left-hand (reverse) thread — turn the nut clockwise to loosen. The nut does not have a hex socket; it has two spanner holes. Use a STIHL spanner wrench (part of the tool kit shipped with the trimmer) or a universal spanner wrench. Engage the shaft lock on the gear housing before applying torque. Once the nut is off, the head lifts straight off. Some AutoCut models have the thread direction stamped on the underside of the nut. PolyCut blade heads follow the same thread direction but use a standard center bolt — verify with your model’s manual.
Ryobi
Most Ryobi bump-feed heads — across both gas and 18V/40V battery lines — use a reverse-thread retaining nut (loosen clockwise). The shaft lock is a button on the gearbox housing. Press it, then turn the bump knob or retaining nut clockwise. On several Ryobi models, the bump knob itself is the retaining nut — unscrew it, then lift the spool and spring out, and the head body slides off the arbor. Refer to your specific model’s operator manual (available at ryobitools.com by entering the model number) to confirm fastener type, as Ryobi’s range is broad.
Husqvarna
Husqvarna gas trimmers predominantly use a left-hand thread retaining nut — loosen clockwise. Battery Husqvarna models vary; check the operator manual for the specific model number. Engage the shaft lock (or insert the supplied shaft-lock pin on older models), then apply wrench or hand torque clockwise to break the nut loose. Husqvarna T25 and T35 tap-advance heads unscrew as one unit once the nut is removed. The inner spool assembly can then be accessed separately for re-lining.
EGO Power+
EGO trimmers use two distinct removal systems depending on the model. Select EGO models (including some in the ST1500 and ST1521 series) feature a snap-collar or push-button release: press the two tabs on the collar simultaneously and pull the head straight off — no tools, no rotation required. Other EGO models use a standard arbor bolt accessed by removing the bump knob first, then unscrewing the bolt counterclockwise (standard right-hand thread). Identify your system by checking whether the head housing has visible press tabs. Confirm the method in your model’s operator manual at egopowerplus.com before turning anything.
Black+Decker
Most Black+Decker corded and battery trimmers use a standard right-hand thread — turn the center bolt or AFS (Automatic Feed System) housing counterclockwise to loosen. Many Black+Decker models have no shaft-lock button; instead, the head is designed to be unscrewed by hand with moderate force, relying on the motor’s internal resistance. If the head spins freely and won’t unscrew, hold the shaft just above the head with a gloved hand while turning the head counterclockwise. The AFS spool housing itself is the retaining component on several models — once it unscrews, the spool lifts free directly.
Curved-Shaft vs. Straight-Shaft Trimmer Head Removal: Key Differences
The removal mechanics are identical — shaft lock, correct turn direction, pull the head off — but ergonomics and access points differ.
- Straight-shaft trimmer: The arbor bolt or retaining nut faces straight down when the unit is on the ground. Access is straightforward. Straight-shaft models are more commonly professional-grade gas units, so reverse-thread is the dominant convention. The shaft-lock button is typically on the side of the gearbox housing, thumb-accessible while kneeling.
- Curved-shaft trimmer: The head angles back toward the operator. Lay the trimmer on its side on a workbench for stable access. The bump knob faces upward in this position. Curved-shaft trimmers are more commonly consumer-grade electric or battery models, so standard thread appears more frequently — but always verify before turning.
Neither shaft style requires additional tools or a different sequence; the difference is purely positional. Straight-shaft units sometimes have a longer, exposed arbor that makes thread direction markings easier to read.
What to Do After the Head Is Off
- Inspect the arbor threads: Look for cross-threading, corrosion, or flattened thread crests. Damaged arbor threads cannot be repaired easily — a damaged spindle assembly typically requires professional service or gearbox replacement.
- Clean the gearbox housing: Grass clippings and debris pack into the housing opening. Clear this with a stiff brush or compressed air before installing a new head.
- Re-spool the existing head: If the goal was line replacement rather than head replacement, wind new trimmer line (match the diameter stamped on the head — commonly 0.065″, 0.080″, or 0.095″) onto the spool, reassemble the spring and washers in the photographed order, and thread the head back onto the arbor.
- Install a replacement head: Match the thread specification (left-hand or right-hand, and thread pitch) of the original fastener. Universal aftermarket heads specify this on packaging.
- Convert to a blade attachment: Confirm your trimmer’s gearbox is rated for blade use (stated in the operator manual). Blade attachments install on the same arbor but require a blade brake washer between the blade and the gearbox housing. Do not skip this washer — it is a safety component.
Troubleshooting: Trimmer Head Won’t Come Off
Turning the wrong direction
The most common cause. If the nut gets harder to turn as you apply force, stop — you are tightening a reverse-threaded fastener. Reverse your direction. On gas trimmers, clockwise loosens. On most electric models, counterclockwise loosens. If uncertain, apply light force in one direction; if resistance increases immediately, switch.
Shaft lock not fully engaged
If the shaft rotates with the head when you apply torque, the lock is not seated. Press the lock button firmly until you feel or hear it engage before applying wrench force. On models without a lock button, have a second person hold the upper shaft, or use a strap wrench around the shaft just above the gearbox housing.
Corroded or seized threads
Apply a small amount of penetrating oil (such as WD-40) to the joint between the head and the gearbox housing. Allow 10–15 minutes of dwell time. Then attempt removal. Avoid soaking the area — excess penetrant can reach internal gearbox grease or plastic components. Check your trimmer’s warranty terms before using penetrating oil; some manufacturers note that chemical exposure may affect warranty coverage on certain components.
Stuck bump knob from impact debris
Grass, dried mud, and debris pack around the bump knob and lock it mechanically. Rinse the head with water and scrub the knob joint with a stiff brush before attempting removal. This alone resolves many “stuck head” cases without any tool intervention.
Cross-threaded fastener
If the head was previously installed cross-threaded, removal requires careful back-and-forth rocking — small clockwise then counterclockwise movements — while pulling outward on the head. Forcing a cross-threaded fastener in one direction destroys the arbor threads. If the fastener cannot be freed by hand, take the unit to a service center rather than risk arbor damage.
Frequently Asked Questions
Which way do I turn the nut to remove a string trimmer head?
On most gas-powered trimmers, turn the retaining nut clockwise to loosen because the thread is reverse (left-hand) threaded. This counterintuitive direction prevents the nut from loosening during normal operation, when the head spins counterclockwise. On most corded and battery trimmers — particularly Black+Decker — the thread is standard (right-hand), so counterclockwise loosens. Confirm the direction by checking the marking on the head housing or the operator manual before applying force.
Do I need special tools to remove a string trimmer head?
Many heads — especially consumer-grade bump-feed and speed-feed heads — unscrew by hand once the shaft lock is engaged. Gas trimmer heads often need an open-end wrench or pliers to break the nut loose. STIHL AutoCut heads require a spanner wrench. Blade attachments typically need an Allen wrench or hex key (commonly 8 mm or 10 mm) to remove the center arbor bolt. Check the tool list in your operator manual; the supplied tool kit usually includes the correct wrench for that model.
Why does my trimmer head spin instead of unscrewing when I try to remove it?
The shaft lock is not engaged, so the entire drivetrain rotates with the head. Press and hold the shaft-lock or blade-lock button on the gearbox housing until it clicks into position, then apply torque to the head. If your model has no shaft-lock button, use a strap wrench on the shaft above the gearbox, or ask a second person to hold the upper shaft steady while you turn the head.
Can I use WD-40 to remove a stuck trimmer head?
Penetrating oil is effective on corroded or seized threads — apply a small amount at the head-to-gearbox joint and allow 10–15 minutes before attempting removal. Use it sparingly to avoid saturating nearby plastic components or internal gearbox grease. Before applying any chemical, check your trimmer’s warranty documentation; some manufacturers include language that chemical exposure near the gearbox can affect warranty coverage. For a head stuck by packed debris rather than corrosion, washing and brushing the bump knob area is sufficient and carries no warranty risk.