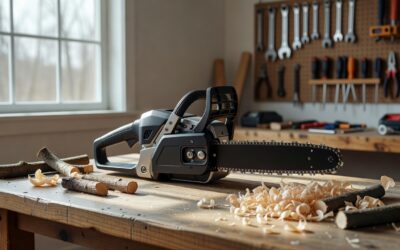
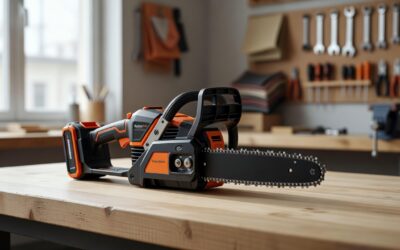
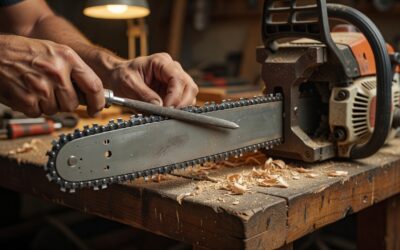
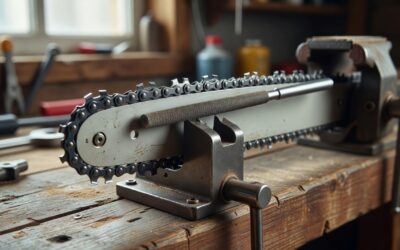
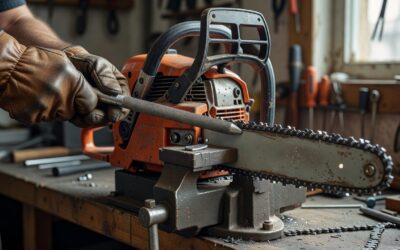
To sharpen a Stihl chainsaw chain, you must first secure the saw and engage the chain brake for safety. Using a round file of the correct diameter for your chain’s pitch, you file each cutter from the inside out at the specified angle (often 30 degrees). After sharpening the cutters, you check and file the depth gauges (rakers) to ensure proper cutting depth and reduce kickback risk.
A dull chain is inefficient and dangerous. It produces fine sawdust instead of wood chips, requires excessive force, and can pull to one side during a cut. Regular sharpening maintains cutting performance and extends the life of the chain. This guide explains the process using standard hand tools, which is the most common method for homeowners.
Tools and Safety Gear for Sharpening
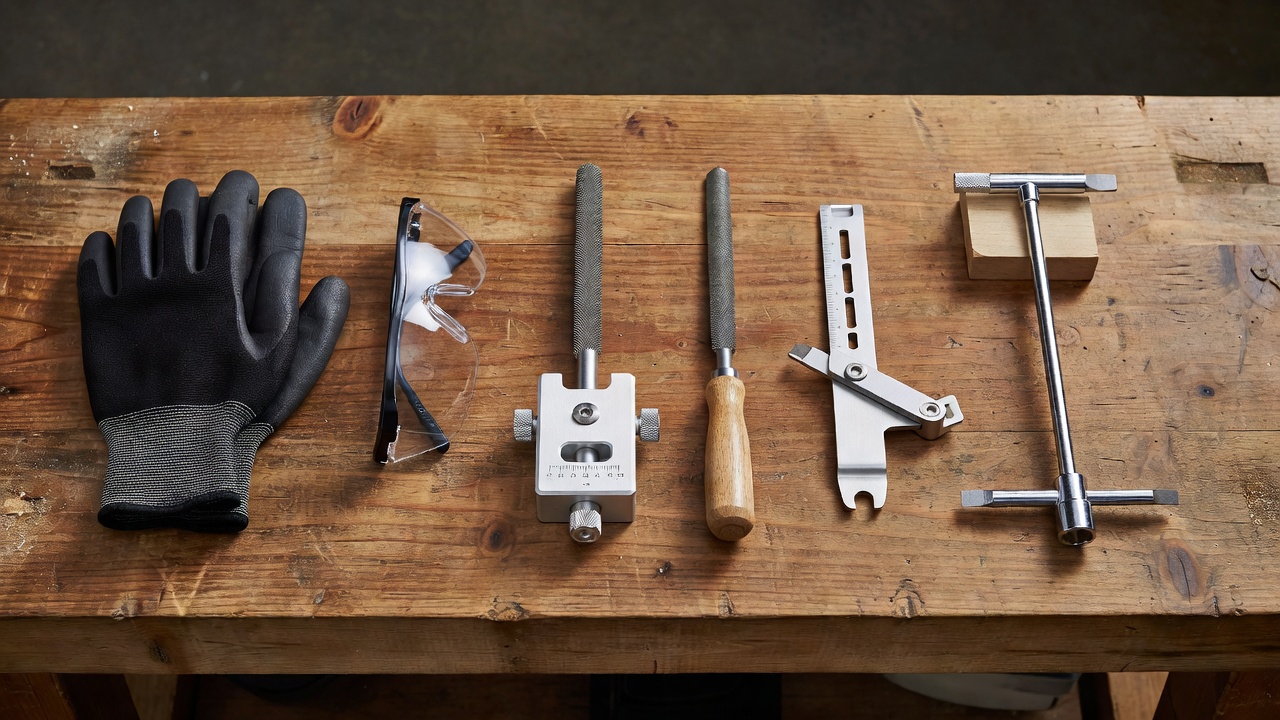
Before you begin, gather the necessary tools and safety equipment. Having the right gear ensures an effective sharpening job and protects you from injury.
Essential Hand Tools
- Round file: The diameter of the file must match the chain’s pitch. Common sizes include 4.0mm, 4.8mm, and 5.2mm, but you must verify the correct size for your specific Stihl chain.
- File guide: A holder that clamps onto the file and often has angle markings (e.g., 30°). This helps maintain a consistent filing angle and depth.
- Depth gauge tool: A flat template used to check the height of the depth gauges (rakers) relative to the cutters.
- Flat file: Used in conjunction with the depth gauge tool to file down the rakers if they are too high.
- Chainsaw file wrench: Typically a multi-tool that includes a scrench (screwdriver/wrench combo) for adjusting chain tension and removing the bar cover.
Safety Gear
Never attempt to sharpen a chain without proper protection. The cutters are extremely sharp, and the chain can move unexpectedly.
- Cut-resistant gloves: Protect your hands from the sharp cutting teeth while handling the chain and filing.
- Safety glasses or goggles: Prevent metal filings from getting into your eyes.
Preparing the Saw Safely
Proper preparation is critical to prevent injury. Follow these steps before you touch the chain with a file.
- Engage the chain brake: Push the front hand guard forward until it clicks. This locks the chain in place on the guide bar, preventing it from rotating while you work.
- Secure the saw: Place the chainsaw on a stable, flat workbench or table. Ensure it cannot tip over. Some users clamp the guide bar in a vise with soft jaws to hold it steady.
- Check chain tension: A loose chain will move around on the bar, making it impossible to file accurately. Adjust the tension so the chain is snug against the bar but can still be pulled around by hand.
- Clean the chain: Use a brush to remove sawdust, oil, and debris from the cutters and depth gauges. A clean chain is easier to inspect and sharpen.
Identifying the Correct File Size and Angle
Using the wrong file size or angle will damage the chain and result in poor cutting performance. You must identify the specifications for your particular chain.
Determining File Size
The correct round file diameter is determined by the chain’s pitch. The pitch is the distance between any three consecutive rivets divided by two. Stihl stamps the chain type and pitch information on the drive links of the chain. You can also find this information in your chainsaw’s owner’s manual or on the bar itself. Common Stihl chain pitches include 3/8″ (9.525mm) and .325″ (8.255mm), each requiring a different file size.
Finding the Filing Angle
The filing angle is the angle at which you hold the file relative to the guide bar. For most Stihl chains, this angle is 30 degrees. The file guide often has angle markings to help you set this correctly. Some chains may have a different angle, so checking the manual or chain markings is advisable. The angle must be consistent for every cutter to ensure balanced cutting.
Step-by-Step Filing Technique
With the saw prepared and the correct tools in hand, you can begin filing. Consistency is key.
Filing the Cutters
- Start with a reference cutter: Choose a cutter that is in good condition to use as a reference for length and angle. Mark it with a felt-tip pen.
- Position the file: Place the round file in the cutter’s gullet. The file guide should rest on top of the cutter and the depth gauge. Align the guide’s angle mark with the bar.
- File with smooth strokes: Push the file forward across the cutter in a smooth, consistent motion. Apply light, even pressure. The file should cut on the forward stroke only.
- Maintain the angle and rhythm: Keep the file at the correct angle and use the same number of strokes for each cutter. While the exact number varies based on dullness, the goal is to restore the sharp edge without removing excessive material.
- Work on one side, then the other: File all the cutters on one side of the chain first. Then, reposition yourself or the saw to file all the cutters on the opposite side. This helps maintain balance.
- Check your work: After filing, each cutter should have a sharp, shiny edge. If any cutter is significantly shorter than the others, it may be damaged and the chain might need replacement.
Checking and Filing the Depth Gauges
The depth gauges, or rakers, are the small metal projections in front of each cutter. They control how deep the cutter bites into the wood. If they are too high, the chain won’t cut aggressively. If they are too low, the chain will grab and increase the risk of kickback.
When to Check
You should check the depth gauge height after every two or three sharpenings of the cutters, or whenever the chain seems to cut slowly despite sharp cutters.
How to Check and File
- Place the depth gauge tool: Lay the tool across the top of two adjacent cutters. The tool has a slot that fits over the depth gauge.
- Check the height: If the top of the depth gauge protrudes above the slot in the tool, it needs to be filed down.
- File with a flat file: Using a flat file, carefully file the top of the depth gauge until it is flush with the tool. File only the front portion of the gauge, maintaining its original rounded shape.
- Round the edges: After filing, slightly round the front edges of the depth gauge with the file to prevent it from catching on wood.
When to Sharpen and When to Replace
Knowing when to sharpen and when to replace the chain is important for safety and efficiency.
Signs the Chain Needs Sharpening
- The saw produces fine sawdust or powder instead of large wood chips.
- You must apply significant downward pressure to make the saw cut.
- The saw pulls or drifts to one side during a cut.
- The engine bogs down or smokes from the increased friction of a dull chain.
When to Replace the Chain
A chain has a finite lifespan. Replace it if:
- Cutters are visibly damaged, cracked, or have broken teeth.
- The cutters have been sharpened so many times that they are significantly shorter than their original length.
- The drive links are worn or stretched, preventing proper tensioning.
- The chain has been overheated (discolored blue or black) from friction.
Sharpening your Stihl chainsaw chain at home is a manageable task with the right tools and attention to detail. Always prioritize safety by engaging the chain brake and wearing protective gear. If you are unsure about any step, consult your chainsaw’s manual or seek assistance from a qualified professional.