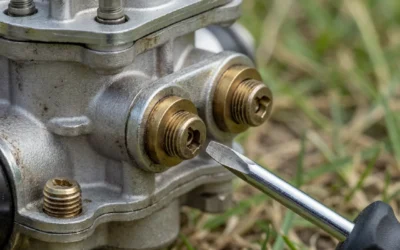
A riding lawn mower’s belt tension directly affects performance, cutting efficiency, and component lifespan. If your mower’s belt slips, the deck fails to engage properly, or you notice unusual noises, adjusting the belt tension may restore normal operation. This guide walks you through the process for the two most common tensioner types, with safety precautions and verification methods to ensure you get the tension right.
Safety Preparation Before Adjusting Belt Tension
Before touching any belt on your riding mower, take essential safety steps to prevent injury and accidental startup.
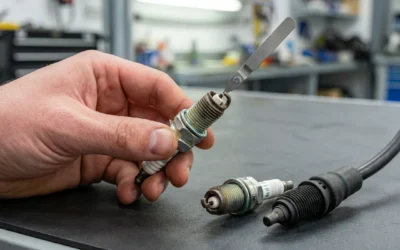
Turn off the engine completely and allow it to cool for at least five minutes. An engine that has recently run will be hot enough to cause burns. Next, disconnect the spark plug wire from the spark plug by twisting it gently and pulling it away. This prevents the engine from accidentally starting if the blade engagement lever or ignition is accidentally triggered during your work.
Engage the parking brake and, if your mower has a blade engagement lever, ensure it is in the disengaged (off) position. Place wheel chocks or blocks behind the rear wheels for additional security if you are working on level ground or a slight slope.
Gather the tools you will need before starting. Most belt adjustments require only basic hand tools: an adjustable wrench or socket set, a screwdriver (flathead or Phillips, depending on your mower model), and possibly an Allen key or hex wrench. Consult your owner’s manual to confirm which tools are needed for your specific model. Have a clean workspace with good lighting, and wear work gloves to protect your hands from sharp edges or moving parts.
Identifying the Belt Type and Tensioner
Riding lawn mowers typically have two belts: the drive belt and the deck belt. Understanding which belt you need to adjust is essential for correct maintenance.
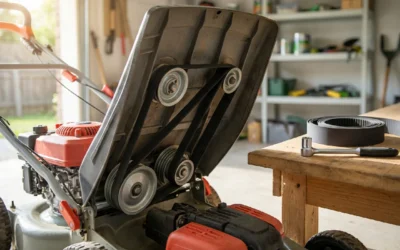
The drive belt connects the engine to the transmission and is responsible for powering the mower’s wheels. A loose drive belt causes the mower to move slowly or sluggishly even when the engine is running at full throttle. The deck belt connects the engine to the cutting deck and engages the blade. A loose deck belt results in weak cutting performance or a blade that does not spin at full speed.
To identify which belt needs attention, observe the symptom. If the mower moves slowly or hesitates, the drive belt likely needs adjustment. If the blade does not cut grass cleanly or makes a grinding noise, focus on the deck belt.
Locate the tensioner on your mower by removing the deck or side panels as needed. On most residential riding mowers, the tensioner is mounted near the belt and is visible once you lift the seat or remove access covers. Consult your owner’s manual for the exact location on your model, as positioning varies significantly between manufacturers.
The tensioner will be one of two types: spring-loaded or bolt-adjustable. A spring-loaded tensioner has a spring attached to a movable bracket or arm; releasing the spring allows you to move the bracket to change tension. A bolt-adjustable tensioner uses one or more bolts to secure a bracket or idler pulley; loosening these bolts lets you reposition the bracket to adjust tension.
Adjusting a Spring-Loaded Tensioner
Spring-loaded tensioners are common on many riding mower models and are straightforward to adjust.
Step 1: Locate the spring and release mechanism. Look for a spring connected to a movable bracket or arm that holds the belt. The spring keeps tension on the belt by pulling the bracket toward the engine or away from the pulleys. Identify how the spring attaches—it may be hooked around a bolt or fastened with a clip.
Step 2: Release the spring tension. Depending on your mower’s design, you may need to unclip the spring or unhook it from its attachment point. If the spring is clipped, use a flathead screwdriver to gently pry the clip open. If it is hooked around a bolt, carefully unhook it by hand or with pliers. Take care not to damage the spring; set it aside safely so you can reattach it later.
Step 3: Reposition the belt. With the spring released, you can now move the bracket or idler pulley to change belt tension. If the belt is too loose, move the bracket to increase tension (typically pulling the bracket away from the engine or toward the pulleys, depending on the design). If the belt is too tight, move it in the opposite direction. Make small adjustments—moving the bracket only a quarter to half inch at a time—and check the tension frequently to avoid over-tightening.
Step 4: Reattach the spring. Once you have positioned the bracket for the correct tension, reattach the spring to its original location. Ensure the spring is fully seated and secure so it will maintain tension as you operate the mower.
Adjusting a Bolt-Adjustable Tensioner
Bolt-adjustable tensioners are secured with one or more bolts and are adjusted by loosening these bolts and repositioning the bracket or pulley.
Step 1: Locate the tensioner bolts. Examine the tensioner bracket or idler pulley assembly and identify the bolts that secure it. There are typically two or three bolts: one that acts as a pivot point and one or two that allow lateral movement. Your owner’s manual will specify which bolts to loosen and in what order.
Step 2: Loosen the adjustment bolts. Using the appropriate wrench or socket, loosen the bolts that allow the bracket to move. Do not remove them completely—loosen them just enough that the bracket can slide or pivot freely. Leave the pivot bolt slightly snug so the bracket remains in position until you make your adjustment.
Step 3: Adjust the bracket position. Once the bolts are loose, carefully move the bracket to increase or decrease belt tension. Moving the bracket away from the engine or the pulleys typically increases tension, while moving it toward them decreases tension. Make incremental adjustments, checking tension frequently. A properly tensioned belt should deflect about half an inch when moderate pressure is applied to the belt between two pulleys.
Step 4: Tighten the bolts securely. Once the tension is correct, use your wrench or socket to re-tighten the adjustment bolts firmly. Ensure all bolts are snug but do not over-tighten, as this can strip threads or warp the bracket. Double-check that the bracket has not shifted after tightening by testing the deflection one more time.
Verifying Correct Belt Tension
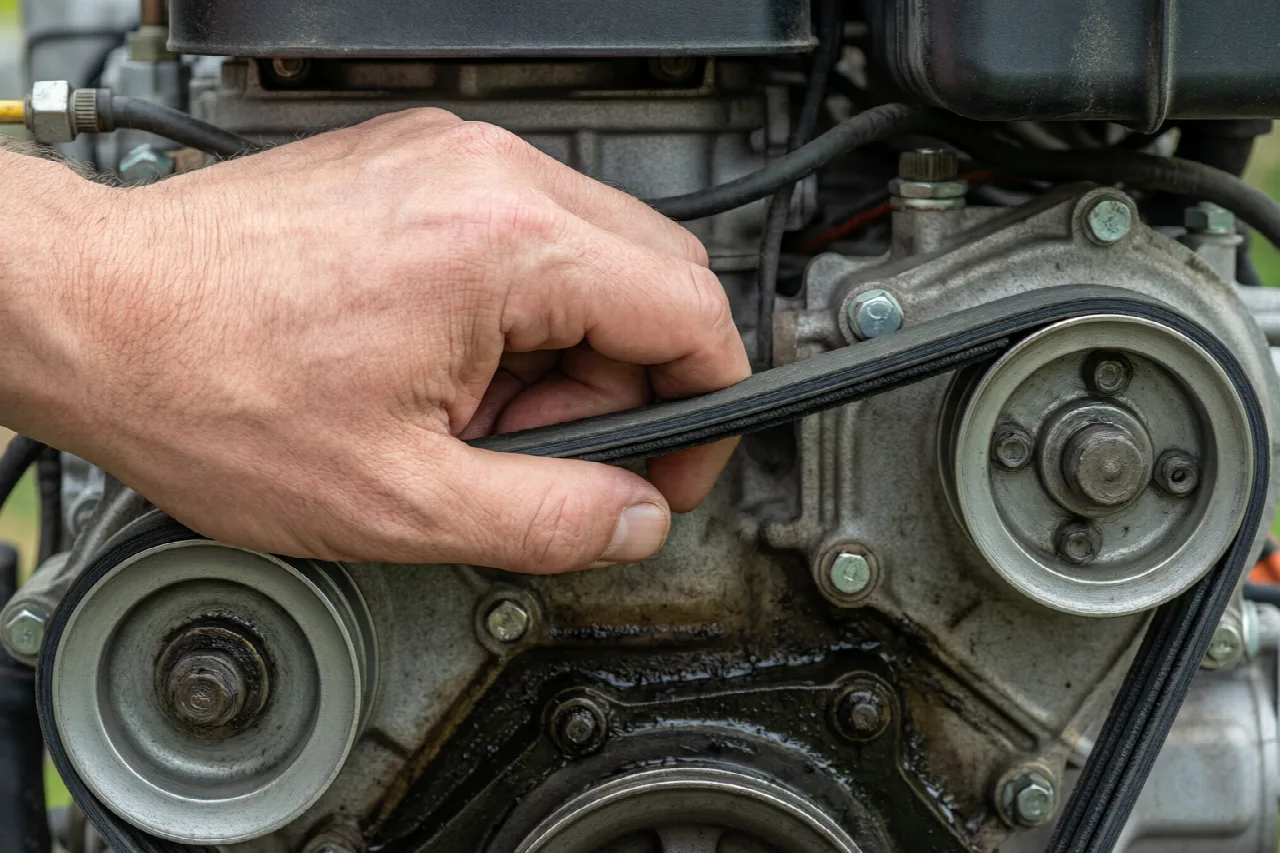
After making adjustments, verify that the belt tension is correct to ensure optimal performance and avoid future problems.
The deflection test is the most reliable method. Place your thumb and forefinger on the belt midway between two pulleys and apply moderate pressure downward. The belt should move approximately half an inch under this pressure. If the belt does not move at all or moves only a fraction of an inch, it is too tight. If it deflects more than half an inch or feels slack, it is too loose. Return to the tensioner and make fine adjustments as needed until the deflection is correct.
Perform the deflection test at several points along the belt length, as tension can vary due to belt wear or uneven seating. All test points should show similar deflection; if one area is significantly different, the belt may be worn unevenly or misaligned. In that case, consult your manual or consider whether the belt needs replacement rather than tension adjustment.
After verifying deflection, reconnect the spark plug wire firmly to the spark plug. Start the engine and listen for unusual noises—grinding, squealing, or chirping may indicate the tension is still incorrect or that the belt itself is damaged. Engage the blade or drive the mower in a test pattern to confirm that power is being transmitted smoothly without slipping. If slipping persists after adjustment, the belt may be worn and require replacement.
Final Checks and Owner’s Manual Reference
Completing the adjustment is not the final step; verify that everything is working correctly and documented for future reference.
After starting the mower and running it briefly, turn it off and allow it to cool. Visually inspect the belt to ensure it is seated evenly on all pulleys and that the tensioner bracket is secure. Check that all bolts and fasteners are tight and that the spring (if present) is properly attached.
Record your adjustment in your mower’s maintenance log if you keep one. Note the date, which belt you adjusted, and the adjustment method used. This documentation helps you track the belt’s condition and anticipate when replacement may be necessary.
Belt tension specifications vary by mower model, engine type, and belt type. While the half-inch deflection rule is widely applicable, your owner’s manual may specify a different target or provide a more precise measurement. Always consult your manual for the definitive tension specification for your model. If you have lost your manual, contact the mower manufacturer or visit their website to download a replacement copy. Following the manufacturer’s specifications ensures the adjustment is correct and helps maintain any warranty coverage on your equipment.
Proper belt tension is essential for reliable mower performance. By following these steps and referring to your owner’s manual, you can safely and effectively adjust your riding lawn mower’s belt tension and keep your equipment running smoothly.