To change a lawn mower belt, first disconnect the spark plug wire for safety, then either tilt the mower or remove the deck to access the belt. Take a photo of the old belt routing before removing it, release the belt tensioner or idler pulley, and slide the old belt off the pulleys. Install the new belt by following the routing diagram (found under the deck or in the owner’s manual), re-engage the tensioner, and reassemble the deck or lower the mower. Reconnect the spark plug wire and test the mower briefly to confirm the belt tracks correctly.
Safety First: Preparing Your Mower
Before you begin any work on your lawn mower, safety must be your top priority. The most critical step is to disconnect the spark plug wire. This prevents the engine from accidentally starting while you are handling the belt and pulleys, which could cause serious injury. Place the wire away from the spark plug so it cannot make contact.
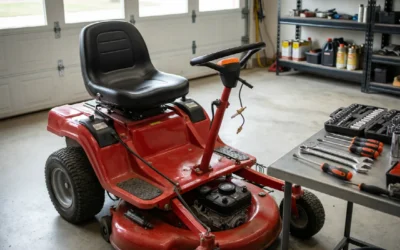
Wear sturdy gloves to protect your hands from sharp edges on the deck and pulleys, and safety glasses to shield your eyes from debris. You will typically need a socket set or wrenches to remove bolts, a pry bar or tensioner tool (depending on your mower), and a clean work area. Work on a flat, level surface such as a concrete garage floor or driveway. If your mower has wheels, chock them to prevent rolling, especially if you are tilting the mower or raising it on jack stands. Always refer to your owner’s manual for specific safety instructions related to your model.
Accessing the Belt: Tilt or Remove the Deck
There are two primary methods to access the belt on a lawn mower: tilting the mower or removing the mower deck. The method you choose depends on your mower type. For walk-behind mowers with a small deck, tilting the mower on its side is often the quickest approach. However, you must tilt it correctly—usually with the air filter and carburetor side facing up to prevent oil or fuel from leaking into the air filter or carburetor. Check your manual for the recommended tilt direction.
For riding mowers or larger walk-behind models, removing the entire mower deck is usually necessary. This involves disconnecting the deck from the mower frame by removing the deck lift linkage, attaching pins, and belt guides. You may need to remove several bolts or clips. Once disconnected, carefully slide the deck out from under the mower. This gives you full access to the belt, pulleys, and tensioner system. Always support the deck safely when removing it, as it can be heavy. Having a second person can be helpful.
Removing the Old Belt
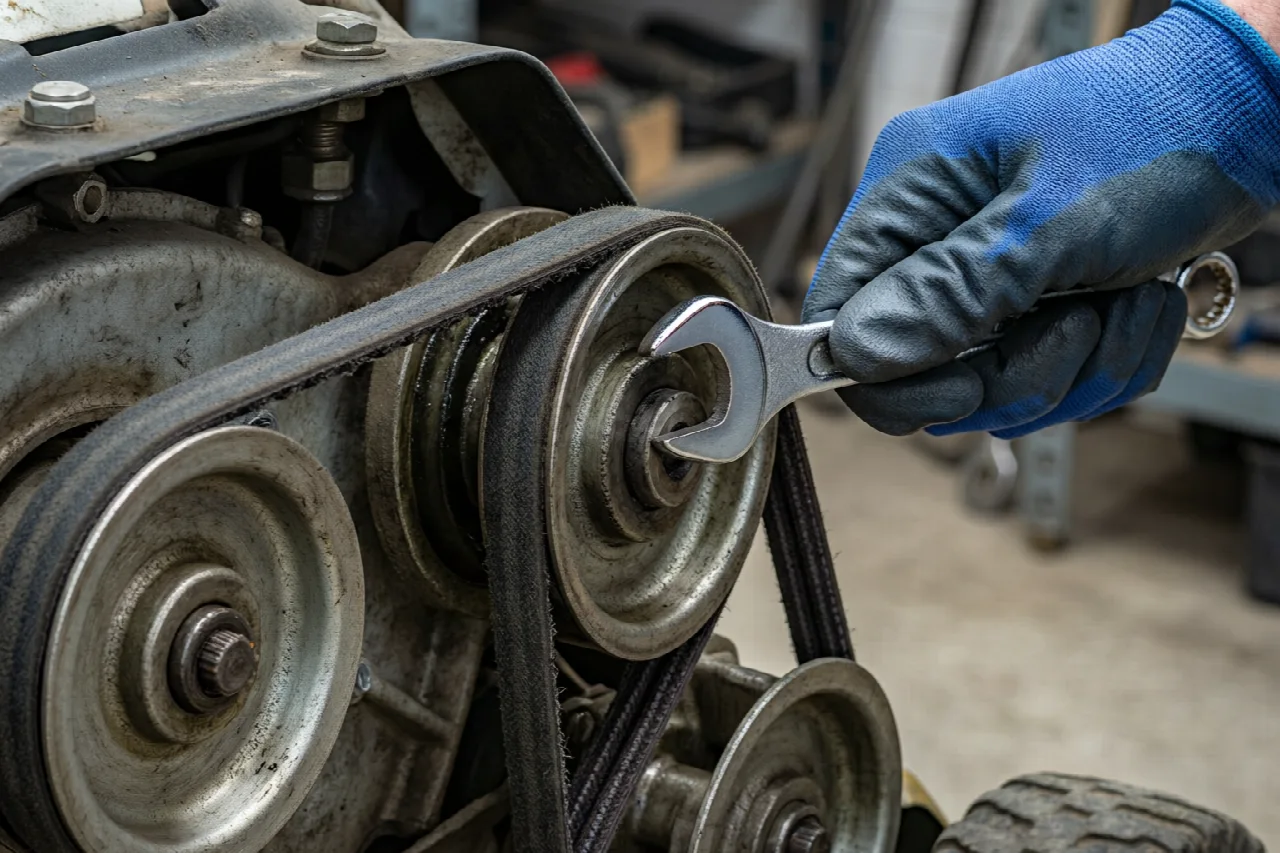
Once you have access to the belt, take a clear photo or make a detailed sketch of the belt routing. This is one of the most important steps because belt routing can be complex, and having a reference will save you time and frustration during installation. Note how the belt wraps around the crankshaft pulley, idler pulleys, and blade pulleys.
Next, release the belt tension. Most mowers have a spring-loaded tensioner or idler pulley that keeps the belt tight. Use a socket or wrench on the tensioner arm to rotate it, which will slacken the belt. Some models have a manual tension release lever. Once the tension is off, you can slip the old belt off the pulleys. Do not force the belt off; if it is stuck, check that you have fully released the tensioner. If the belt is severely worn or frayed, it may come apart—be careful to remove all pieces. Inspect the pulleys for any damage or debris while the belt is off.
Installing the New Belt and Routing It Correctly
Before installing the new belt, compare it with the old one to ensure it is the correct length and width. The belt part number should match the specifications in your owner’s manual. Begin routing the new belt exactly as shown in your photo or diagram. Start with the crankshaft pulley (the one driven by the engine), then loop around the idler pulleys and finally the blade pulleys. Ensure the belt sits firmly in the grooves of each pulley.
If you do not have a photo or manual, look for a belt routing diagram decal, which is often located on the underside of the deck or near the belt shield. If you cannot find one, you can search online using your mower model number, but be cautious—generic diagrams may not match. Once the belt is routed, re-engage the tensioner by releasing the tool or lever you used to hold it. The tensioner will apply pressure to keep the belt tight. Make sure the belt does not twist and is seated correctly on all pulleys.
Reassembly and Testing
If you removed the deck, carefully reattach it to the mower frame. Align the deck hangers and reinsert the bolts or pins you removed earlier. Reconnect any linkage or belt guides that were detached. Lower the mower back to its operating position. For tilt-type mowers, simply return the mower to its upright position.
Before reconnecting the spark plug wire, manually rotate the blade or drive pulley by hand to ensure the belt moves freely and does not bind. Check that the belt is tracking straight and not rubbing against any guards or other parts. Reconnect the spark plug wire. Start the mower briefly and engage the blade or drive (depending on which belt you replaced) to see if the belt operates smoothly. Listen for unusual squeals or rubbing sounds. Run it for a minute, then turn off and re-inspect the belt for proper tension and alignment. If everything looks good, you are ready to mow.
Troubleshooting Common Belt Issues
After replacing the belt, you might encounter problems such as squealing, slipping, or the belt coming off. Squealing often indicates that the belt is too loose or is not seated correctly in the pulley grooves. Double-check the tensioner and ensure it is fully engaged. Slipping can occur if the belt is worn, oily, or the wrong size. Clean any grease or oil from pulleys before installation.
If the belt comes off during operation, the routing might be incorrect, or the pulleys could be misaligned. Verify that all pulleys spin freely and are not bent. Worn idler pulleys or bearings can also cause belt misalignment. It is a good practice to inspect the idler pulley for play or noise when you have the belt off. Also, check the belt guards and deck spindles for damage. Regular inspection of your belt and pulleys can prevent premature failure. Clean the deck underside to remove grass buildup, which can add friction and stress on the belt.
Frequently Asked Questions
Can I change a lawn mower belt without removing the deck? Yes, on some walk-behind mowers you can tilt the mower and access the belt without deck removal. However, for most riding mowers, removing the deck is necessary.
How do I know if my belt is the correct size? Check the part number on the old belt or consult your owner’s manual. Belts often have a printed number on the outer side. When in doubt, purchase a belt specifically recommended for your mower model.
Do I need to replace the idler pulley at the same time? Not always, but it is wise to inspect the idler pulley for wear or roughness. If it shows signs of damage, replace it while you have the belt off to save labor later.
How often should I inspect or replace the lawn mower belt? Inspection intervals vary by usage, but a general rule is to check the belt at the start of each mowing season and after every 50 hours of operation. If you notice cracking, fraying, or glazing, replace it.
What causes a belt to come off during operation? Common causes include incorrect routing, worn pulleys, loose tensioner, or debris caught under the deck. Always ensure the belt is routed correctly and all pulleys are in good condition.