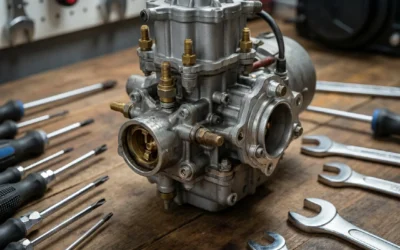
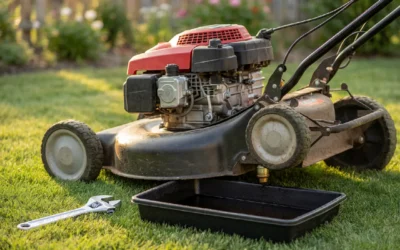
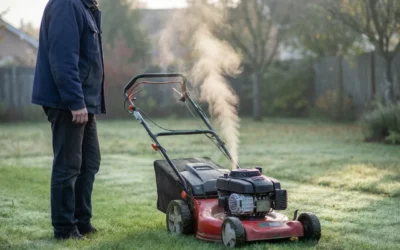
To clean a Craftsman lawn mower carburetor, disconnect the fuel line and remove the carburetor, disassemble it to access the bowl, jets, and passages, spray them with carburetor cleaner, clear any blockages, and reassemble and reinstall the carburetor.
Signs Your Craftsman Carburetor Needs Cleaning
A dirty carburetor is one of the most common causes of poor performance in small engines, and Craftsman mowers are no exception. Recognizing the symptoms early can save you time and frustration, and it can help you decide whether cleaning is the right fix or whether replacement is necessary.
Hard starting is often the first sign that the carburetor is dirty. If your mower requires multiple pulls to start, or if it starts and immediately dies, restricted fuel flow through the carburetor is frequently to blame. Dirt and varnish can clog the tiny jets and passages that meter fuel, starving the engine of the fuel it needs to run.
Rough idling is another common symptom. A mower with a dirty carburetor may idle unevenly, surge, or stall when you release the throttle. This occurs because the carburetor is unable to maintain a consistent fuel-air mixture at low engine speeds.
Stalling under load is a more serious indicator. If the mower dies when you engage the blades or when you push it through thick grass, the carburetor may be unable to deliver enough fuel to meet the engine’s demand. This often points to a partially clogged main jet or a blocked fuel passage.
Poor acceleration and a general lack of power can also result from a dirty carburetor. If the engine feels sluggish or struggles to reach full speed, restricted fuel delivery is a likely cause.
When cleaning is done versus when replacement is needed depends on the condition of the carburetor. Cleaning is usually the appropriate first step, as it can resolve most contamination issues at a fraction of the cost of a new carburetor. However, if the carburetor is physically damaged, has corroded internal components, or has been cleaned multiple times without improvement, replacement may be the more practical option. On many Craftsman mowers, replacement carburetors are relatively inexpensive, which can make replacement a reasonable choice when cleaning fails.
Safety and Preparation
Before you begin working on the carburetor, take the necessary safety precautions and gather the tools and supplies you will need. Proper preparation makes the job easier and reduces the risk of accidents.
As with any work involving fuel, safety is paramount. Work in a well-ventilated area, preferably outdoors or in a garage with the doors open. Gasoline fumes are flammable and can be harmful to inhale, so avoid working near open flames, pilot lights, or any other ignition source. Never smoke while handling fuel or working on the fuel system.
Disconnect the spark plug wire and ground it away from the spark plug before you begin. This prevents the engine from accidentally starting while you are working, which is especially important when you are disconnecting fuel lines and removing components.
Wear nitrile or chemical-resistant gloves to protect your hands from fuel and carburetor cleaner, and wear safety glasses to shield your eyes from splashes. Carburetor cleaner is a strong solvent that can irritate skin and eyes, so handle it carefully and follow the manufacturer’s safety instructions.
Before starting, drain the fuel from the carburetor and fuel line to minimize spills. Place a rag or a small container beneath the carburetor to catch any fuel that drips out during removal.
The tools and supplies you will need are relatively simple. A basic socket or wrench set is required to remove the carburetor mounting bolts. A screwdriver, typically a flathead or Phillips depending on your model, is needed to remove the bowl and any retaining screws. A can of carburetor cleaner is essential for dissolving varnish and debris. You will also need a clean workspace, some rags, and possibly a small brush or a piece of wire for clearing clogged jets. Compressed air, if available, is useful for blowing out passages after cleaning.
Having your Craftsman mower’s owner’s manual on hand is also helpful. It can provide model-specific details about carburetor location, mounting, and fuel line routing that will make the job easier.
Removing the Carburetor from the Mower
Accessing and removing the carburetor is the first major step in the cleaning process. The procedure varies somewhat depending on whether you have a walk-behind or a riding Craftsman mower, as the carburetor is positioned differently on each type.
On a walk-behind Craftsman mower, the carburetor is typically located on the side of the engine, near the top. It is usually covered by a plastic shroud or air filter housing that must be removed first. To access it, remove the air filter cover and the air filter itself, then remove any screws or clips holding the shroud in place. With the shroud removed, the carburetor should be visible, along with the fuel line and the throttle linkage.
On a riding Craftsman mower, the carburetor is generally located on the side of the engine, which may be more accessible depending on the mower’s design. In some cases, you may need to remove a side panel or the engine cover to reach it. The fuel line and throttle linkage are connected to the carburetor in a similar manner, but the routing may be more complex due to the larger engine compartment.
Before removing the carburetor, disconnect the fuel line. Depending on the model, the fuel line may be secured with a hose clamp or a push-on fitting. If it has a clamp, loosen it with pliers or a screwdriver and slide the line off the carburetor fitting. If it is a push-on fitting, gently twist and pull the line free. Be prepared for a small amount of fuel to spill, and have a rag ready to catch it.
Next, disconnect the throttle linkage. The linkage is typically a small rod or cable connected to a lever on the carburetor. Note the position of the linkage before disconnecting it, or take a photo, so you can reconnect it correctly later. Remove any retaining clips or screws that hold the linkage in place.
Finally, remove the bolts that secure the carburetor to the engine. These are usually two bolts, often located on either side of the carburetor. Use a socket or wrench to remove them, then carefully lift the carburetor away from the engine. If the carburetor is stuck, gently rock it back and forth to break the seal, but avoid prying with excessive force, which could damage the mounting surface.
For a full cleaning, removing the carburetor from the mower is recommended. While it is possible to clean some components in place, such as spraying cleaner into the intake, a thorough cleaning requires disassembly, which is much easier with the carburetor on a workbench. Removing the carburetor also gives you the opportunity to inspect it closely for damage and to clean the mounting surface on the engine.
Disassembling and Cleaning the Carburetor
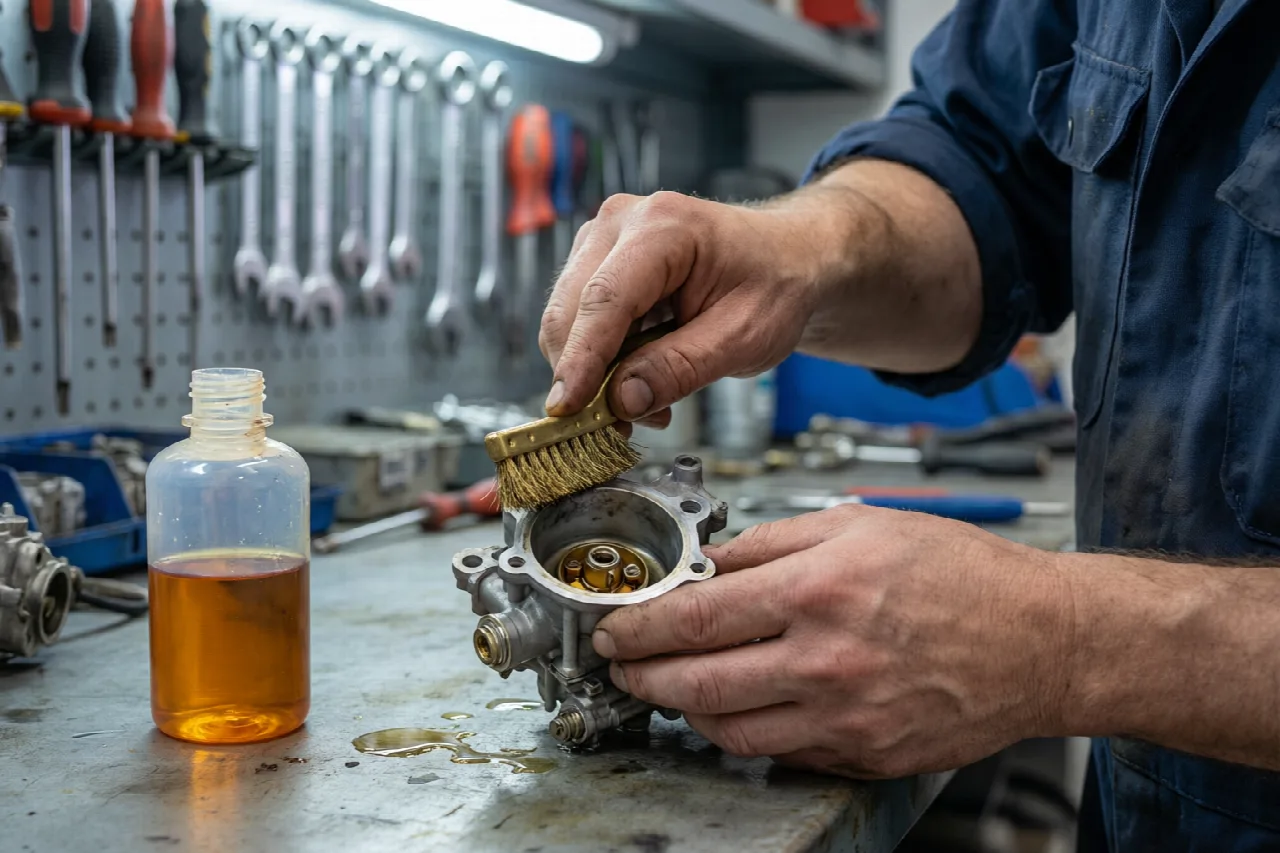
With the carburetor removed and on a clean workbench, you can disassemble it and clean the internal components. This is the core of the cleaning process, and it requires patience and attention to detail.
Begin by placing the carburetor on a clean surface with a rag or paper towel beneath it. The first component to remove is the fuel bowl, which is located at the bottom of the carburetor. The bowl is typically held in place by a single bolt in the center, or by a retaining ring. Remove the bolt or ring and carefully lift the bowl off. The bowl will contain fuel and may have sediment or varnish at the bottom, so empty it into a container and inspect it for contamination.
Once the bowl is removed, you will see the float and the needle valve. The float is a small, hollow component that regulates fuel level, and the needle valve is attached to it. Carefully lift the float out and set it aside. Inspect the needle valve for wear or debris, and check that it moves freely. If the needle valve is stuck or damaged, it may need to be replaced.
Next, locate the jets. There are typically two jets: the main jet and the idle jet. They are small brass components with tiny orifices that meter fuel. The main jet is usually located in the center of the carburetor body, while the idle jet is smaller and may be located near the throttle plate. Use a screwdriver of the appropriate size to remove the jets. Be careful not to strip them, as they are made of soft brass.
With the jets removed, you can begin cleaning. Spray carburetor cleaner liberally into the jets, the fuel passages, and the carburetor body. The cleaner is designed to dissolve varnish, gum, and debris. Allow it to soak for a few minutes to break down stubborn deposits.
For clogged jets, use a small piece of wire, such as a strand from a wire brush, to gently clear the orifices. Insert the wire into the jet and move it back and forth to dislodge any blockage. Be gentle, as the jets are delicate, and avoid enlarging the orifices, which would alter the fuel mixture. After clearing, spray the jet again with cleaner to flush out any remaining debris.
Clean the fuel passages in the carburetor body by spraying carburetor cleaner through them. The passages are small channels that route fuel from the bowl to the jets and into the intake. Spray cleaner into each opening and allow it to flow through, flushing out contamination. If you have compressed air, use it to blow through the passages after cleaning to ensure they are clear.
Clean the fuel bowl thoroughly, removing any sediment or varnish. Spray it with carburetor cleaner and wipe it out with a clean rag. Inspect the bowl gasket for damage. If the gasket is cracked, brittle, or deformed, replace it, as a damaged gasket will cause a fuel leak.
Finally, clean the exterior of the carburetor body with carburetor cleaner and a rag. Remove any dirt and grime from the mounting surfaces and the throttle plate area. Once everything is clean, allow all components to dry completely before reassembly.
Reassembling and Reinstalling the Carburetor
After cleaning, reassemble the carburetor carefully and reinstall it on the mower. Correct reassembly is critical to ensure the carburetor functions properly and does not leak.
Begin by reinstalling the jets. Screw the main jet and idle jet back into their respective locations, tightening them snugly but not over-tightening. Over-tightening can strip the threads or distort the jets.
Next, reinstall the float and needle valve. Position the needle valve in its seat and place the float back in position. Ensure the float moves freely and that the needle valve is properly seated. If the needle valve has a small clip or hinge, secure it according to the manufacturer’s design.
Place the fuel bowl back onto the carburetor, ensuring the gasket is properly seated. If you are using a new gasket, position it carefully so it seals correctly. Secure the bowl with the center bolt or retaining ring, tightening it to the proper specification. Do not over-tighten, as this can crack the bowl or damage the gasket.
Once the carburetor is reassembled, inspect it to ensure all components are in place and secure. Check that the float moves freely and that there are no loose parts.
To reinstall the carburetor, position it on the engine’s mounting surface, ensuring the gasket or mounting plate is in place. Align the carburetor with the mounting bolts and thread them in by hand to avoid cross-threading. Tighten the bolts evenly, alternating between them, to ensure the carburetor seats properly.
Reconnect the throttle linkage, referring to the photo or notes you took during removal. Ensure the linkage is properly seated and that it moves freely when you operate the throttle. Reconnect the fuel line, sliding it onto the carburetor fitting and securing it with the hose clamp if one is present.
Before starting the engine, check all connections for tightness and proper seating. Reconnect the spark plug wire, then turn the fuel valve on if your mower has one. Check for fuel leaks around the carburetor, the fuel line connections, and the bowl. If you see any fuel seeping, shut off the fuel and address the leak before proceeding.
Start the engine and let it run for a few minutes. Check again for leaks while the engine is running, as fuel pressure can reveal leaks that are not apparent when the engine is off. Verify that the engine idles smoothly and accelerates properly. If the engine runs well, the cleaning was successful.
Troubleshooting Common Carburetor Issues
Even after a thorough cleaning, you may encounter problems. The following guidance addresses some of the most common issues that arise after carburetor cleaning.
What If the Mower Still Runs Poorly After Cleaning?
If the mower still runs poorly after cleaning the carburetor, there are several possible causes to investigate. First, double-check that the carburetor was reassembled correctly and that all jets and passages are clear. A missed blockage or a misaligned component can cause persistent problems.
Check the fuel system beyond the carburetor. A clogged fuel filter or a dirty fuel tank can reintroduce contamination into the freshly cleaned carburetor. Inspect the fuel line for kinks or blockages, and ensure fuel flows freely from the tank to the carburetor.
Verify that the throttle linkage is properly adjusted. If the linkage is misadjusted, the engine may not receive the correct throttle input, causing poor performance. Consult your owner’s manual for the correct adjustment procedure.
Consider other engine components. A dirty air filter, a faulty spark plug, or a compression problem can cause symptoms similar to a dirty carburetor. Inspect these components and replace them if necessary.
If the problem persists despite all these checks, the carburetor may have internal damage that cleaning cannot fix. Worn needle valves, corroded passages, or a warped body can all cause persistent issues. In this case, replacing the carburetor may be the most reliable solution.
How Do I Fix a Fuel Leak at the Carburetor?
A fuel leak at the carburetor is a serious issue that should be addressed promptly. The most common cause is a damaged or improperly seated bowl gasket. If you reused an old gasket during reassembly, it may not be sealing properly. Replace it with a new gasket and ensure it is seated correctly.
Another common cause is a stuck or worn needle valve. If the needle valve does not seat properly, fuel can overflow the bowl and leak out. Inspect the needle valve and its seat for wear or debris, and replace the valve if necessary.
Check the fuel line connection. A loose fuel line or a missing clamp can cause fuel to leak at the fitting. Ensure the line is pushed fully onto the fitting and that the clamp is tightened securely.
Finally, inspect the carburetor body for cracks or damage. A cracked carburetor will leak fuel and must be replaced. If you cannot identify the source of the leak, shut off the fuel and do not operate the mower until the issue is resolved.