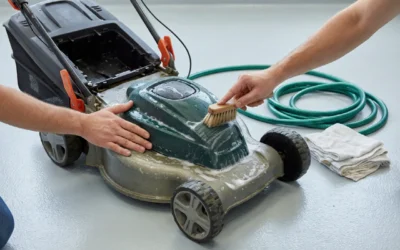
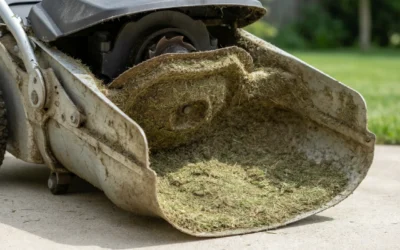
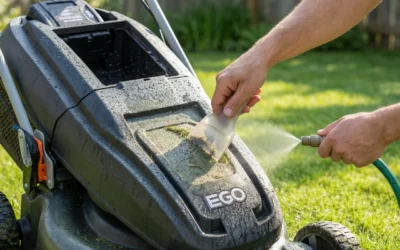
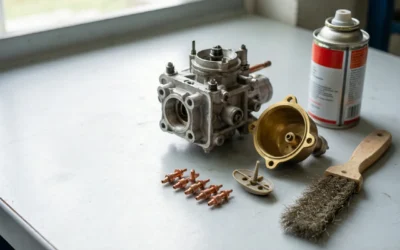
To clean a lawn mower fuel tank, drain the old fuel, remove the tank from the mower, and rinse it with a cleaning solution such as vinegar or a commercial cleaner. Scrub or shake out sediment and debris, rinse thoroughly with water, dry completely, and reinstall. For rust, use a dedicated rust remover or consider replacing the tank if corrosion is severe. Cleaning the fuel tank is essentially the same process as cleaning the gas tank, and addressing varnish, sediment, and rust will keep your mower running reliably.
Why Your Lawn Mower Fuel Tank Needs Cleaning
Over time, fuel left sitting in a lawn mower tank breaks down. Old fuel can leave behind a sticky, gummy residue called varnish, which coats the inside of the tank and can clog fuel lines and the carburetor. Sediment and debris can also accumulate at the bottom of the tank, where they may be drawn into the fuel system and cause poor performance or starting problems.
Rust is another common issue, especially in older metal tanks or when moisture gets into the fuel. Rust flakes can break loose and travel through the fuel system, damaging internal components. When these problems build up, cleaning the tank becomes necessary to restore proper fuel flow and keep the engine running smoothly.
Cleaning is not always the right answer, however. If the tank has extensive corrosion, deep pitting, or holes, cleaning may only be a temporary fix. In those cases, replacing the tank is often the safer and more reliable option. Knowing when to clean versus when to replace can save you time and prevent repeated fuel system problems.
Safety and Preparation Before Cleaning
Before you begin, take a few important safety steps. Work in a well-ventilated area, preferably outdoors, to avoid breathing fuel fumes. Keep any open flames, sparks, or heat sources well away from the work area, and never smoke while handling fuel.
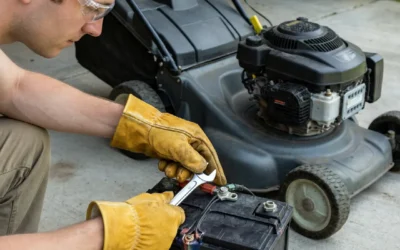
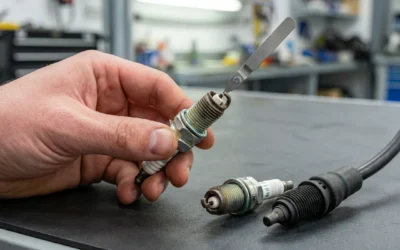
Disconnect the spark plug wire before you start. This prevents the engine from accidentally starting while you work. If your mower has a battery, disconnect it as well. This is a simple step that greatly reduces the risk of injury.
Have a suitable container ready to catch the old fuel. Use a container approved for gasoline, and avoid spilling fuel on the ground or on yourself. Wear gloves and safety glasses to protect your hands and eyes from fuel and cleaning chemicals. Proper preparation makes the job safer and much easier to complete.
Step-by-Step: Draining and Removing the Tank
Start by draining the old fuel from the tank. If your mower has a fuel shutoff valve, close it first. Then disconnect the fuel line from the tank or carburetor, depending on your mower’s design, and let the fuel drain into your approved container. If the fuel is fresh, you can reuse it; if it is old or contaminated, dispose of it properly according to local regulations.
Once the tank is empty, remove it from the mower. The tank is usually held in place by a few bolts or screws, and it may also be secured by brackets or straps. Consult your owner’s manual for the exact procedure for your model. Carefully disconnect any remaining fuel lines and gently lift the tank free.
With the tank removed, you can inspect it closely. Look for heavy sediment, varnish buildup, or rust. This inspection will help you decide whether a thorough cleaning will be enough or whether the tank should be replaced. Handle the tank carefully to avoid damaging it while it is out of the mower.
Cleaning Methods: Vinegar, Commercial Cleaners, and Rust Removal
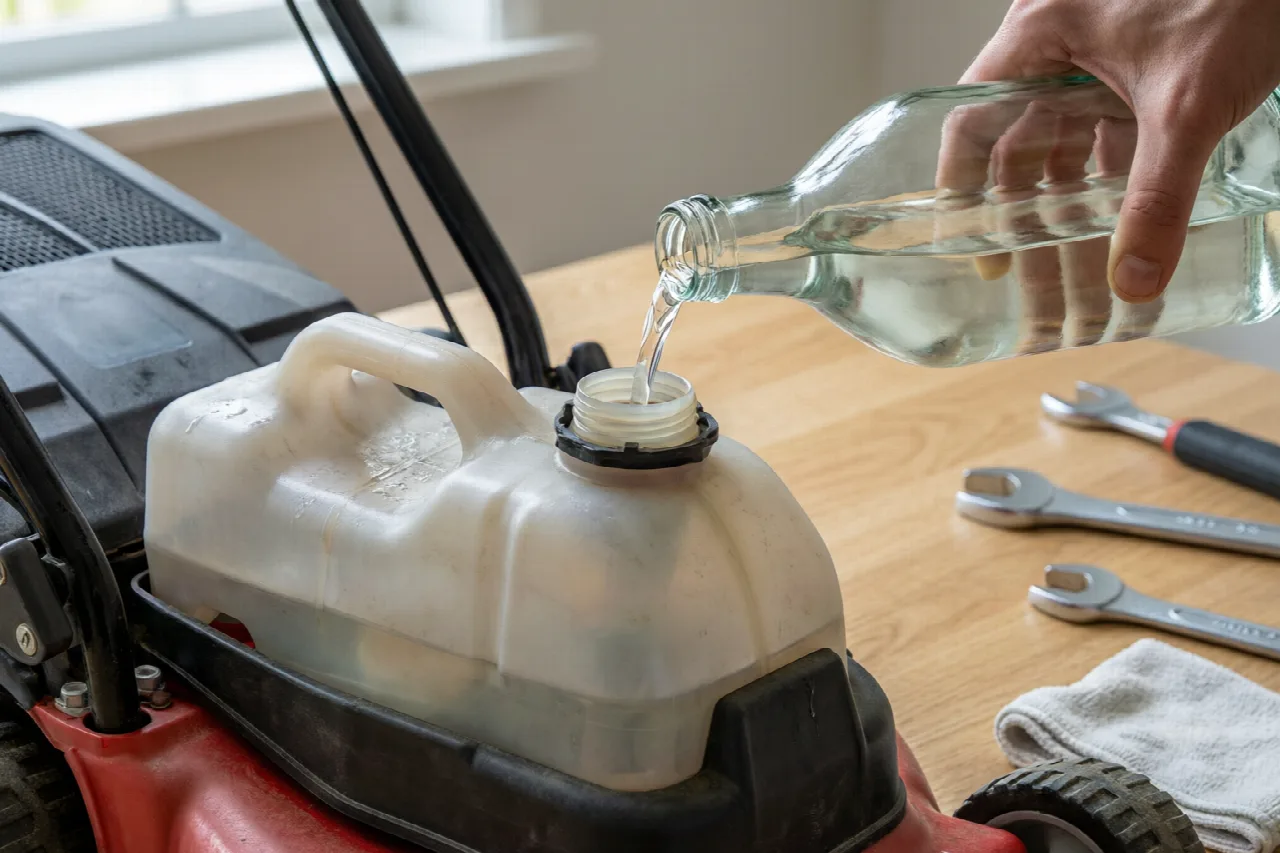
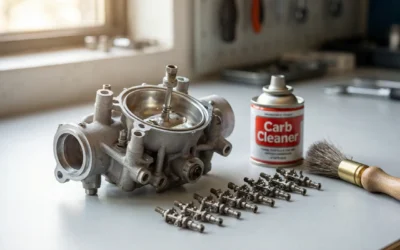
Several cleaning methods can effectively remove varnish, sediment, and rust from a fuel tank. Vinegar is a popular and inexpensive option. White vinegar can help dissolve varnish and light rust. Fill the tank with vinegar, let it soak for several hours or overnight, then drain it. The effectiveness of vinegar can vary depending on the severity of the buildup, so it may not be enough for heavily contaminated tanks.
Commercial fuel tank cleaners are also available and are often more aggressive than vinegar. These products are designed specifically to dissolve fuel residue and rust. Follow the manufacturer’s instructions on the product label, as each cleaner may have different soak times and application methods. These products can be very effective, but they can also be harsh, so use them in a well-ventilated area and wear protective gloves.
After soaking, scrub the inside of the tank to loosen stubborn debris. You can use a long brush or add a handful of small gravel or nuts and bolts to the tank, seal it, and shake it vigorously. This agitation helps knock loose sediment and rust flakes. Rinse the tank thoroughly afterward to remove all loosened material.
For rust, a dedicated rust remover may be necessary. These products chemically convert or dissolve rust and can be applied according to the product instructions. If rust is extensive or has caused pitting, cleaning may not restore the tank to a safe condition. In that case, replacing the tank is the more reliable choice. A tank with severe corrosion can fail and cause fuel leaks, which is a safety hazard.
Rinsing, Drying, and Reinstalling the Tank
After cleaning, rinse the tank thoroughly with clean water to remove all traces of the cleaning solution and loosened debris. Repeat the rinse until the water runs clear. Any leftover cleaner or debris can contaminate fresh fuel and cause problems later.
Drying is an essential step that is sometimes rushed. The tank must be completely dry before you reinstall it, because any remaining water can mix with the fuel and cause corrosion or poor engine performance. Allow the tank to air dry in a warm, well-ventilated area. Depending on the temperature and humidity, this can take several hours or overnight. You can speed up the process by using a clean, lint-free cloth to wipe out the interior, but make sure no moisture remains.
Once the tank is dry, reinstall it in the reverse order of removal. Secure it with the bolts or brackets, reconnect the fuel lines, and make sure everything is tight and properly seated. Reconnect the spark plug wire or battery. Before starting the mower, check for any fuel leaks around the tank and lines. Add fresh fuel and start the engine to confirm everything is working correctly.
Preventive Maintenance to Avoid Future Buildup
Preventing buildup is easier than cleaning it out. One of the most effective steps is to use a fuel stabilizer, especially if the mower will sit unused for more than a few weeks. Fuel stabilizers slow the chemical breakdown of fuel, reducing varnish and gum formation. Add the stabilizer to fresh fuel according to the product instructions before storing the mower.
Using fresh fuel is also important. Old fuel is the primary cause of varnish and sediment buildup. Try to buy only what you will use within a few weeks, and avoid leaving fuel in the tank over long storage periods. If you are storing the mower for the season, consider draining the tank or running the engine until it is out of fuel.
Regular inspection can catch problems early. Check the tank and fuel lines periodically for signs of sediment, moisture, or rust. Cleaning the fuel tank once a year as part of routine maintenance, or more often if you notice performance issues, is a reasonable guideline. The exact frequency depends on how often you use the mower and the quality of the fuel you use. By staying ahead of buildup, you can keep your mower’s fuel system clean and avoid more involved repairs down the road.