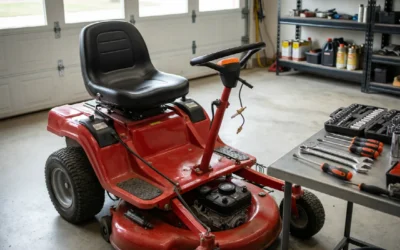
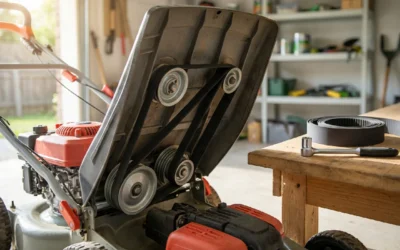
To disconnect a lawn mower battery, first turn off the mower and remove the key. Using a wrench, loosen and remove the negative (black) terminal cable first, then the positive (red) terminal cable. Always disconnect the negative terminal before the positive to reduce the risk of sparks or accidental short circuits. Secure the cables away from the battery posts, and reconnect in reverse order (positive first, then negative) when ready to use the mower again.
Why Disconnect the Negative Terminal First
Understanding why the negative terminal must be removed first is the foundation of safe battery maintenance. The negative terminal is connected to the mower’s chassis, which serves as the ground for the entire electrical system. When you remove the negative cable first, you break the circuit between the battery and the frame, eliminating the path through which an accidental short could occur.
If you were to remove the positive terminal first, the wrench or socket used to loosen the bolt could easily come into contact with the metal frame or other grounded components. Because the positive terminal remains connected to the battery’s full voltage, this contact would complete a circuit, producing sparks and potentially causing serious damage to the battery, the electrical system, or even the person performing the work. In extreme cases, a spark near the battery could ignite hydrogen gas that batteries naturally emit, posing a fire or explosion risk.
By removing the negative cable first, you ensure that even if your tool accidentally touches the frame, no current can flow because the ground path has already been disconnected. This simple ordering principle is the single most important safety habit to develop when working with any vehicle or equipment battery, and it applies equally to riding mowers, push mowers with electric start, and other small-engine equipment.
Tools and Preparation
Before you begin, gather the minimal set of tools needed for the job. In most cases, you will need a wrench or socket set that matches the size of the terminal bolts on your battery. Common sizes include 8mm, 10mm, and 13mm, but you should check your mower’s manual or inspect the bolts to determine the correct size. A pair of insulated gloves and safety glasses are also recommended to protect against accidental contact and any battery acid residue that may have accumulated on the terminals.
Preparation is just as important as the tools themselves. Start by parking the mower on a flat, level surface and engaging the parking brake if your mower has one. Turn the ignition switch to the off position and remove the key entirely. This prevents any possibility of the engine starting while you work and ensures that no electrical accessories remain powered. If the mower has been running recently, allow the engine and the surrounding components to cool completely before touching the battery, as heat can make the plastic housing brittle and increase the risk of burns.
It is also wise to inspect the battery and surrounding area before beginning. Look for signs of corrosion, cracks, or leaks. If you notice heavy corrosion on the terminals, you may want to clean the area with a mixture of baking soda and water before disconnecting, though you should be careful not to introduce moisture into the battery cells. If the battery case is cracked or leaking, take extra precautions and consider whether the battery needs to be replaced rather than simply disconnected for storage.
Step-by-Step Disconnection Process
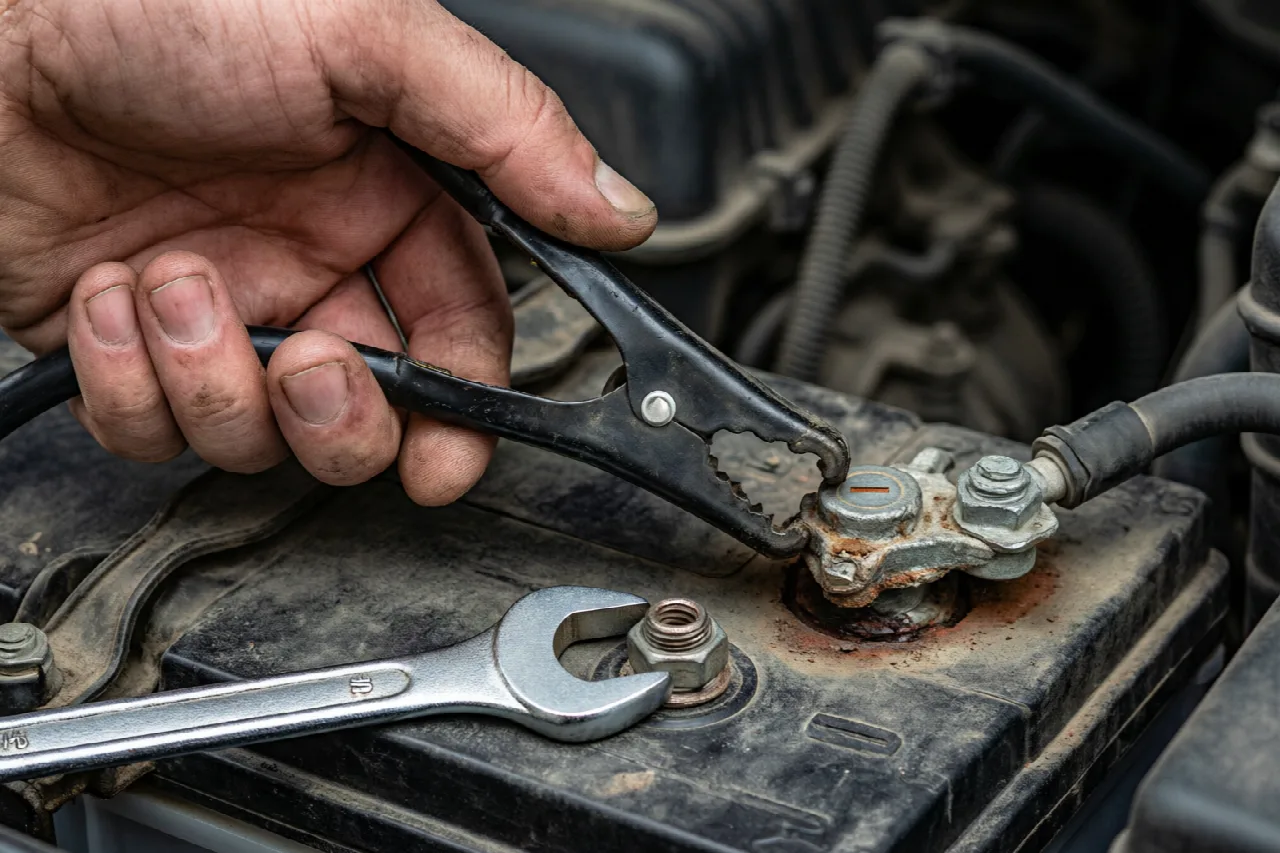
With your tools ready and the mower prepared, you can proceed with the disconnection process. The correct order is to remove the negative cable first, followed by the positive cable. Begin by locating the negative terminal, which is typically marked with a black cover or a minus sign (-) and is connected to a black cable. Place your wrench over the nut on the terminal bolt and loosen it by turning it counterclockwise. Do not remove the bolt entirely; you only need to loosen it enough to slide the cable clamp off the terminal post.
Once the negative cable is loose, gently twist and pull the clamp upward to remove it from the terminal post. If the clamp is stuck due to corrosion, you can use a battery terminal puller or gently rock the clamp back and forth to break the seal. Avoid prying with a screwdriver between the clamp and the post, as this can damage the battery. After removing the negative cable, immediately move it away from the terminal and secure it so it cannot accidentally fall back into contact with the post. Tucking it under a wire tie or positioning it away from the battery is a simple and effective way to prevent accidental reconnection.
Repeat the same process for the positive terminal, which is typically marked with a red cover or a plus sign (+) and connected to a red cable. Loosen the nut, remove the clamp, and secure the cable away from the battery. With both cables disconnected, the battery is now isolated from the mower’s electrical system. If you are removing the battery entirely, you can now loosen the hold-down bracket and lift the battery out of its tray. Always lift with your legs and use both hands, as mower batteries can be surprisingly heavy.
Reconnecting the Battery
When you are ready to reconnect the battery, the order is reversed: connect the positive cable first, then the negative cable. This ensures that the ground path is established last, minimizing the risk of sparks. Begin by placing the positive cable clamp over the positive terminal post and tightening the nut securely. Then connect the negative cable to the negative terminal and tighten it as well. Both connections should be snug, but avoid overtightening, which can strip the threads or crack the terminal post.
Before reconnecting, take a moment to inspect the cables and terminals for signs of wear or corrosion. If the terminals are corroded, clean them with a wire brush or a dedicated battery terminal cleaner before reattaching the cables. Applying a thin layer of dielectric grease or petroleum jelly to the terminals can help prevent future corrosion and ensure a good connection. Also check that the cables are not frayed or cracked, and that the insulation is intact along their full length.
After reconnecting, verify that the cables are routed correctly and do not interfere with any moving parts, such as the steering linkage, drive belt, or engine components. Reinstall the battery hold-down bracket if it was removed, and ensure the battery is secure in its tray. Finally, replace the key and test the mower to confirm that the electrical system is functioning properly. If the mower has an electric start, verify that the starter engages when you turn the key. If anything seems amiss, double-check your connections before attempting to start the engine.
Safety Precautions and Common Mistakes
Working with a battery requires attention to a few key safety precautions. Always wear safety glasses to protect your eyes from acid spray or debris, and consider wearing gloves to protect your hands. Never allow metal tools to bridge the two terminals simultaneously, as this creates a direct short circuit that can cause sparks, burns, and damage to the battery. When loosening terminal bolts, position your wrench so that if it slips, it will not contact the other terminal or any grounded metal part of the mower.
One of the most common mistakes is leaving the key in the ignition while disconnecting the battery. Even with the engine off, some mowers have electrical components that draw power, and a connected key can create conditions for a spark when the cable is removed. Always remove the key before starting any work. Another frequent error is disconnecting the positive terminal first, which, as discussed, dramatically increases the risk of a short circuit. Always follow the negative-first rule.
Other mistakes to avoid include overtightening the terminal bolts, which can crack the battery case, and failing to secure the disconnected cables, which can allow them to fall back onto the terminal and cause a spark. If you are storing the mower for an extended period, consider using a battery maintainer or trickle charger to keep the battery healthy, but only after the battery has been properly disconnected and removed if you choose to store it separately. Finally, if you notice any unusual odors, swelling, or leakage from the battery, treat it as a potential hazard and consult a professional, as these can be signs of a failing or damaged battery.