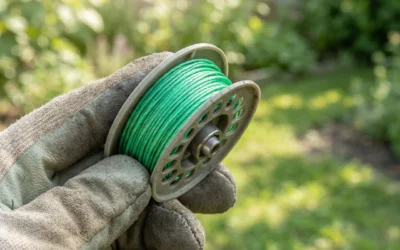
To thread a weed eater spool, first disconnect the power source. Remove the spool from the trimmer head, then feed the new line through the spool’s anchor hole and wind it in the direction shown by the arrows on the spool. Leave enough line exposed to feed through the eyelets on the trimmer head, then reinsert the spool and thread the line ends through the eyelets. The exact procedure varies by spool type (bump-feed, fixed-line, or auto-feed), so always check your owner’s manual for model-specific instructions.
Safety First: Preparing Your Weed Eater
Before you begin working on your weed eater, it is essential to take proper safety precautions. The trimmer head contains a spinning line that can cause injury, and the unit could start unexpectedly if not properly disconnected. Taking a few moments to prepare will keep you safe and make the job easier.
How Do I Safely Disconnect Power on Gas vs. Electric Weed Eaters?
The method for disconnecting power depends on the type of weed eater you have. For electric corded models, unplug the unit from the wall outlet. For cordless battery-powered models, remove the battery pack from the unit. For gas-powered weed eaters, disconnect the spark plug wire from the spark plug to prevent the engine from starting. This is a critical safety step that should never be skipped. Always follow the safety instructions in your owner’s manual for your specific model.
What Tools Do I Need to Thread a Weed Eater Spool?
Threading a weed eater spool typically requires very few tools. In most cases, you will only need the new spool of trimmer line and your hands. Some trimmer heads have a locking tab or button that you press to remove the spool, while others may require a flathead screwdriver to release a retaining clip. A clean, flat work surface is helpful to keep the parts organized. You may also want a pair of scissors or a utility knife to cut the trimmer line to the correct length.
Removing the Spool From the Trimmer Head
Once the power is disconnected, you can remove the spool from the trimmer head. This step gives you access to the spool so you can remove old line and load new line.
How Do I Remove the Spool From the Trimmer Head?
The method for removing the spool varies by trimmer head design. On many models, you simply press the two locking tabs on the side of the trimmer head and pull the spool out. On other models, you may need to turn the spool counterclockwise to unlock it, or use a screwdriver to release a retaining clip. Some trimmer heads have a small hole in the side that you can insert a screwdriver into to lock the shaft while you turn the spool. Refer to your owner’s manual for the specific removal procedure for your model. Once the spool is free, pull it straight out of the trimmer head.
How Do I Remove Old or Broken Line From the Spool?
If there is old or broken line on the spool, you will need to remove it before loading new line. If the spool is mostly empty, you can simply pull the remaining line out. If the spool is still full, you may need to unwind the line manually. Some spools have a small notch or slot where you can insert the line to keep it from unwinding while you work. If the line is tangled or jammed, carefully cut it away with scissors or a utility knife, being careful not to damage the spool. Once the spool is free of old line, inspect it for any cracks or damage.
Threading and Winding the New Line
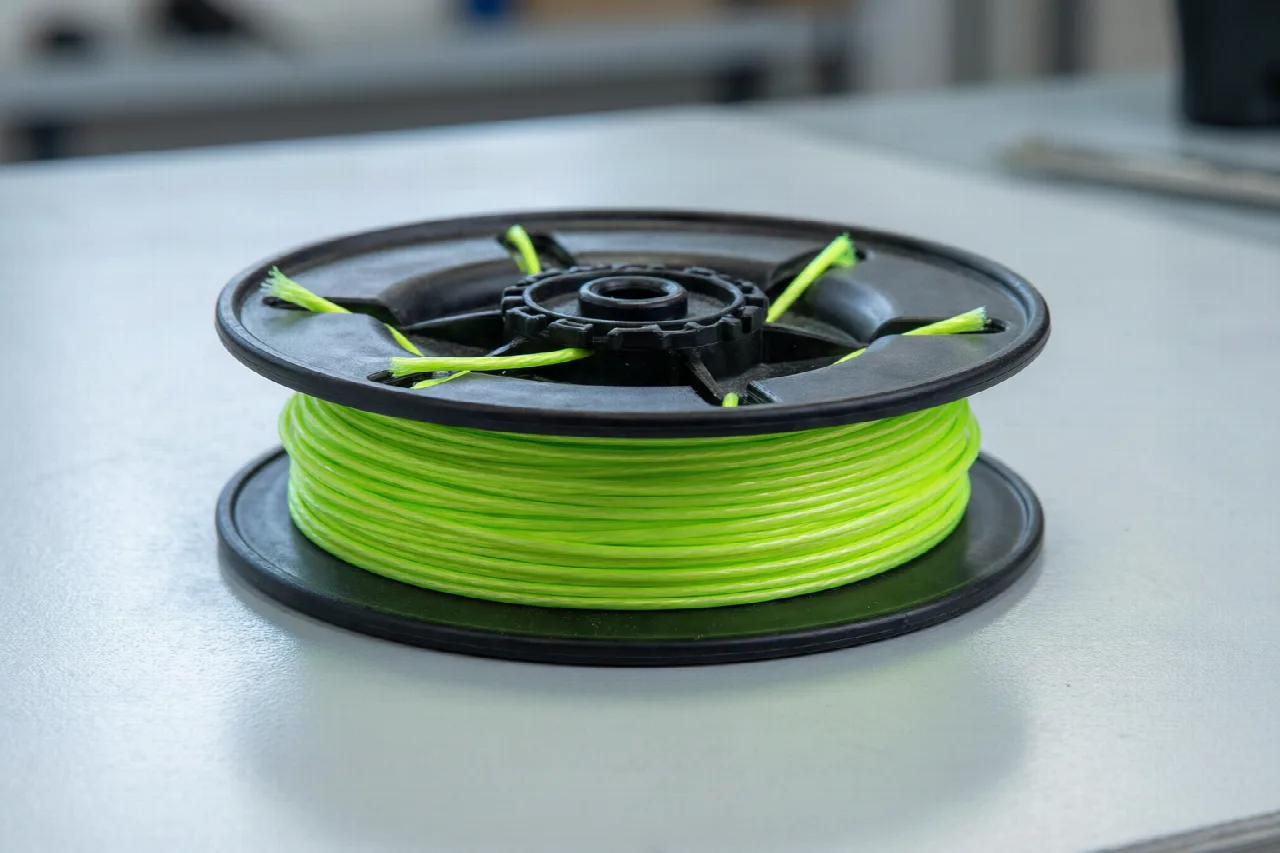
With the spool removed and cleaned, you can now load the new trimmer line. This is the most important step, as correct winding ensures the line feeds properly during use.
Where Do I Anchor the Line on the Spool?
Most spools have a small anchor hole or slot near the center where you insert the end of the line to hold it in place while you wind. Look for a small hole or a slot on the spool’s hub. Insert one end of the trimmer line into this anchor hole, leaving about 3 to 4 inches of line sticking out on the other side. This anchors the line so it does not slip while you wind it around the spool. If your spool does not have an anchor hole, you may need to hold the end of the line with your finger while you begin winding.
Which Direction Should I Wind the Line on the Spool?
The winding direction is critical for proper operation. Most spools have arrows printed on them that indicate the correct winding direction. Follow these arrows carefully. The direction is typically clockwise or counterclockwise, depending on the model. Winding the line in the wrong direction will cause the line to feed incorrectly or not at all. If your spool does not have arrows, check your owner’s manual. The winding direction is usually opposite to the direction the spool spins during operation.
How Much Line Should I Leave Exposed for Threading Through the Eyelets?
When winding the line, you should not fill the spool to the very edge. Most spools have a line limit indicator, such as a small ridge or a change in the spool’s diameter, that shows the maximum fill level. Wind the line evenly until it reaches this level. Then, leave a length of line exposed to thread through the eyelets. The amount varies by model, but a general rule is to leave enough line to extend from the spool, through the eyelets, and out about 4 to 6 inches beyond the trimmer head. This ensures the line is long enough to feed properly but not so long that it causes the engine to strain.
Reinserting the Spool and Threading the Eyelets
After the line is wound, you need to reinsert the spool into the trimmer head and thread the line ends through the eyelets. This final assembly step is crucial for the trimmer to work correctly.
How Do I Reinsert the Spool Into the Trimmer Head?
Align the spool with the trimmer head, making sure the line ends are positioned to align with the eyelets. Push the spool into the head until it clicks into place. On some models, you may need to turn the spool slightly to align it with the internal drive mechanism. Make sure the spool is seated securely and does not wobble. If the spool has a retaining cap or cover, reinstall it at this point. Ensure all parts are properly aligned before proceeding.
How Do I Thread the Line Through the Eyelets?
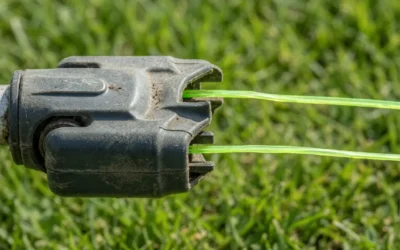
Once the spool is in place, you need to feed the two loose ends of the line through the eyelets on the trimmer head. The eyelets are the small holes or slots on the sides of the trimmer head. Take one end of the line and guide it through the corresponding eyelet, pulling it until it emerges from the other side. Repeat this process for the other line end. The line should pass through the eyelet smoothly without kinking. If the line is difficult to thread, you can use a pair of needle-nose pliers to help guide it through.
How Do I Know the Line Is Threaded Correctly?
After threading both line ends through the eyelets, pull them gently to ensure they are seated properly. The line should extend evenly from both sides of the trimmer head. If one side has more line than the other, you can adjust by pulling the longer side through. The line should be taut but not overly tight. You can test the installation by giving the line a gentle tug to ensure it does not pull back into the head. If the line is threaded correctly, it will feed out when the trimmer is running and you bump the head on the ground.
Notes for Different Spool Types
Not all weed eater spools are the same. The threading procedure can vary depending on whether you have a bump-feed, fixed-line, or auto-feed spool. Understanding these differences will help you thread your spool correctly.
How Do I Thread a Bump-Feed Spool?
A bump-feed spool is the most common type. The line feeds out when you tap the trimmer head on the ground while the unit is running. The threading process is the standard procedure described above. You wind the line onto the spool, reinsert it, and thread the ends through the eyelets. The key difference is that the line is held in place by a spring mechanism inside the head. When you bump the head, the spool rotates slightly, releasing more line. Make sure the line is wound in the correct direction, as indicated by the arrows on the spool, for the bump-feed mechanism to work.
How Do I Thread a Fixed-Line Spool?
A fixed-line spool, also known as a manual-feed spool, requires you to manually pull the line out to extend it. These spools often have a button or a cap that you press to release the line and pull it to the desired length. The threading procedure is similar, but you typically do not wind the line onto the spool yourself. Instead, you install a pre-cut length of line through the eyelets and into the spool. Some fixed-line heads use a single piece of line that passes through the spool and out both eyelets. Check your owner’s manual for the specific method for your model.
How Do I Thread an Auto-Feed Spool?
An auto-feed spool automatically advances the line as needed without requiring you to bump the head. These systems use a centrifugal mechanism that releases line when the engine speed changes. The threading procedure is generally the same as for a bump-feed spool, but the winding direction and the amount of line left exposed may be different. Auto-feed systems are often more sensitive to overfilling, so be careful to follow the line limit indicator on the spool. Always refer to your owner’s manual for the specific instructions for your auto-feed model.
Can I Load a Pre-Wound Spool Instead of Winding Line Manually?
Yes, many manufacturers offer pre-wound spools that come ready to install. These spools are already wound with the correct amount and type of line, so you simply remove the old spool and insert the new one. This is often the easiest option and can save time. When using a pre-wound spool, you still need to thread the line ends through the eyelets after inserting the spool. Pre-wound spools are typically available from the manufacturer or at hardware stores. Ensure you purchase the correct spool for your specific weed eater model.
Troubleshooting Common Threading Problems
Even with careful threading, you may encounter issues such as line jamming, tangling, or improper feeding. Here are some common problems and how to resolve them.
Why Does My Line Keep Jamming or Tangling?
Line jamming or tangling is often caused by incorrect winding. If the line is wound too loosely, it can cross over itself and tangle. If it is wound too tightly, it can bind and jam. Ensure the line is wound evenly and tightly, following the arrows on the spool. Another common cause is using the wrong diameter of line for your trimmer. Using line that is too thick can cause it to jam in the eyelets. Check your owner’s manual for the recommended line diameter and type for your model.
Why Won’t the Line Feed Out After Threading?
If the line will not feed out, the spool may be wound in the wrong direction. Double-check the arrows on the spool to ensure you wound the line in the correct direction. The line may also be caught on something inside the trimmer head. Remove the spool and inspect it for any line that has slipped out of place or become wedged. Also, ensure the line ends are threaded through the eyelets and are not blocked. If the line is too short, it may not have enough length to feed out properly. Ensure you left enough line exposed when you wound the spool.
How Do I Fix a Spool That Won’t Spin Freely?
A spool that will not spin freely can be caused by debris or grass clippings packed into the trimmer head. Clean the inside of the trimmer head and the spool thoroughly to remove any buildup. Check that the spool is seated correctly and that the spring mechanism is not damaged. If the spool is cracked or warped, it may need to be replaced. Also, ensure that the line is not wound so tightly that it presses against the inside of the head, preventing the spool from turning. If the problem persists, consult your owner’s manual or contact the manufacturer for assistance.