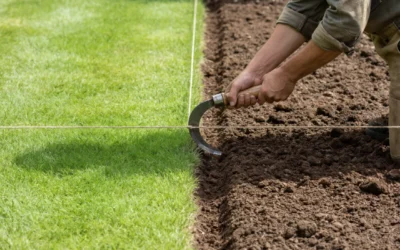
To edge a garden, decide between a cut edge (using a spade, half-moon edger, or power edger) or installing a physical border (metal, plastic, stone, or brick). Mark the desired line with a hose or string, cut a clean trench 3–4 inches deep along the line, remove the cut sod or soil, and install the edging material if using one. Maintain the edge by trimming back overgrowth and re-cutting the trench annually.
Choosing an Edging Method
Before you begin, it helps to understand the two main approaches to garden edging: the cut edge and the installed border. Each has distinct advantages depending on your yard, budget, and how much maintenance you’re willing to take on.
A cut edge is the simplest form of garden edging. You use a hand tool or power edger to slice a clean trench between the lawn and the garden bed. The result is an open groove that visually separates the two areas and slows grass from creeping into the bed. A cut edge requires no materials to purchase, making it the most affordable option. However, it does need regular maintenance—typically at least once per growing season—because grass and weeds will gradually fill the trench back in.
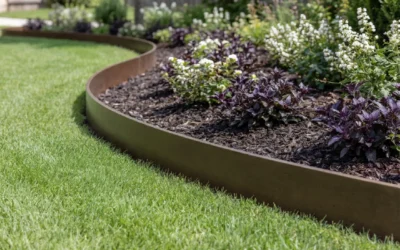
An installed border uses a physical material—metal, plastic, stone, brick, or wood—to create a permanent or semi-permanent barrier. These borders add structure and visual appeal to a landscape and generally require less frequent upkeep than a simple cut edge. The trade-off is upfront cost and installation effort. Metal edging, for instance, typically lasts longer than plastic but may be more expensive. Stone and brick borders offer a classic, durable look but require more labor to set in place.
For beginners, a cut edge with a half-moon edger is often the easiest starting point. It requires minimal investment in tools and gives immediate results. If you want a longer-lasting solution and are willing to invest more time or money upfront, installing a physical border may be the better choice. Many gardeners use a combination—cutting a trench for the initial edge and then dropping in a metal or plastic strip for added definition.
Marking the Edge Line
A well-marked line is the foundation of a clean garden edge. Whether you prefer straight lines or gentle curves, taking the time to plan your border before cutting will save you from uneven results.
To mark a straight edge, drive two stakes at each end of the line and stretch a taut string between them. This gives you a clear guide to follow as you cut. For longer straight sections, check the string with a level or by eye to ensure it doesn’t sag or drift.
For curved edges, a garden hose or a length of flexible landscape marking rope works well. Lay the hose along the desired border and step back to evaluate the shape from multiple angles. Adjust until the curve feels natural and flows with the overall design of the garden. Once you’re satisfied, you can mark the line with spray paint or by pressing the hose edge into the soil to leave a faint impression.
Some gardeners also use cardboard or plywood cutouts as templates for repeating curves or specific shapes. Whatever method you choose, the goal is to have a visible guide that keeps your cuts consistent. Rushing through this step often leads to a wavy or uneven edge that’s difficult to correct later.
Manual Edging: Using a Spade or Half-Moon Edger
Manual edging with a spade or half-moon edger is a straightforward process that anyone can learn with a little practice. The key is working methodically and maintaining a consistent depth.
Start at one end of the marked line. Position the blade of your spade or half-moon edger directly on the line, with the flat edge facing the lawn and the curved or angled side facing the garden bed. Push the tool straight down into the soil to a depth of about 3 to 4 inches. This depth is generally sufficient to sever grass roots and prevent rhizomes from crossing into the bed.
Lift the tool out and move it a few inches along the line, overlapping the previous cut slightly. Repeat this process, working in sections. Once you’ve cut along the entire line, go back and use the spade or a hand trowel to scoop out the loose soil and sod from the trench. The result should be a clean, open groove roughly 3 to 4 inches deep and 2 to 3 inches wide.
Pay attention to corners and transitions between straight and curved sections. Slow down at these points to maintain a smooth line. If you encounter rocks or roots, work around them carefully rather than forcing the tool, which can cause it to veer off course. A half-moon edger is particularly useful for tight curves because its rounded blade follows arcs more naturally than a flat spade.
Power Edging: Using a Gas or Electric Edger
Power edgers—whether gas-powered or electric—can make the job faster and more consistent, especially along long or straight borders. If you have a large yard or multiple garden beds, a power edger may be worth the investment.
Before operating a power edger, read the manufacturer’s instructions and familiarize yourself with the controls. Wear safety glasses, hearing protection, and sturdy footwear. Make sure the blade or string is in good condition and properly installed.
To use a power edger, position the guide wheel or guard along the marked line. Start the machine and lower the blade into the soil, guiding it steadily along the border. Let the tool do the work—avoid forcing it, which can cause uneven cuts or put excessive strain on the motor. Work at a comfortable pace, checking your progress periodically to ensure the line stays straight and the depth remains consistent.
Power edgers are especially effective for maintaining an existing edge. A quick pass with a power edger once or twice during the growing season can keep the trench clean and defined without the effort of manual re-cutting. Be mindful of underground utilities and irrigation lines when edging near sidewalks, driveways, or established garden beds.
Installing Physical Edging Materials
Installing a physical edging border adds structure and a finished look to garden beds. The installation process varies slightly depending on the material, but the general steps are similar.
Start by digging a shallow trench along the marked line, just wide and deep enough to accommodate the edging material. For plastic or metal strip edging, a trench 4 to 6 inches deep is usually sufficient. Set the edging into the trench and use the included stakes or spikes to anchor it in place, driving them through pre-punched holes at regular intervals.
For stone or brick borders, lay the pieces snugly together in the trench, making sure they sit level with or slightly above the surrounding soil. Use a rubber mallet to tap pieces into place if needed. Fill any gaps between stones with soil or gravel to lock them in position. A layer of landscape fabric beneath a stone border can help prevent weed growth along the edge.
Wood edging—such as landscape timbers or cedar planks—offers a natural look but may require treatment to resist rot. Secure timbers with long stakes driven into the ground at each end and at intervals along the length.
Whichever material you choose, take care to follow the curves and contours you marked earlier. Metal and plastic edging bend easily around gentle curves, while stone and brick may require smaller pieces or careful cutting to navigate tighter arcs.
Maintaining Your Garden Edge
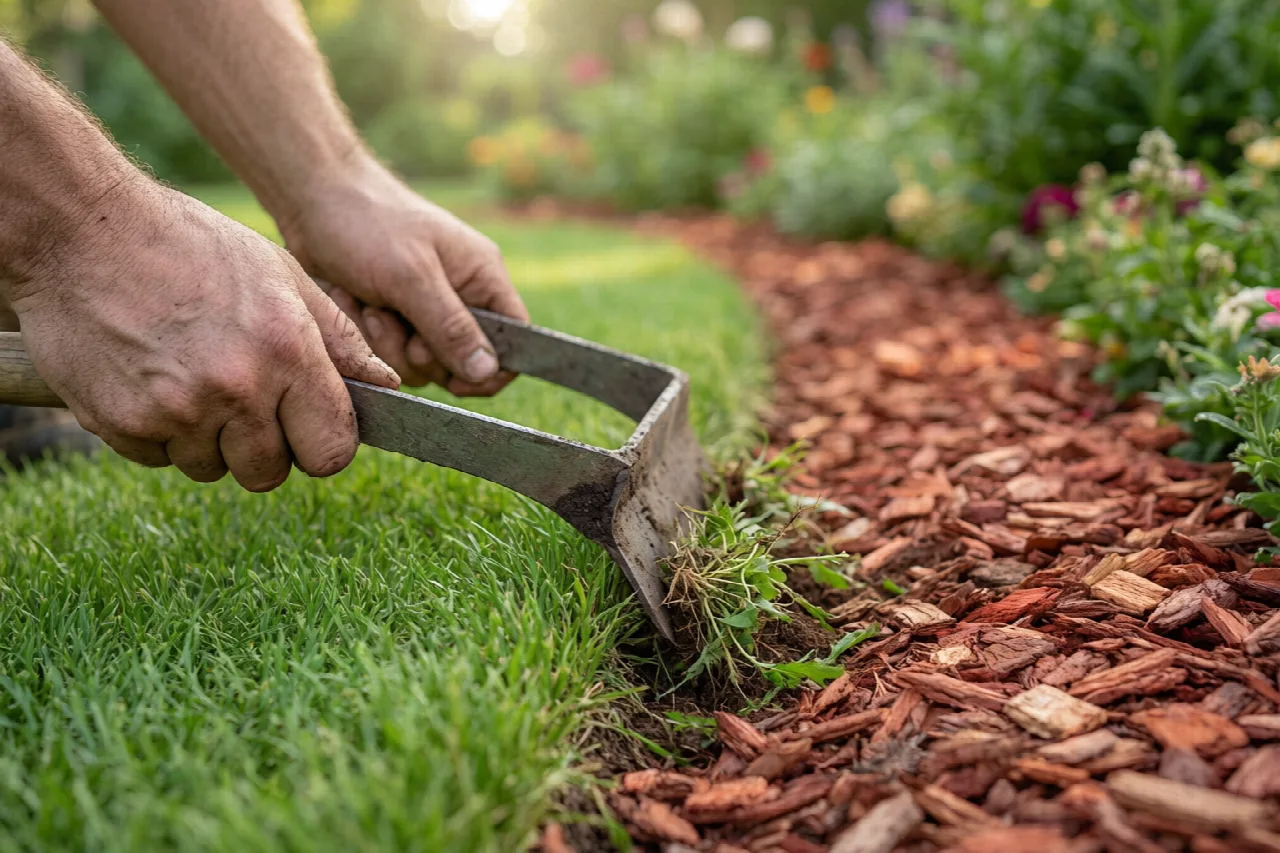
A beautiful edge doesn’t stay beautiful on its own. Regular maintenance keeps the border clean and prevents grass, weeds, and mulch from spilling across the line.
For cut edges, plan to re-cut the trench at least once per season—typically in spring when the soil is moist and easy to work. During the growing months, use a hand edger or string trimmer to tidy the trench every few weeks. This prevents grass from filling the gap and keeps the edge looking sharp.
For installed borders, check periodically for shifting, damage, or sections that have been heaved by frost or root growth. Metal edging generally lasts many years but may need occasional re-anchoring. Plastic edging can become brittle over time and may need replacement in sections. Stone and brick borders are among the most durable options but can shift if the ground beneath them settles.
Mulch tends to spill over garden edges over time. Rake it back into the bed after rain or wind, and add fresh mulch as needed to maintain an even layer. Trimming grass along the border with a string trimmer held vertically is a quick way to keep the edge tidy between deeper maintenance sessions. If plants near the edge become overgrown, prune them back so the border remains visible and functional.