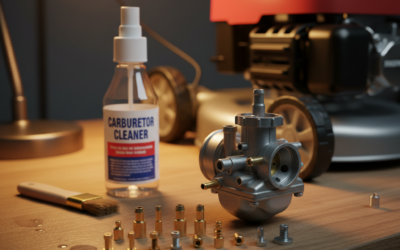
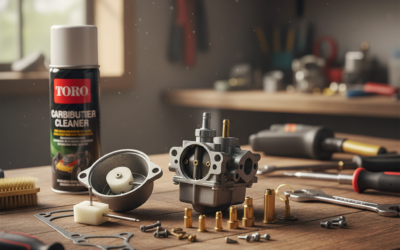
Direct Answer: How to Clean a Riding Lawn Mower Carburetor
To clean a riding lawn mower carburetor, drain the fuel tank completely, disconnect the spark plug wire for safety, locate and remove the carburetor (access points vary by engine brand), soak removable parts in carburetor cleaner for 8–12 hours, use compressed air to clear jets and fuel passages, inspect the float mechanism and gasket for wear or damage, and reassemble in reverse order. Most DIY cleaning takes 1–3 hours and resolves starting issues, rough idling, and fuel starvation caused by varnish buildup from ethanol-blended fuel storage.
Before You Start: Safety and Preparation
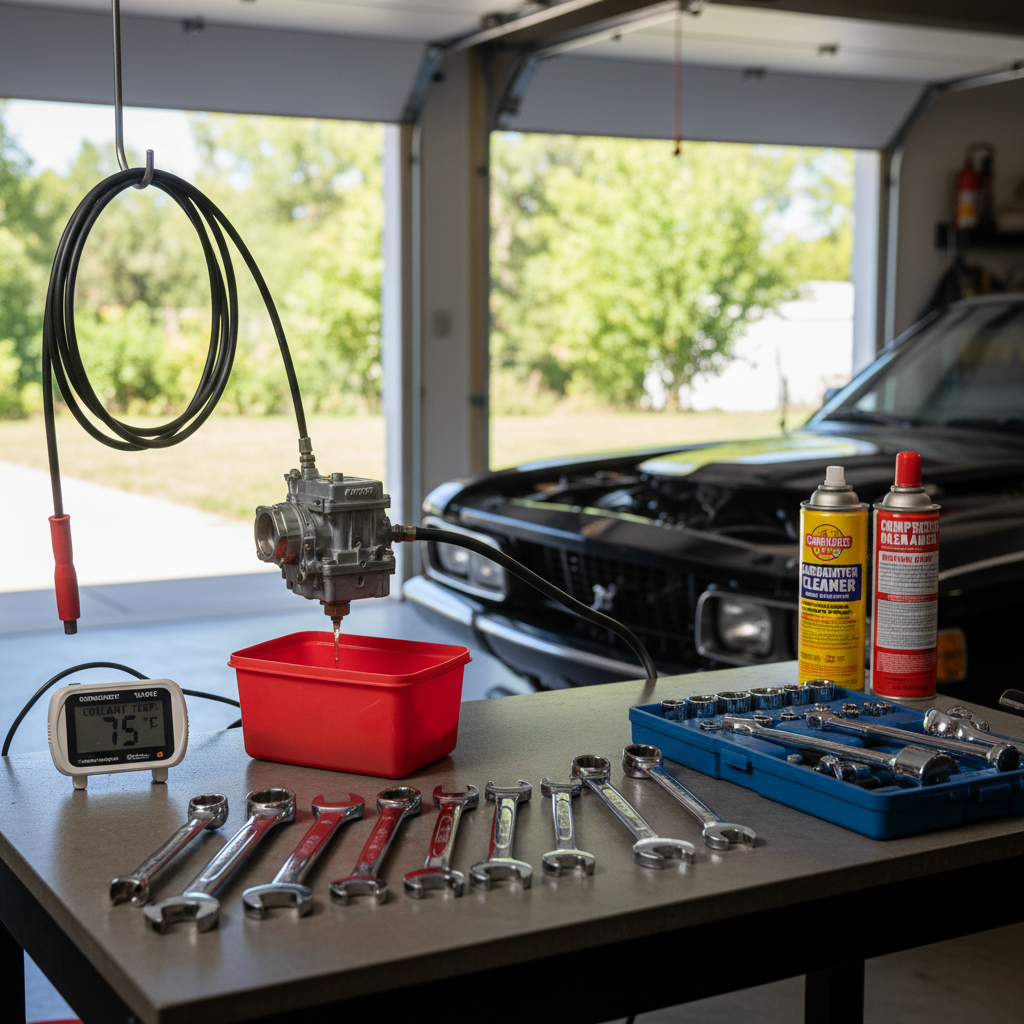
Carburetor cleaning requires careful handling of fuel and small engine components. Proper preparation prevents fuel spills, injury, and damage to your mower.
Safety Steps
- Disconnect the spark plug wire — Remove the wire from the spark plug to prevent accidental engine start during disassembly.
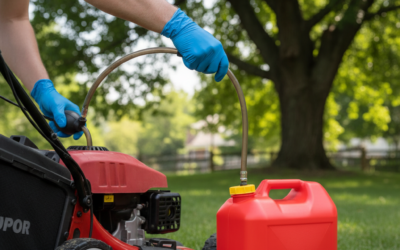
- Drain the fuel tank — Run the mower until the tank empties, or use a fuel siphon to remove fuel into a safe container. This prevents fuel spillage during carburetor removal.
- Allow the engine to cool — Wait at least 30 minutes after the last use to avoid burns from hot components.
- Work in a well-ventilated area — Carburetor cleaner fumes are strong; use your garage with doors open or work outdoors.
Tools and Materials You’ll Need
- Socket set and wrenches (typically 8mm to 13mm for most mowers)
- Screwdrivers (Phillips and flathead)
- Carburetor cleaner (aerosol or liquid)
- Compressed air source (air compressor, minimum 40–80 PSI; avoid exceeding 90 PSI to prevent jet damage)
- Small containers for soaking parts
- Clean rags and paper towels
- Gasket scraper (plastic or soft metal to avoid scoring carburetor body)
- Small brush or old toothbrush
- Fuel line clamps (if yours deteriorated)
- Gasket kit or replacement gasket (optional but recommended)
- New fuel filter (if applicable to your model)
Identify Your Mower’s Engine Type and Carburetor Location
Riding lawn mower carburetors vary in location and design depending on the engine manufacturer. Identifying your engine type ensures you access the carburetor correctly without unnecessary disassembly.
Common Engine Brands and Carburetor Access
- Briggs & Stratton — Carburetor typically mounts on top of the engine, accessible from above the engine deck. Look for a fuel line connected to the side of the engine block.
- Kohler — Often located on the side of the engine or mounted vertically. Check your owner’s manual for exact position; some models require removal of the air filter housing first.
- Kawasaki — Usually mounted horizontally on the engine side, with fuel lines running forward to the fuel tank. Access often requires moving the mower deck or hood.
- Tecumseh — Carburetor sits atop the engine; fuel line enters from the rear or side.
If you’re unsure of your engine brand, locate the engine near the mower’s center or rear, and check the nameplate or decal on the engine block. Consult your mower’s owner’s manual for a diagram of carburetor location and fuel line routing.
Removing the Carburetor Safely
Carburetor removal requires care to avoid damaging fuel lines, gaskets, and intake manifold seals. Work methodically and take photos as you go to aid reassembly.
Step-by-Step Removal
- Take photos before disassembly — Photograph fuel line connections, bolt positions, and any brackets or linkages attached to the carburetor.
- Disconnect the fuel line — Locate the fuel line entering the carburetor. If it uses a hose clamp, loosen it with a screwdriver. If it has a push-fit connector, gently pull the line free. Wrap the carburetor inlet with a rag to catch any remaining fuel.
- Disconnect the throttle linkage — Most carburetors have a spring-loaded throttle arm. Carefully disconnect the throttle cable or rod from the lever. Take a photo first so you remember the correct orientation.
- Remove any vacuum lines — Some carburetors have vacuum-operated components. Label each line with tape and note where it connects.
- Unbolt the carburetor from the engine — Most carburetors are held by 2–4 bolts (typically 8mm or 10mm). Remove bolts in a cross pattern (top-left, bottom-right, top-right, bottom-left) to avoid warping the gasket surface. Place bolts in a small container so they don’t get lost.
- Lift the carburetor away — Gently pull the carburetor straight up and away from the engine. Avoid twisting it, as this can damage the intake gasket.
- Cover the intake opening — Place a clean rag over the engine’s intake manifold opening to prevent dirt or debris from entering the engine.
Disassembling and Cleaning Carburetor Components
Carburetor cleaning targets fuel jets, passages, and the float bowl where varnish deposits accumulate. Most components can be disassembled by hand or with basic tools.
Disassembly Process
- Remove the float bowl — The float bowl bolts to the carburetor body (typically 4–6 small bolts around the perimeter). Remove bolts and gently pull the bowl downward. The gasket may stick; use a plastic scraper to separate it gently.
- Remove the float and pin — Inside the bowl, you’ll see a metal or plastic float attached to a pivot pin. Carefully lift the float and slide the pin out sideways. Avoid bending the pin or float arm.
- Remove the main jet and pilot jet — These are small brass tubes screwed into the carburetor body. The main jet usually sits at the bowl’s center; the pilot jet is smaller and located on the side. Use a screwdriver that fits snugly in the slot to avoid stripping them.
- Remove the needle seat — This sits directly above where the float valve operates. It may screw out or press-fit; consult your carburetor manual if unsure.
- Inspect the fuel filter screen — Many carburetors have a small mesh filter at the fuel inlet. Remove it by gently prying with a flathead screwdriver.
Soaking and Cleaning
- Soak removable parts in carburetor cleaner — Place the float bowl, jets, needle seat, and filter screen in a container of carburetor cleaner for 8–12 hours. This dissolves varnish and gum deposits without damaging brass or plastic components.
- Clean the carburetor body — While parts soak, spray carburetor cleaner into the fuel inlet, around jets, and through all accessible passages. Use a small brush to scrub the exterior where fuel has dried or oxidized.
- Use compressed air to clear jets — After soaking, use compressed air (40–80 PSI; never exceed 90 PSI) to blow compressed air through each jet passage. Direct the air from multiple angles to dislodge stubborn varnish. If a jet remains clogged, soak it longer rather than trying to force a wire through it, which can enlarge or damage the opening.
- Clean the float bowl interior — Use carburetor cleaner and a soft brush to remove varnish from the inside of the bowl. Pay special attention to the fuel inlet boss and drain plugs.
Inspecting Components for Wear or Damage
Some carburetor components wear out and cannot be restored by cleaning alone. Inspect these items before reassembly to avoid repeated problems.
What to Check
| Component | Signs of Wear | Action |
|---|---|---|
| Gasket (bowl and body) | Cracks, hardening, or permanent compression marks | Replace with new gasket from carburetor kit |
| Float | Fuel leaking from seams (metal floats) or cracks (plastic floats) | Replace float; cannot be repaired |
| Needle and seat | Pitting, corrosion, or needle does not seal completely | Replace needle and seat as a pair |
| Fuel inlet filter screen | Heavy debris, tearing, or discoloration | Replace with new screen |
| Jets | Cracks, enlarged holes, or corrosion | Replace jets; they are inexpensive |
| Throttle shaft | Wobbling or excessive play in carburetor body | Replace carburetor if shaft is worn; internal seal failure |
Float Mechanism Test
After cleaning, manually operate the float to ensure it moves freely. Press down gently on the float arm; it should rise back without sticking. If it hangs or catches, the pivot pin may be bent or the bore may be scored. In either case, the carburetor may require professional rebuild or replacement.
Reassembling and Reinstalling the Carburetor
Reassembly reverses the disassembly process. Cleanliness and correct torque specifications prevent leaks and fuel starvation.
Reassembly Sequence
- Replace the gasket — If using an old gasket and it shows no visible damage, reuse it; if it is hard or cracked, install a new gasket from a carburetor kit.
- Reinstall jets — Screw the main jet and pilot jet hand-tight into their bores, then use a properly fitting screwdriver to snug them. Do not over-tighten; hand-tight plus a quarter turn is sufficient.
- Reinstall the needle and seat — If you removed these, screw them in by hand and then use a wrench or socket to snug (typically 15–20 ft-lbs torque for the seat; the needle simply screws into the seat).
- Reinstall the float — Insert the pivot pin through the float arm and into the bore. The float should hang horizontally; if it tilts, the pin may be bent.
- Reinstall the fuel inlet filter screen — Press it gently into the inlet bore until it seats fully.
- Reinstall the float bowl — Position the new gasket on the float bowl studs. If the gasket is cork or paper, soak it briefly in fuel to make it pliable (this prevents tearing during installation). Align the bowl with the carburetor body and hand-tighten all bolts. Then use a cross pattern (alternating opposite corners) to tighten bolts evenly. Torque to 15–25 ft-lbs; over-tightening can crack the bowl or strip the studs.
Reinstalling the Carburetor on the Engine
- Remove the intake cover rag — Check that no debris has fallen into the intake manifold.
- Install a new gasket between carburetor and engine — Many carburetors use a thin gasket or paper seal between the carburetor base and the engine’s intake manifold. If your old gasket is damaged, replace it now.
- Align and bolt the carburetor — Position the carburetor over the engine intake studs or bolt holes. Hand-tighten all bolts first to ensure proper alignment, then snug in a cross pattern. Torque to 15–25 ft-lbs.
- Reconnect the fuel line — Slide the fuel line onto the carburetor inlet fitting and secure the hose clamp. Tighten the clamp firmly but not so tight that you crush the hose.
- Reconnect the throttle linkage — Attach the throttle cable or rod to the carburetor lever, ensuring the lever moves freely from idle to full throttle without binding.
- Reconnect vacuum lines — Reattach any vacuum lines you removed, referring to your photos to confirm correct connections.
- Reconnect the spark plug wire — Once all carburetor connections are secure, reattach the spark plug wire to the spark plug.
Testing and Troubleshooting After Cleaning
After reassembly, verify that fuel reaches the carburetor and the engine starts cleanly. Address any issues methodically before assuming the carburetor is defective.
Pre-Start Checks
- Verify fuel lines are secure — Look for leaks at the carburetor inlet and fuel line connections. If fuel drips, tighten the clamp or reseat the line.
- Check that throttle moves freely — Move the throttle control from idle to full throttle. The carburetor lever should respond smoothly without hesitation or jamming.
- Inspect for bolt tightness — Visually verify that all carburetor bolts and fuel line clamps are snug.
Starting the Mower
- Prime the fuel system — Turn the fuel valve to the on position (if your mower has one) and wait 10–15 seconds for fuel to reach the carburetor. Many small engines have a primer bulb on the carburetor; squeeze it 3–5 times to draw fuel from the tank.
- Start the mower — Set the choke to the cold-start position and attempt to start. The engine should turn over within 3–5 pulls.
- Warm up and check idle — Once running, allow the engine to warm up for 2–3 minutes. Move the throttle to half-speed, then back to idle. The engine should settle smoothly without stalling.
- Listen for abnormal sounds — A properly cleaned carburetor will start readily and idle smoothly. If you hear sputtering, backfiring, or a high-pitched whine, the carburetor may not be seated correctly or fuel lines may leak air.
Mower Still Won’t Start or Runs Poorly?
- Check the fuel filter — If your mower has an inline fuel filter between the tank and carburetor, it may be clogged. Replace it and try again.
- Verify spark plug function — Remove the spark plug and check for fouling (black, wet deposits). Clean or replace the plug as needed.
- Test fuel flow from the tank — Turn off the spark plug wire and open the fuel valve (if present). Remove the fuel line from the carburetor inlet and direct it into a container. You should see a steady stream of fuel. If fuel barely trickles, the fuel tank vent may be clogged or the fuel pump (on some mowers) may have failed.
- Check float bowl for fuel — With the engine off, look through the bowl window (if present) or carefully remove the bowl to confirm it is filling with fuel. If the bowl stays empty, the fuel inlet needle may not be sealing correctly.
- Inspect for air leaks in fuel lines — Cracks or loose connections allow air to enter the fuel system, causing the engine to run lean (too little fuel). Inspect all fuel line connections and hose integrity.
- Consider professional service — If the mower still fails to start after these checks, the carburetor may require ultrasonic cleaning or replacement. Additionally, internal engine problems (worn piston rings, damaged valve seals) can mimic carburetor symptoms.
When to Seek Professional Carburetor Service
DIY carburetor cleaning resolves most fuel system issues caused by varnish and gum buildup. However, some situations warrant professional rebuild or replacement:
- Float mechanism damage — If the float is cracked, leaking, or the pivot pin is bent, internal fuel leakage will occur and professional replacement is necessary.
- Throttle shaft wear — Excessive play or wobbling in the carburetor body indicates worn internal seals that cannot be cleaned; the carburetor must be rebuilt or replaced.
- Carburetor casting cracks — Visible cracks in the plastic or metal body cannot be sealed by cleaning and require replacement.
- Ultrasonic cleaning needed — Some shops offer ultrasonic carburetor cleaning, which is more thorough than soaking. This is useful for heavily varnished carburetors if DIY soaking fails.
- Recurring fuel starvation — If the engine continues to stall after cleaning, professional diagnosis may reveal issues beyond the carburetor (fuel pump failure, clogged tank vent, fuel line collapse).
Preventing Future Carburetor Buildup
- Use fuel stabilizer during storage — Add fuel stabilizer to the tank before storing your mower for winter or extended periods. This prevents ethanol-blended fuel from forming varnish deposits within 30 days of inactivity.
- Run the mower until empty before storage — Alternatively, drain the fuel tank completely and run the engine until it stops. This empties the carburetor bowl and fuel lines, eliminating fuel that can oxidize during storage.
- Change the fuel filter annually — A clean filter prevents debris from clogging carburetor jets.
- Inspect and clean the air filter regularly — A dirty air filter forces the engine to run rich (excess fuel), which accelerates varnish formation in the carburetor.
Frequently Asked Questions
How long does it take to clean a riding lawn mower carburetor?
Most DIY cleaning takes 1–3 hours, depending on how accessible the carburetor is and how heavily it is varnished. The longest part is typically the 8–12 hour soak in carburetor cleaner. Hands-on work (removal, disassembly, reassembly, reinstallation) is usually 45 minutes to 2 hours.
Can I clean the carburetor without removing it?
In-place cleaning with carburetor cleaner spray can temporarily improve idle and starting, but it is far less effective than removing and soaking the carburetor. For complete varnish removal and jet inspection, removal and disassembly are necessary. Some mowers allow the float bowl to be removed in place, which is a reasonable compromise for light cleaning.
What is the difference between carburetor cleaner and fuel stabilizer?
Carburetor cleaner is a strong solvent designed to dissolve and flush out dried fuel deposits, gum, and varnish from internal passages and jets. Fuel stabilizer is a mild additive mixed into fuel to slow oxidation and prevent gum formation during storage. Fuel stabilizer is preventative; carburetor cleaner is corrective.
Do I need to replace the carburetor gasket every time I clean the carburetor?
If the gasket shows visible damage (cracks, hardening, permanent compression), replace it. If it appears intact after removal, you may reuse it, though many mechanics recommend replacing cork or paper gaskets as a preventative measure, since they cost only a few dollars and failure risks fuel leaks. Modern composite gaskets tolerate multiple reuses better than traditional cork.
Why does my mower still not start after I cleaned the carburetor?
Several issues can prevent starting even after carburetor cleaning: a faulty spark plug, a clogged fuel filter, a blocked fuel tank vent, an air leak in fuel lines, or internal engine problems unrelated to the carburetor. Follow the troubleshooting sequence in the Testing and Troubleshooting section above to isolate the cause. If these checks do not reveal the problem, consult a small-engine repair technician.