To repair a lawn mower pull cord, first disconnect the spark plug for safety. Remove the starter housing from the engine and inspect for the failure: a snapped rope, stuck pulley, or broken recoil spring. Install a new cord of the correct diameter, secure it with a proper knot, and re-tension the recoil spring. Reassemble the housing and test the pull action. If the cord still won’t pull or retract after replacement, the problem likely lies with the spring or pulley, which may require replacing the entire recoil starter assembly.
Why Your Pull Cord Isn’t Working: Common Symptoms
A lawn mower pull cord failure falls into one of three categories, and identifying which one guides your repair approach.
The cord is visibly broken or frayed: Continuous pulling, exposure to UV light, or manufacturing defects cause the rope to snap mid-strand or fray at the ends. When this happens, the cord either doesn’t engage the pulley or tears further with each pull attempt.
The cord won’t pull out: You grip the handle and feel resistance or no movement at all. This typically means the pulley is seized, the recoil spring is broken, or the cord has wound around internal components. It can also indicate a locked flywheel or engine problem, though this is less common.
The cord pulls but won’t retract: The handle comes out smoothly but doesn’t snap back into the housing. A broken or over-tensioned recoil spring is the usual culprit. Occasionally the cord has slipped off its anchor point inside the housing.
Understanding which failure you have before you begin saves time and prevents unnecessary disassembly.
Safety First: What You Must Do Before Starting
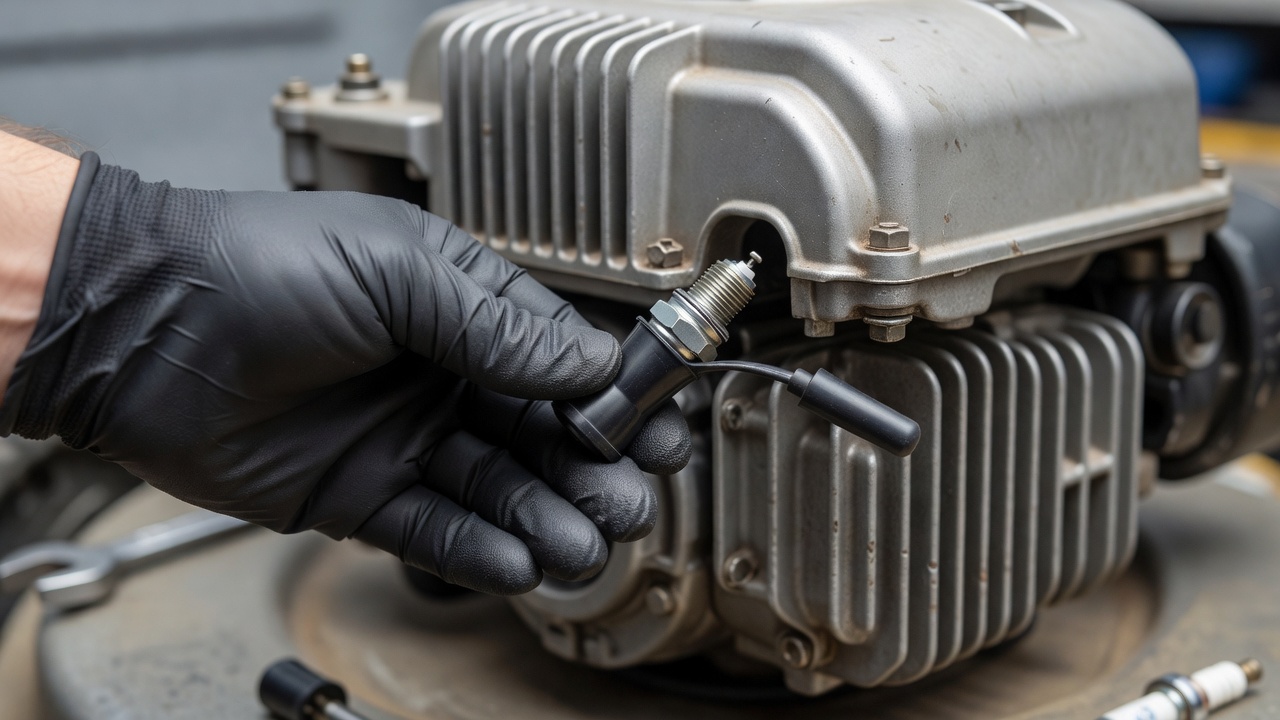
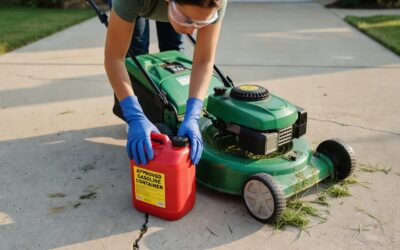
Pull cord work involves the engine’s starter mechanism, which can spin suddenly if released under tension. Always disconnect the spark plug wire or remove the spark plug cap before handling the recoil starter. This prevents accidental engine ignition if the flywheel turns while you’re working. Allow the engine to cool if it has been running.
Work on a clean, flat surface with adequate light. Have a container nearby for small screws and springs so they don’t get lost. Wear work gloves to protect your hands from frayed rope and sharp edges.
Tools and Materials You’ll Need
Basic tools:
- Screwdrivers (flathead and Phillips, appropriate sizes)
- Socket set or adjustable wrench (for starter housing bolts)
- Needle-nose pliers
- Scissors or utility knife
- Small container for hardware
Materials:
- Replacement pull cord rope (typically 3/16-inch diameter, made of braided nylon or similar)
- Rope replacement kit (if available for your mower model—often includes the correct length and knots pre-installed)
- Figure-eight knot or stopper knot material (cord often comes pre-knotted)
Consult your mower’s manual or a parts supplier to confirm the correct rope diameter and length for your specific model. Universal replacement kits are available but may require trimming or adjusting for your engine type.
How to Remove the Starter Housing
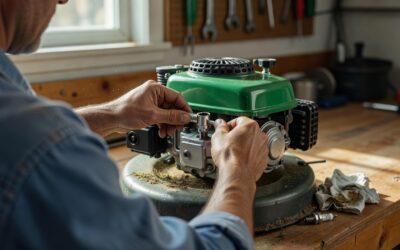
The recoil starter assembly is bolted to the engine block. Most walk-behind and self-propelled mowers have two to four bolts holding it in place.
Step 1: Locate the bolts. The starter housing is a round or oval plastic cover on the side or top of the engine. Identify all fasteners—there are usually 2 to 4 bolts.
Step 2: Remove the bolts. Use the appropriate wrench or socket to unbolt the housing. Keep bolts organized; note their positions if they differ in length.
Step 3: Carefully lift the housing. The recoil spring is under tension. As you remove the housing, support it and watch for the spring. Do not force it; if resistance is felt, a screw may have been missed or the spring may be caught.
Step 4: Inspect inside. You now have access to the pulley, rope, and recoil spring. Note how the cord is currently wound and knotted before removing anything.
Replacing a Broken or Frayed Rope
Step 1: Remove the old cord. Locate where the cord is knotted or tied to the pulley spool. Cut or untie it and pull the old rope out completely. If the knot is stubborn, carefully cut it away.
Step 2: Prepare the new cord. Cut a length of new rope slightly longer than needed. Seal the cut ends by briefly passing them through a flame (or dipping in melted plastic) to prevent fraying. Allow to cool.
Step 3: Wind the new cord. Hold the pulley and begin winding the new rope around the spool in the same direction as the old rope was wound. Wind it tightly and evenly, overlapping each wrap slightly. Continue until you’ve filled the spool or reached the desired length.
Step 4: Secure the cord to the spool. Tie a figure-eight knot or secure knot at one end and insert it through the hole or groove in the spool. Pull tight so the knot won’t slip. Some kits use a special clip—follow the kit instructions if provided.
Step 5: Thread the cord through the housing. Pull the free end of the cord through the exit hole in the starter housing. Thread it through the handle if it’s still attached.
Step 6: Knot the handle end. Tie a figure-eight knot or stopper knot at the handle end so the cord won’t pull through during use.
Re-tensioning the Recoil Spring
The recoil spring pulls the cord back into the housing after each pull. If the spring was broken or over-tensioned, you may need to adjust it.
For a new or replacement spring: Follow the kit instructions or your mower manual. Most springs are pre-wound; you’ll simply hook one end to the pulley hub and the other to a post on the housing.
For re-tensioning an existing spring: With the rope fully wound onto the pulley, gently rotate the pulley counterclockwise (the direction opposite to rope winding) by about a quarter turn. This adds tension to the spring. Do not over-tension; the spring should pull the rope back smoothly without excessive force. If the housing is difficult to reassemble due to spring pressure, you’ve likely over-tensioned.
Test the tension by pulling the cord fully out and releasing it slowly. It should retract steadily without jerking or hesitation.
Reassembling the Starter Housing
Step 1: Position the housing. Align the housing over the pulley and spring, ensuring the rope exits cleanly through its hole and the recoil spring is seated properly in the housing.
Step 2: Install the bolts. Replace the bolts in their original positions and tighten them evenly in a cross pattern (like tightening a wheel). Do not overtighten; snug is sufficient. Over-tightening can crack the plastic housing.
Step 3: Reconnect the spark plug. Reattach the spark plug wire or reinstall the spark plug cap.
Step 4: Test the pull action. Pull the cord several times to ensure it extends smoothly and retracts fully. The action should feel consistent and not bind or catch.
Troubleshooting: When the Cord Still Won’t Work
The new cord won’t pull out: The pulley may still be seized, or the recoil spring may still be too tight. Manually rotate the pulley by hand (with the spring removed temporarily if necessary) to ensure it spins freely. Check that no internal components are obstructing the pulley’s rotation. If the pulley is corroded or stuck, you may need to soak it with penetrating oil or replace the starter assembly.
The cord pulls but still won’t retract: The recoil spring may be broken or not properly seated. Remove the housing again and inspect the spring for cracks or deformation. If the spring looks intact, verify that it is hooked correctly to both the pulley hub and the housing anchor point. A missing or broken hook will prevent the spring from functioning.
The handle is hard to pull: This suggests over-tensioned spring or internal friction. Reduce spring tension by rotating the pulley slightly counterclockwise and reassembling. If the handle remains hard to pull, the issue may be a seized engine (indicating a deeper mechanical problem) rather than a starter problem.
The cord keeps fraying or breaking quickly: Verify the rope diameter matches your mower’s specification. A cord that is too thin will fray easily. Ensure the pulley edges are smooth; a rough or chipped spool edge can cut rope over time. Sand or file any sharp edges before installing new rope.
Repair vs. Replace: Making the Right Choice
In many cases, a simple rope replacement solves the problem and costs less than a new starter assembly. However, consider these factors.
Replace the rope if: The rope is clearly snapped or frayed, the pulley spins freely, and the recoil spring looks intact. A rope replacement kit typically costs less than a full starter assembly.
Replace the entire starter assembly if: The pulley is seized and won’t spin even after soaking with penetrating oil, the recoil spring is visibly cracked or missing, or the housing is cracked. Replacement assemblies are model-specific; verify compatibility before purchasing. Installation usually involves unbolting the old assembly and bolting on the new one—a simpler job than internal repairs.
Call a professional if: You cannot remove the housing without breaking it, the engine itself seems seized (the flywheel won’t turn by hand after the starter is removed), or the mower has additional damage. A repair shop has specialized tools and experience with difficult extractions and can assess whether starter repair is worthwhile relative to mower age and condition.
Final Tips for Success
Take photos of the starter assembly before disassembly so you can reference them during reassembly. If you are unsure about a step, consult your mower’s manual or watch a video specific to your model—starter designs vary, and a visual guide helps. Do not skip the spark plug disconnection step; it is the most critical safety measure. When in doubt, tighten slowly and test frequently rather than rushing. A successful pull cord repair restores easy starting and takes most DIYers 30 minutes to an hour once you have the right parts and tools on hand.