Direct Answer: How to Replace a Lawn Mower Pull Cord
To replace a pull cord on a lawn mower, first disconnect the spark plug wire for safety. Remove the starter housing by unbolting it from the mower deck, then unwind the old cord from the pulley and remove the starter handle. Thread new replacement cord (typically 3/16-inch diameter) through the housing and around the pulley, tie a secure knot, wind it back onto the pulley with proper tension, reattach the handle, and test the recoil mechanism before reassembling everything.
Safety Precautions Before Starting
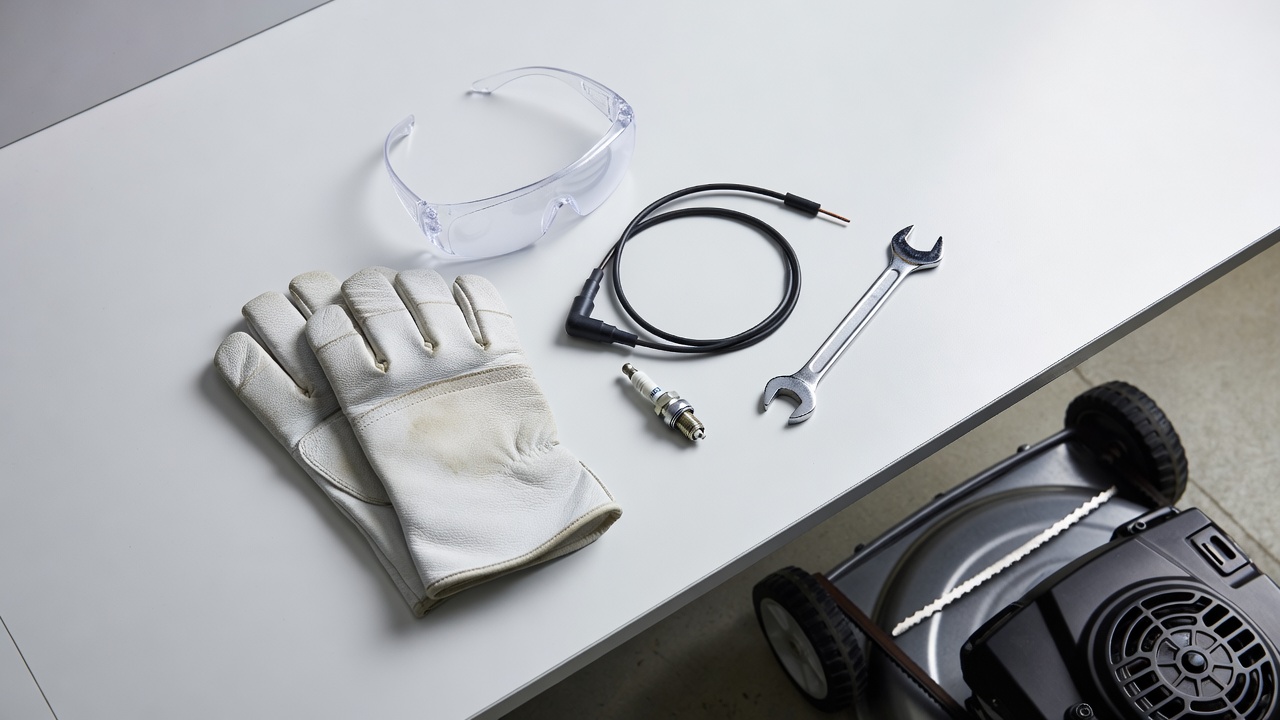
Before you begin any work on your lawn mower’s pull cord system, establish these essential safety practices:
- Disconnect the spark plug wire. This prevents accidental engine ignition while you’re working. Locate the wire connected to the spark plug and pull it free—this is the single most important safety step.
- Place the mower on level, stable ground. Position it on a flat surface away from traffic and children. If you’re working on a riding mower, engage the parking brake.
- Allow the engine to cool completely. Wait at least 30 minutes after last use before handling the starter mechanism.
- Wear work gloves and safety glasses. The recoil spring is under tension and can cause pinch injuries. Gloves protect your hands from sharp edges on the housing.
- Keep the area clear of distractions. Work in good lighting so you can see components clearly and track small fasteners.
Tools and Materials You’ll Need
Gather these items before you start to avoid interruptions:
| Item | Purpose | Notes |
|---|---|---|
| Replacement pull cord (3/16-inch diameter) | Core replacement component | Sold in spools or kits; most residential mowers use this size |
| Wrench or socket set (typically 8mm-13mm) | Remove starter housing bolts | Check your mower’s manual for exact sizes |
| Screwdrivers (flathead and Phillips) | Remove fasteners on housing or handle | Keep several sizes on hand |
| Work gloves | Hand protection | Leather or heavy-duty material recommended |
| Small container | Organize and track removed fasteners | Prevents loss of bolts and washers |
| Needle or cordage needle (optional) | Thread cord through housing openings | Makes threading easier on some models |
| Shop towels or rags | Clean components and dry hands | Useful for handling oily starter parts |
Understanding Your Mower’s Recoil Starter System
Before disassembling your mower, familiarize yourself with how the pull cord system works. This knowledge helps you reassemble it correctly:
- The pulley: A wheel-like component around which the cord winds. When you pull the cord, the pulley rotates and spins the engine’s crankshaft through a ratcheting mechanism.
- The recoil spring: A tightly coiled metal spring under significant tension. It automatically rewinds the cord after each pull. Handle this component with extreme caution—it can snap back suddenly and cause injury.
- The starter housing: The plastic or metal outer shell that contains and protects the pulley and spring. It bolts directly to the engine or mower deck.
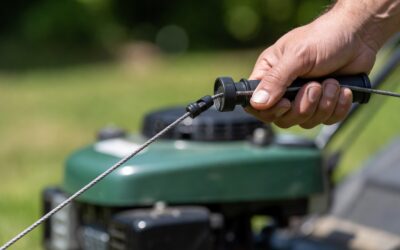
- The handle: Attached to the end of the pull cord, usually made of plastic or wood. This is what you grip to pull the cord.
- Push mowers vs. riding mowers: Push mowers typically have a single, simpler recoil mechanism mounted on top of the engine. Riding mowers may have similar systems or more complex variations; check your manual for specifics.
Removing the Starter Housing
The housing must come off to access the pulley and old cord. Follow these steps carefully:
- Locate all fasteners holding the housing. Most housings are secured with 2-4 bolts. Mark their locations with a marker or take a photo for reference.
- Remove fasteners in a cross pattern. If the housing has four bolts, unscrew opposite corners in sequence (top-left, bottom-right, top-right, bottom-left). This prevents the spring from pushing the housing off suddenly and reduces strain on remaining fasteners.
- Lift the housing gently. As you remove the final bolt, the recoil spring may be compressed inside. Ease the housing away slowly to control any spring tension.
- Set the housing on a clean work surface. Place it with the pulley facing up. Avoid inverting it, as this can disturb internal spring alignment.
- Inspect the recoil spring and pulley. Look for visible damage, cracks, or rust. If the spring appears broken or the pulley is cracked, you may need to replace the entire starter assembly rather than just the cord.
Removing the Old Cord and Handle
Now that the housing is accessible, remove the damaged cord:
- Examine how the cord is knotted to the pulley. The cord typically enters through a hole in the pulley hub and is secured with a knot on the inside. Note the knot configuration—you’ll replicate it with the new cord.
- Unwind the old cord carefully. Gently rotate the pulley in the direction opposite to normal winding (counterclockwise for most mowers). As you rotate, the wound cord will come free. Keep rotating until all cord is unwound.
- Pull the cord through the housing. Once unwound from the pulley, thread the old cord back through the opening in the housing and remove it completely.
- Remove the starter handle. The handle is typically crimped or glued to the cord end. If it’s glued, carefully pry it free with a flat screwdriver. If it’s crimped, you may be able to pry the crimp open or cut it away.
- Discard the old cord and inspect the handle. If the handle is cracked or worn, replace it with a new one. Otherwise, you can reuse the existing handle.
Threading and Securing the New Cord
Installing the new cord requires attention to detail and proper tensioning:
- Cut the new cord to length. Standard replacement cords are sold in longer spools. For most residential mowers, cut approximately 10-12 feet of cord. You can trim excess after testing.
- Seal the cut ends to prevent fraying. Carefully run each end over a flame for 1-2 seconds to melt and seal the nylon fibers. Do this outdoors or in a well-ventilated area. Allow it to cool before handling.
- Thread the cord through the housing opening. Feed one end through the hole where the cord exits the housing (typically at the top). If threading is difficult, use a needle or cordage threader to guide it through.
- Tie the cord to the pulley. The cord must be secured to the pulley hub with a reliable knot. A figure-eight knot or double overhand knot works well. The knot should be large enough that it cannot slip through the pulley hole. Leave about 1-2 inches of cord extending past the knot for safety.
- Wind the cord onto the pulley. Starting from the knot, wrap the cord around the pulley in a tight, even spiral. Most mowers wind clockwise when viewed from above. Maintain tension as you wind to ensure neat, tight coils with no gaps or overlaps.
- Wind until 6-8 inches of cord remains. Stop winding when you have enough cord remaining to reach the starter handle with some slack. This slack allows the handle to sit naturally when the cord is fully retracted.
- Attach the starter handle. Crimp or glue the handle to the end of the cord using the method your mower originally used. If using a crimp, position it securely to prevent the handle from spinning or slipping.
Testing the Recoil Mechanism
Before reassembling the housing, verify that your new cord installation is correct:
- Pull the cord gently and smoothly. It should extend easily without resistance or binding. If you feel tugging or hear grinding noises, the cord may be routed incorrectly or the knot may be catching inside the pulley.
- Observe how the cord retracts. After you release the cord, it should snap back quickly and wind neatly onto the pulley. The handle should return to its resting position near the housing. Jerky or hesitant retraction indicates improper tension or winding.
- Complete 3-5 pull cycles. Repeat the pull-and-release motion several times to ensure consistent performance. Each cycle should feel the same—smooth on the pull, snappy on the retraction.
- Check for fraying at the housing. Look where the cord exits the housing to ensure it isn’t rubbing or fraying against sharp edges. If fraying occurs, wrap that area lightly with electrical tape as a temporary fix, then address it during reassembly.
- Verify the handle position. When fully retracted, the handle should sit 2-3 inches from the housing with no slack in the cord. Too much slack means the cord is too long; too little means it’s wound too tightly.
Reassembling the Starter Housing
Once you’ve confirmed the cord works properly, reassemble the mower:
- Position the housing over the engine. Align the bolt holes carefully. The housing must sit flush against the mower deck or engine block with no gaps.
- Insert fasteners in reverse order of removal. If you removed bolts in a cross pattern, reinstall them the same way to distribute pressure evenly. This prevents the spring from being pinched unevenly.
- Tighten fasteners gradually and evenly. Do not fully tighten one bolt before moving to the next. Instead, snug all bolts lightly, then make a second pass to fully tighten. This ensures even pressure.
- Verify the housing is seated properly. Visually inspect all edges where the housing meets the mower to confirm there are no gaps. Small gaps can allow debris inside or cause the spring to misalign.
- Test the cord one final time. Before reconnecting the spark plug wire, pull the cord several times to confirm everything still works smoothly with the housing in place.
- Reconnect the spark plug wire. Push the wire firmly onto the spark plug terminal until it’s seated fully. You should hear a slight click.
Troubleshooting Common Issues After Replacement
If your new pull cord doesn’t function as expected, try these solutions:
Cord won’t retract fully: The cord may be wound too loosely or the knot may be too small and slipping through the pulley hole. Open the housing, tighten the winding, or retie the knot larger.
Cord feels stiff or binds when pulled: The cord may be routed around the pulley incorrectly or wedged against a sharp edge. Verify the cord is threaded straight through the housing opening and winds smoothly without twisting.
Handle doesn’t stay in resting position: The recoil spring may be weakened or the cord may be wound too tightly. Check spring integrity; if it looks intact, loosen the winding slightly.
Cord frays near the handle or housing: Sharp edges on the housing or handle are cutting the nylon. Smooth these edges with sandpaper or wrap the cord with electrical tape where it contacts sharp surfaces.
Cord pulls out during operation: The knot is either too small or tied incorrectly. Remove the cord and retie using a larger, more secure knot such as a triple overhand knot.
When to Replace vs. Repair: Identifying Damage Types
Not all pull cord problems require complete replacement:
Frayed cord with intact length: If the cord is frayed but still the original length and strong, trim the frayed section with scissors or a knife and seal the cut end with a lighter. This extends the cord’s life without replacement.
Broken or shortened cord: If the cord has snapped, creating two separate pieces, you must replace it. A broken cord cannot safely transmit the force needed to start the engine.
Cracked or damaged pulley: If the pulley is visibly cracked or the grooves are damaged, replacing just the cord won’t solve the problem. The entire starter assembly should be replaced.
Frozen or sticky cord: If the cord won’t retract or is difficult to pull, the recoil spring may be damaged or corroded. Inspect the spring; if it appears damaged or heavily rusted, replace the starter assembly.
Worn handle only: If the handle is cracked or uncomfortable but the cord is fine, you can often purchase replacement handles separately and swap them onto your existing cord.
Frequently Asked Questions
How often should I replace my lawn mower’s pull cord?
Most residential lawn mower pull cords last 3-5 years with normal use. Frequency depends on climate (UV exposure degrades nylon), usage intensity, and storage conditions. If your cord frays frequently or feels brittle, replacement is due. Inspect it annually during seasonal maintenance.
Can I use a different diameter cord than 3/16 inch?
It’s not recommended. Standard residential mower pull cords are 3/16 inch for a reason—this size fits the pulley grooves and provides the right balance of strength and flexibility. Using thicker cord may jam the pulley; thinner cord may slip or break. Always match your mower’s original specification by checking your manual or measuring the old cord.
What if the recoil spring breaks while I’m working on the cord?
A broken spring requires replacement of the entire starter assembly, not just the cord. Spring replacement is complex and potentially dangerous due to the high tension involved. Contact the mower manufacturer or a qualified repair shop for professional replacement.
Do I need to buy a complete starter kit or just the cord?
For most pull cord replacements, buying cord alone is sufficient if the pulley and spring are intact. Starter kits include the entire assembly and are more expensive; use them only if your pulley or spring is damaged. Kits are useful for riders mowers or commercial equipment with more complex systems.