Quick Answer
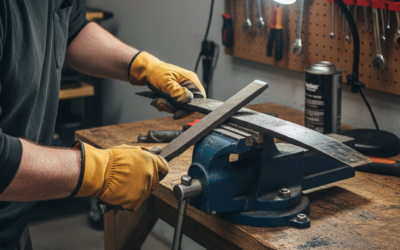
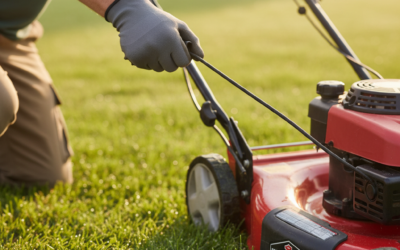
To sharpen a push mower blade, disconnect the spark plug wires and secure the mower, mark the blade’s underside, remove it with a wrench, clamp it in a vise, and use a metal file or angle grinder to sharpen at the existing blade angle (typically 30-45 degrees). File both sides equally to maintain balance, inspect for damage, and reinstall. The process takes 20-30 minutes and requires basic hand tools.
Before You Start: Safety Precautions and Tool Requirements
Working with mower blades requires careful attention to safety. Before beginning any blade maintenance, you must eliminate the risk of accidental engine startup.
Essential Safety Measures
- Disconnect spark plug wires – Remove both spark plug wire connectors to prevent engine ignition
- Secure the mower – Place on level ground and engage any available safety locks
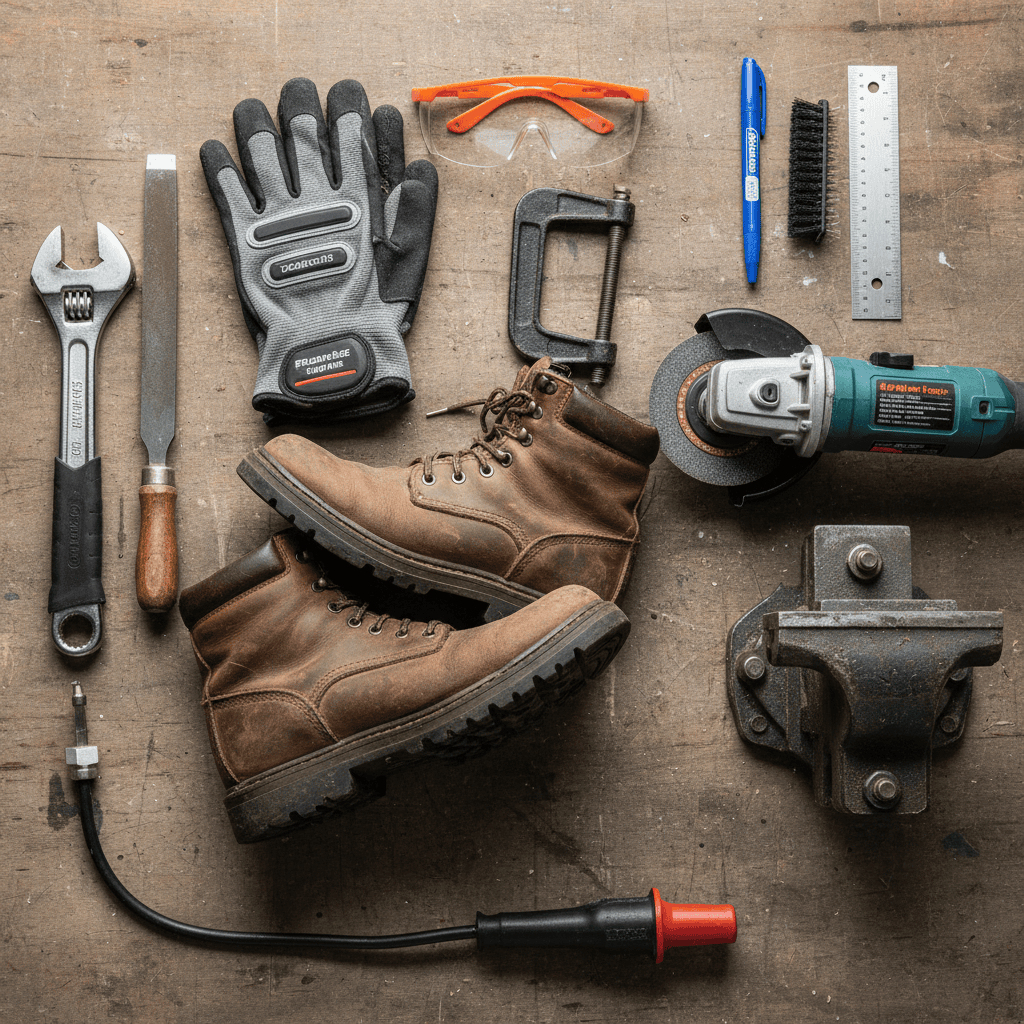
- Wear protective equipment – Use cut-resistant gloves, safety glasses, and steel-toed boots when handling blades
- Work in a well-lit area – Poor visibility increases injury risk
- Never work alone – Have another person nearby in case of emergency
Tools and Materials You’ll Need
- Adjustable wrench or socket set matching your mower’s blade bolt
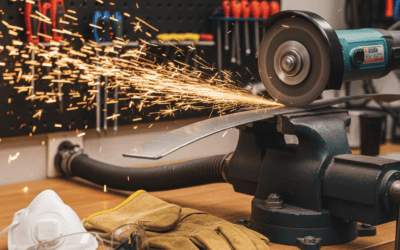
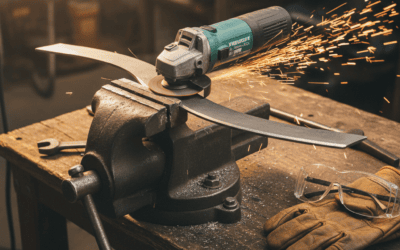
- Metal file (12-inch mill bastard file) or 4.5-inch angle grinder with metal cutting disc
- Bench vise or C-clamp for securing the blade
- Blade marking pen or paint for orientation
- Safety glasses and cut-resistant gloves
- Ruler or caliper for measuring filing depth
- Wire brush for cleaning debris
Understanding Your Mower Blade Type
Push mowers use two primary blade designs, each requiring slightly different handling approaches.
Rotary Blades
Rotary blades are the most common type found on gas and electric push mowers. These flat, horizontal blades spin at high speed to cut grass. They have two cutting edges and require symmetrical sharpening to maintain balance. A rotary blade’s sharpening angle typically ranges from 30 to 45 degrees, matching the blade’s existing bevel. These blades are straightforward to remove and sharpen at home.
Reel Blades
Reel mowers use curved cylindrical blades that work against a stationary backplate with a scissor-like cutting action. Reel blade sharpening is more specialized and often requires professional equipment. Most homeowners benefit from professional reel blade servicing rather than attempting this at home.
Identifying Your Blade Type
Check your mower’s manual or examine the blade itself. Rotary blades are flat and horizontal; reel blades are curved and cylindrical. Most modern push mowers are rotary designs, making them ideal for home sharpening.
Step-by-Step Blade Sharpening Process
Step 1: Mark the Blade Underside
Before removal, use a blade marking pen to paint the underside of the blade. This prevents confusion during reinstallation—the underside must face downward when remounted. Many users accidentally reverse blades, causing poor cutting performance.
Step 2: Remove the Blade
Tip the mower on its side (with the carburetor facing up to prevent oil leakage). Locate the center bolt holding the blade to the shaft. Use your wrench to loosen and remove this bolt completely. Carefully extract the blade and set it aside safely, keeping the marked underside visible for reference.
Step 3: Secure the Blade for Sharpening
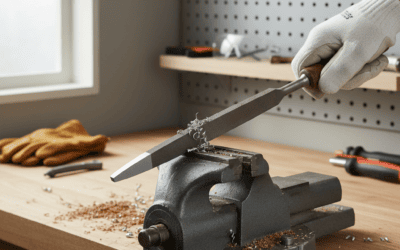
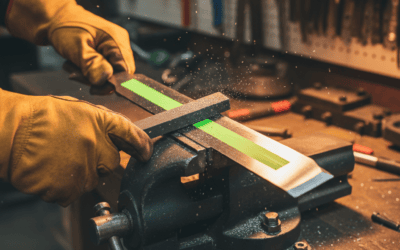
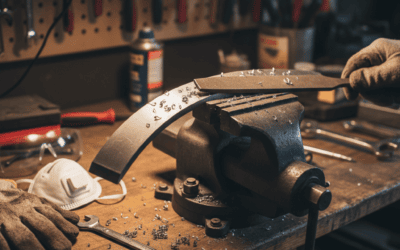
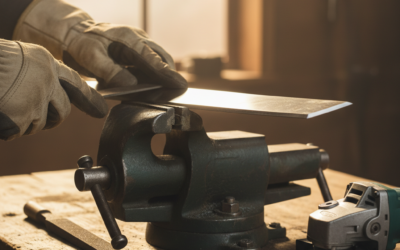
Place the blade in a bench vise, clamping it near the center without distorting the blade edges. The blade should be horizontal and stable. If using a C-clamp, ensure the cutting edges are accessible and the blade cannot shift during filing.
Step 4: Inspect Before Sharpening
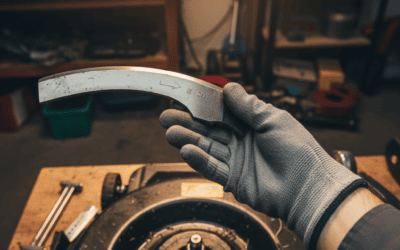
Examine both cutting edges carefully. Look for deep gouges, cracks running across the blade width, significant bent areas, or corrosion damage. If damage is severe, replacement is safer than sharpening. Minor dulling is ideal for home sharpening; significant structural damage requires professional replacement.
Step 5: Establish Your Sharpening Angle
Most rotary blades feature a factory bevel angle between 30 and 45 degrees. Examine your blade’s existing edge under good lighting. You’ll maintain this angle rather than creating a new one. Hold your metal file or angle grinder at this angle consistently throughout sharpening.
Step 6: Sharpen the First Edge
Starting at one end of the blade, push your metal file across the edge away from your body using firm, consistent strokes. Work from the top of the blade downward at your established angle. Make 10-15 passes along the entire cutting edge, then inspect. The edge should reflect light differently than the dull portion, indicating sharpening has begun.
Step 7: Balance by Sharpening the Opposite Edge
This is critical for proper mower performance. Count the file strokes used on the first edge, then apply the same number of strokes to the opposite cutting edge at the same angle. Equal sharpening on both sides prevents blade imbalance, which causes vibration and uneven cutting.
Step 8: Check Edge Quality
Run your thumb gently along the sharpened edge (perpendicular to the edge, never along it). A properly sharpened blade should feel noticeably sharper than before, with a clean, uniform edge. Dull spots indicate uneven filing requiring additional passes.
Inspecting for Damage and Replacement Criteria
Not all dulled blades should be sharpened. Certain damage makes replacement the safer choice.
Signs Requiring Blade Replacement
- Deep cracks or breaks – Any crack longer than one inch
- Severe bends – Bends exceeding 1/8 inch or affecting the blade’s symmetry
- Rust corrosion – Pitting or corrosion exceeding 10% of blade surface
- Impact damage – Gouges from striking rocks or solid objects
- Blade warping – Twisted or warped blade structure
- Previous repairs – Welded or brazed blades are less safe than new replacements
When Sharpening Is Appropriate
Sharpening works well for blades with dull cutting edges, minor surface rust treatable with a wire brush, and structural integrity. The blade should be straight, not warped, and the edges should show wear but not damage.
Reinstalling and Testing Your Sharpened Blade
Blade Balance Verification
Before reinstalling, perform a balance check. Suspend the blade horizontally on a shaft or dowel through the center hole. A balanced blade stays level; if one side dips, that side is heavier. Remove additional metal from the heavier side by filing more, then retest.
Proper Reinstallation
With the blade removed from the vise, orient it with your marking pen’s underside mark facing downward. Align the center hole with the mower’s shaft and insert the bolt. Tighten securely using your wrench, but do not over-tighten, which risks stripping threads or damaging the blade.
Post-Installation Testing
Reconnect the spark plug wires and perform a test on a small grass patch. The blade should cut cleanly without vibration, pulling, or uneven cutting. If performance is poor, disconnect the spark plugs again and re-check blade balance and orientation. Proper installation should produce a clean, even cut.
Maintenance Tips to Extend Blade Life
Sharpening Frequency
Most push mower blades benefit from sharpening annually or after 20-50 hours of mowing use. Regular use in typical residential settings suggests annual spring sharpening before the season begins. Heavy commercial use may require more frequent sharpening.
Causes of Premature Dulling
- Mowing wet or damp grass
- Mowing sandy or dusty areas
- Cutting over gravel or rocky terrain
- Mowing without cleaning grass buildup
- Extended storage without protection
Preventative Care Practices
- Clean grass and debris from the blade after each use
- Store the mower in a dry location
- Inspect the blade before each mowing season
- Avoid mowing over obvious rocks or debris
- Use proper technique rather than forcing the mower through dense grass
When to Seek Professional Service
Consider professional sharpening or replacement if: the blade has been sharpened multiple times and is becoming thin, your mower uses reel blades, or you lack confidence performing the work yourself. Professional services typically cost $20-50 and ensure precision results.
Frequently Asked Questions
How sharp should a mower blade be?
A properly sharpened blade should feel noticeably sharp when tested carefully along its edge (perpendicular to the blade), comparable to a kitchen knife. It should cut cleanly through grass without tearing or crushing the blades. If the blade tears grass rather than cutting cleanly, it needs sharpening.
Can I sharpen a mower blade without removing it?
Sharpening without removal is possible but not recommended for most homeowners. Removing the blade allows secure clamping in a vise, better access for even filing, and blade balance verification. In-place sharpening risks uneven work and potential injury from the spinning blade setup.
What’s the best tool for sharpening a mower blade?
A 12-inch mill bastard metal file is reliable and affordable, costing $10-20. An angle grinder works faster but requires skill to maintain consistent angle and edge quality. For beginners, a metal file provides better control and precision without special equipment.
How do I know if my blade is balanced?
Balance the blade horizontally on a shaft or dowel through its center hole. A balanced blade stays level; if one side dips, file additional metal from the heavier side until the blade balances evenly. Proper balance prevents vibration and ensures even cutting.