When to Sharpen vs. Replace Your Lawn Mower Blade
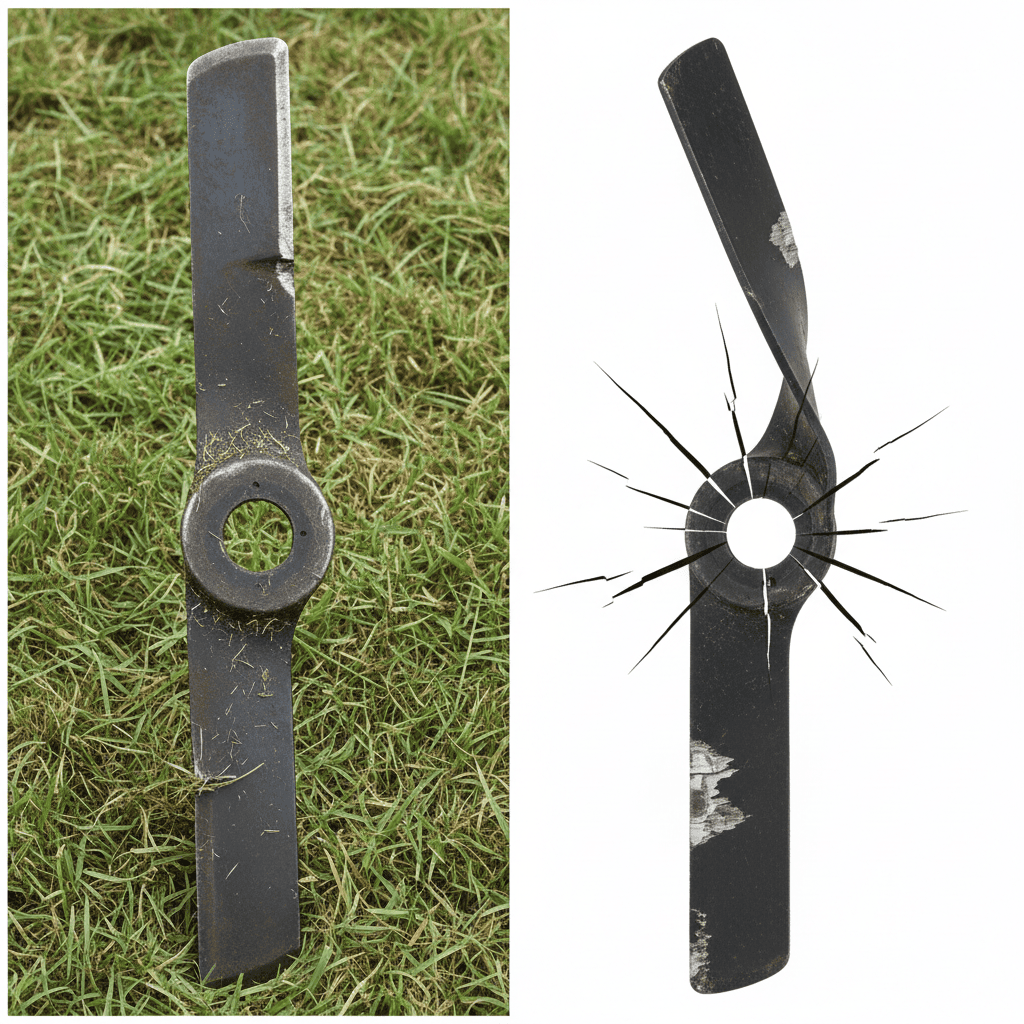
Before you invest time in sharpening, assess whether your blade is worth saving. A dull blade tears grass rather than cutting it cleanly, creating brown, frayed tips that invite disease and stress the lawn. However, not every dull blade is a candidate for sharpening.
Signs your blade needs sharpening:
- Grass appears torn or shredded after mowing rather than neatly cut
- The blade has lost its sharp edge but shows no visible damage
- You’ve been using the mower for 20–40 hours since the last sharpening
- The cutting edge is dull when you run your finger lightly across it (carefully)
Signs your blade should be replaced:
- Deep cracks, especially radiating from the center hole
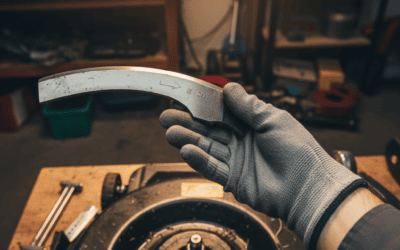
- Bent or warped blade that doesn’t sit flat
- Chunks missing from the cutting edge
- Blade thickness worn down below the manufacturer’s minimum specification (usually 3/16 inch)
- Damage concentrated in one area that cannot be evened out through sharpening
As a general rule, most residential mowers benefit from sharpening every 20–40 operating hours, or roughly once per month during active mowing season if you’re cutting weekly. Professional landscapers may sharpen weekly. If your blade shows structural damage, replacement is safer and more cost-effective than attempting repair.
Safety Considerations Before You Start
Working with mower blades carries real injury risks. The blade is sharp, and even a stationary blade can cause serious lacerations. Follow these essential safety protocols without exception.
Disconnect the ignition: Always remove the spark plug wires or disconnect the battery before touching the blade. This prevents accidental engine start, which is the most common cause of blade-related injuries. Even a brief engine crank can cause severe cuts.
Use proper personal protective equipment:
- Heavy work gloves (leather or cut-resistant material)
- Safety glasses or a face shield to protect from grinding sparks and debris
- A dust mask or respirator when grinding, as metal particles become airborne
- Steel-toed boots in case the blade or mower tips
- Long sleeves to protect your arms from sparks
Secure the mower: Place the mower on a flat, level surface. If you need to tip it to access the blade, tip it toward the carburetor side (not the air filter side) to prevent oil from leaking into the air filter. Use wheel chocks or blocks to prevent rolling. Never work under a mower supported only by a jack—use jack stands for additional safety.
Removing the Mower Blade Safely
Proper blade removal protects both you and the equipment. Rushing this step increases the risk of injury and mower damage.
Step 1: Position and secure the mower Tip the mower on its side (carburetor side up) on a flat surface. Use blocks or wheel chocks to prevent it from rolling. Ensure the spark plug wires are disconnected.
Step 2: Locate and mark blade orientation Before loosening anything, use a marker or tape to mark the top side of the blade and the direction it faces. This prevents reinstallation errors. Some blades are directional.
Step 3: Loosen the blade bolt Use a socket wrench or adjustable wrench to loosen the center bolt holding the blade. Many bolts are reverse-threaded on one side (turn clockwise to loosen), but check your manual. If the blade spins when you try to loosen the bolt, grip it firmly with a block of wood or use a rag to hold it steady.
Step 4: Remove the blade carefully Once the bolt is loose, carefully lift the blade away from the mower deck. Support its weight—don’t let it hang from the bolt. Place it on a clean, flat surface with the cutting edge facing up and away from your body. Set the bolt aside in a safe location where you won’t lose it.
Inspecting Your Blade for Damage
A thorough inspection determines whether sharpening is viable or replacement is necessary.
Check for structural damage: Look for cracks, especially those radiating outward from the center hole. Hairline cracks may not be visible, so run your fingers gently over the blade surface (carefully) and look for stress lines. Any significant crack means the blade should be replaced—sharpening won’t restore its structural integrity.
Look for bending or warping: Place the blade on a flat surface and sight along its length and width. A bent blade won’t spin evenly and will cause dangerous vibration. Attempting to straighten a bent blade is unsafe; replacement is the better choice.
Measure blade thickness: Use a caliper or ruler to measure the blade thickness at a point away from the cutting edge. If it’s worn below the manufacturer’s specification (typically 3/16 inch or 4.75 mm), the blade should be replaced rather than sharpened further, as it’s lost too much mass.
Assess the cutting edge: Look at the current edge condition. Is it dull and rounded, or is it broken? A dull edge can be restored; a broken or jagged edge may be too damaged to sharpen effectively. Check both ends of the blade—they should wear evenly in a balanced blade.
Sharpening the Blade: Methods and Technique
The sharpening angle is critical. Lawn mower blades typically require a 30–45 degree angle, with most manufacturers recommending 30–35 degrees. This angle balances sharpness with durability.
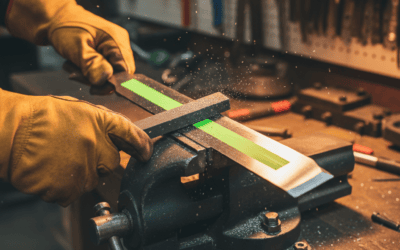
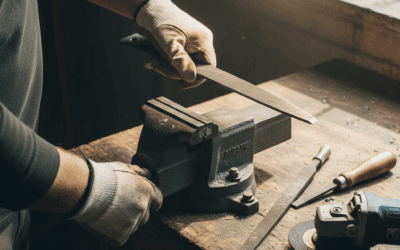
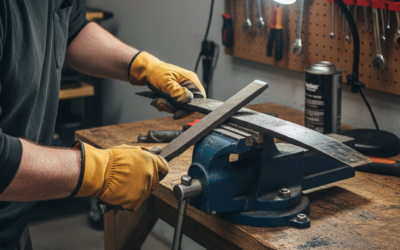
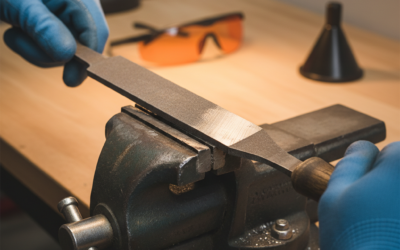
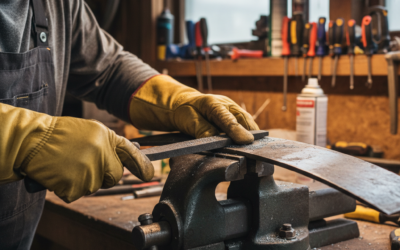
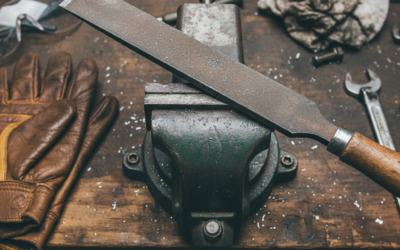
Using a flat file (hand method): The file method is slower but gives you precise control and doesn’t remove excess metal. Place the blade in a vise with the cutting edge facing up. Using a flat file, stroke along the cutting edge at the correct angle, always moving from the top of the edge downward (away from your body). Make 4–6 passes on each side, then check sharpness. The goal is a uniform edge, not a razor-sharp finish. Stop before the edge becomes too thin.
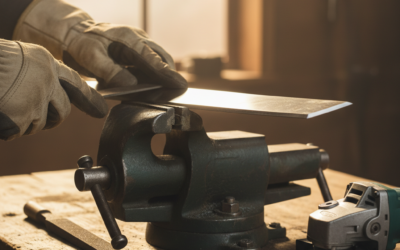
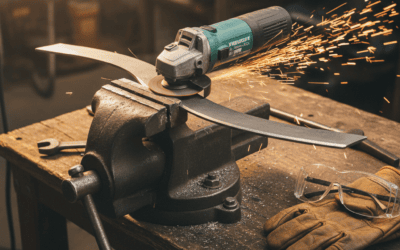
Using an angle grinder: An angle grinder removes material faster but requires care to avoid overheating the blade and damaging its temper. Wear a face shield and dust mask. Secure the blade in a vise. Using a metal grinding wheel, lightly touch the cutting edge at the correct angle, moving along the edge in one direction. Make 2–3 light passes per side. Check frequently—it’s easier to remove more metal than to add it back. Avoid concentrating the grinder in one spot, as this creates heat and can warp the blade.
Using a rotary tool: Rotary tools like a Dremel with a grinding stone work well for smaller adjustments. This method is slower and gentler than an angle grinder, making it good for minor touch-ups. Use the same technique: secure the blade, apply light pressure at the correct angle, and work along the cutting edge with multiple light passes.
Key sharpening principles:
- Sharpen both ends equally to maintain balance
- Use light, controlled strokes—aggressive grinding can overheat and weaken the blade
- Check your progress frequently to avoid over-sharpening
- The blade should be sharp enough to cut paper cleanly but not razor-sharp
- Stop sharpening once you’ve created a uniform edge on both sides
Checking and Restoring Blade Balance
Blade balance is as important as sharpness. An unbalanced blade causes vibration during operation, which stresses the mower deck, bearings, and engine crankshaft. This vibration accelerates wear and can cause serious damage over time.
Why balance matters: A balanced blade spins smoothly. An unbalanced blade creates a side-to-side wobble that transmits through the mower deck and eventually to the entire machine. This vibration reduces cut quality, damages the mower’s bearings, and can cause premature engine failure.
How to check balance: The simplest method is to use a blade balancer (a tool with a V-shaped cradle), which you can purchase inexpensively or rent from a tool shop. Place the blade horizontally across the balancer. If it stays level, it’s balanced. If one end dips down, that end is heavier.
Alternatively, use the hanging method: drive a nail or bolt horizontally through the center hole of the blade (avoiding sharp edges). Hold the blade level from above, suspended by the nail. If the blade stays level, it’s balanced. If one end dips, that end is heavier.
If the blade is unbalanced: Remove metal from the heavier end by carefully filing or lightly grinding that side. Remove material gradually and check balance frequently. Once balanced, the blade should remain level when suspended.
Reinstalling the Blade Correctly
Proper reinstallation ensures safe operation and prevents blade-related problems.
Step 1: Position the blade Using the marks you made during removal, carefully position the blade in the correct orientation. The top marking should face up, and the blade should face the same direction as before. Incorrect orientation can prevent proper cutting or cause safety issues.
Step 2: Hand-tighten the bolt Insert the blade bolt and hand-tighten it first. This ensures the blade is seated properly without forcing anything into misalignment.
Step 3: Apply proper torque Using a torque wrench, tighten the bolt to your mower’s specification (typically 35–90 foot-pounds; check your manual). Over-tightening can strip threads or crack the blade; under-tightening can allow the blade to loosen during operation, creating a dangerous situation.
Step 4: Reconnect the spark plug wires Before starting the engine, reconnect the spark plug wires or battery. Ensure they’re seated firmly.
Step 5: Test before mowing Start the mower and let it idle for a few seconds. Listen for unusual vibration or noise. Shut it off and gently push the blade to confirm it spins freely without wobbling. If you notice vibration or resistance, stop and recheck blade installation and balance.
Rotary vs. Reel Mower Blades: Key Differences
While rotary mower blades (the most common type in residential settings) are sharpened as described above, reel mower blades require different techniques and are often better left to professionals.
Rotary mower blades: These are single horizontal blades that spin at high speed. They’re designed to be sharpened at home using the methods above. The DIY approach works well for homeowners.
Reel mower blades: Reel mowers use multiple curved blades arranged in a cylinder. Sharpening requires precise technique to maintain the critical relationship between the spinning reel and the stationary bottom blade (the cutting bar). Professional sharpening with specialized equipment is recommended, as home sharpening often results in uneven cutting or damage.
If you own a reel mower, consult your manual or contact a professional service to determine whether home sharpening is recommended for your model.
Frequently Asked Questions
How often should I sharpen my lawn mower blade?
Sharpen your blade every 20–40 operating hours of use, or roughly once per month during active mowing season if you’re mowing weekly. Adjust frequency based on your lawn conditions—sandy or rocky soil dulls blades faster than well-maintained turf. Signs of dullness include torn grass tips and increased mower noise or vibration.
Can I sharpen a bent or cracked blade?
No. A bent blade creates dangerous vibration and won’t cut evenly, and a cracked blade is a safety hazard that may break during operation. Replacement is the only safe option. Attempting to straighten a bent blade or ignore a crack risks serious damage to your mower and injury to yourself.
What’s the correct sharpening angle for a rotary mower blade?
The standard sharpening angle is 30–45 degrees, with most manufacturers recommending 30–35 degrees. This angle balances sharpness with edge durability. If you’re uncertain about your specific mower, check the owner’s manual or contact the manufacturer for the exact specification.
Is a blade balancer necessary, or can I skip this step?
Blade balancing is essential and shouldn’t be skipped. An unbalanced blade causes vibration that stresses your mower’s engine and deck, leading to premature wear and potential damage. A basic blade balancer is inexpensive to purchase or rent. Taking the few extra minutes to balance ensures your mower runs smoothly and safely.