

Quick Answer: How To Wind Strimmer Line?
Isolate a petrol, mains or battery strimmer from its energy source and wait until the cutting head is still. Open the trimmer head, keep the spring and other parts in order, and read any winding arrows or leftover coils on the spool. Match compatible nylon line to the marked diameter, seat it in the slots or holes, and wind it…

Pros
- Six-pack bundle listed in the product title
- Square profile line named in the product title
- Commercial 5 lb size listed for heavier use
Cons
- Trimmer compatibility is not verified in supplied data

Pros
- Six-pack bundle listed in the product title
- Star profile line named in the product title
- Commercial 5 lb size listed for heavier use
Cons
- Line length and trimmer fit are not stated in supplied data

Pros
- Title lists 1280 feet of line length
- Square profile named in the product title
- Lists a 5 lb line rating
- Title describes it as commercial-style line

Pros
- Title lists .095-inch square nylon line
- Lists 1280 feet of line length
- Manufacturer states fit with most string trimmers
- Lists a 5 lb line rating
Make the strimmer safe before you open the head
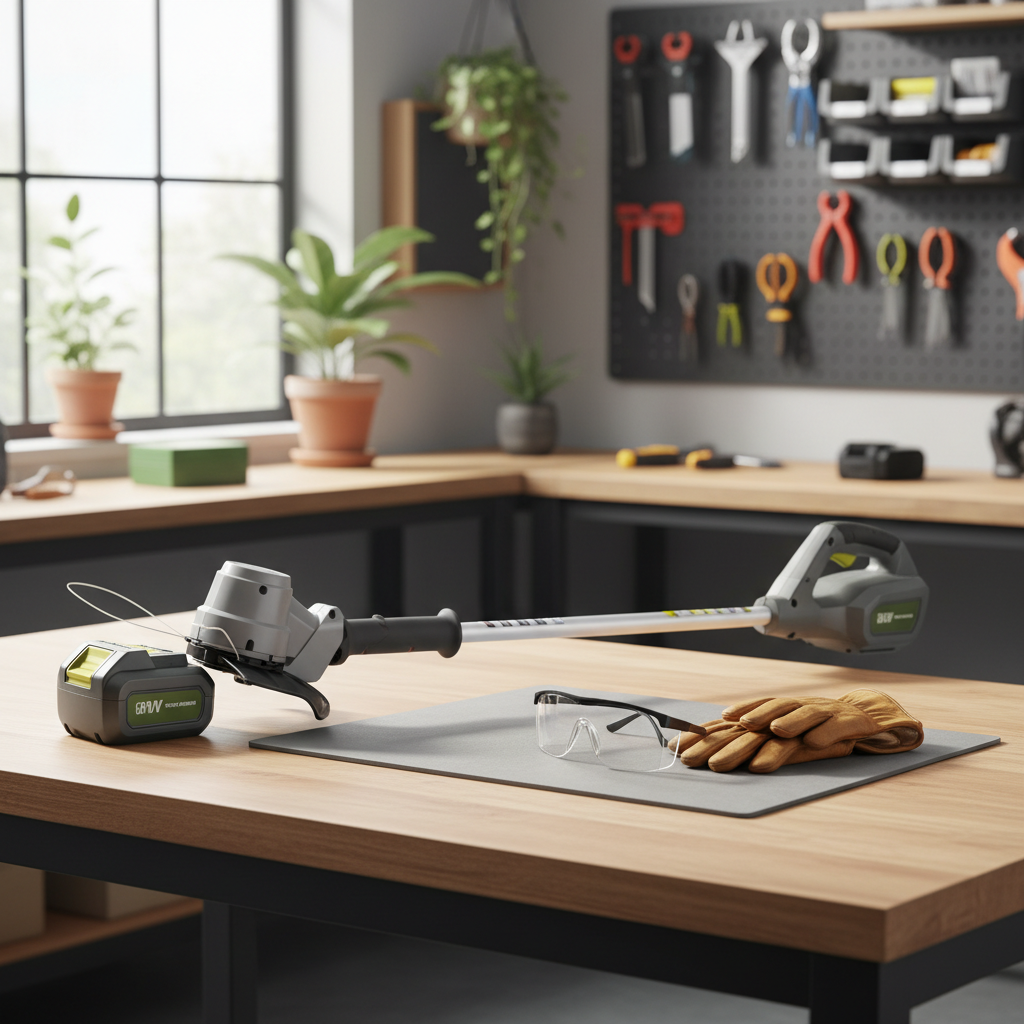
A string trimmer stores energy in more than one place. The head can still be spinning after you release the trigger, the nylon ends can be sharp, and a bump-feed cover can hide a compressed spring. Treat isolation as a general safety practice, then follow the tool manual if it specifies a different sequence. The manual always overrides this generic walkthrough.
How you isolate the tool depends on how it is powered:
- Battery models: remove the battery pack and keep it away from the handle so it cannot be refitted by accident while your hands are on the head.
- Mains-electric models: unplug the lead from the socket. Do not rely on the trigger lock alone.
- Petrol models: stop the engine and let the head come to a complete stop. If the design allows the spark-plug lead to be disconnected so the engine cannot fire, do that as well. Do not invent extra lock-out steps that the tool was not built for.
Wait until the cutting head has fully stopped. A still-spinning disc of line can whip, fling grit and cut skin. Freshly cut monofilament ends are stiff enough to scratch eyes and fingers, so eye and face protection is sensible when you snip and thread line, and gloves help when you handle sharp tails or a spring-loaded cover.
Work on a clear bench or a patch of ground where small parts cannot roll into grass. A bump-feed head often contains a short coil spring under the spool. If that spring flies off and is lost or refitted upside down, the bump knob will not pay out line later. Keep children, pets and bystanders well away while the head is open and again when you first restart the tool.
Identify the head and how it is meant to feed
Not every consumer strimmer uses the same rewind. Forcing a dual-line bump-feed method onto an auto-feed cassette or a fixed-line head is a common reason the tool jams or will not cut. Look at the head before you discard the old line.
Typical consumer types include:
- Bump-feed or tap-and-go. You tap the centre bump knob on the ground while the head is spinning, and a spring and spool inside let a little more line out through the eyelets. These heads are the ones this article walks through in detail.
- Auto-feed. The head is designed to pay out line by itself when you start the tool or when the tips wear short. Some use a rewindable spool; others are built around a pre-wound cassette you swap as a unit.
- Fixed-line. Short, separate pieces of nylon clip or lock into slots. There is no long coil to wind.
- Pre-wound cassette. A sealed or semi-sealed cartridge drops into the housing. Rewinding the inner spool may be impractical or not intended.
Check whether the spool takes one continuous length or two separate pieces. Dual-line bump-feed heads often use a single long piece of trimmer line folded at a centre divider. Other heads have two holes or channels and take two shorter pieces wound in opposite halves of the spool. Single-line heads have one channel and one eyelet.
If the inner spool is cracked, the eyelets are flattened, or the maker supplies only cassettes, fitting a pre-wound cassette or replacing the whole trimmer head is usually better than forcing a rewind. Metal brushcutter blades and professional clearing-saw knives are out of scope here; those tools are not rewound with nylon monofilament and need their own fittings and guards.
The seating, winding and reassembly steps below apply to common consumer single- and dual-line spools. For any other system, stop at the marks on the parts and the manufacturer instructions.
Remove the cap or spool and note the winding marks
Most bump-feed covers come off in one of a few ways: squeeze tabs or clips around the rim, twist a bayonet-style cap past its lugs, or undo a centre knob. None of those methods is universal, so look for arrows, “open” marks or a slot for a screwdriver before you force anything. Support the head so the inner parts do not drop as the cover comes free.
Keep the stack in order as you lift it apart. A typical consumer head may include some combination of a cover, a spool, a spring, a washer and a bump knob. The exact names and order vary by model. Lay the parts out in the sequence you removed them so the spring cannot be inverted on the way back in.
Before you throw away the old nylon, look for direction information:
- Arrows moulded on the spool flanges or on the inside of the cover.
- The word “wind” or similar next to a curved arrow.
- Left and right channel marks on a dual-line spool.
- The remaining coils themselves. If a usable length is still wrapped neatly, that wrap is evidence of the last successful winding direction.
Winding direction is model-specific. There is no safe universal rule that every strimmer winds clockwise or every strimmer winds counterclockwise. If there are no marks and no remaining coils, use the tool manual rather than guessing. Winding the wrong way is one of the fastest ways to build a spool that looks full but will not feed.
Note how the old line sat in any centre slot, hook or pair of holes. That seating method is what you will copy with the new line. If a small spring sat under the spool, keep it; a missing, inverted or crushed spring is a frequent reason a bump-feed head will not pay out even when the wind looks tidy.
Match the line and prepare a workable length
Trimmer line is nylon monofilament sold in several diameters and profiles. The head, the spool, leftover line or a marking on the tool is the place to read the intended line diameter. Match that size. Do not assume a pack labelled for “strimmers” will fit every eyelet.
The wrong diameter causes mechanical problems rather than a vague loss of “power.” Line that is too thick may not pass the eyelets, may bind against the housing, or may load the motor or engine more than the head was designed to take. Line that is too thin can slip through the eyelets, snap at the first tap, or fail to lock in the spool slots.
There is no single metre or foot length that fits every spool. Use enough line to fill the channels without stacking above the flanges, and stop before the coil sits proud of the rim. An overfilled spool will not turn freely inside the cover, the cap may not lock, and the first minutes of use can weld the layers together with heat.
On many dual-line bump-feed spools, one continuous length folded in half at a centre slot is the intended method. On others, two separate pieces go into opposite holes and each half of the spool is wound on its own. Both are normal variants; copy the arrangement you found when you opened the head, or the diagram on the spool, rather than treating one method as a rule for every tool. A single-line spool uses one piece in one channel.
Line is sold in round, twisted and other profiles. Those shapes are categories of monofilament, not a ranking of cut quality. Without a specific manual claim in front of you, choose a profile that still matches the marked diameter and will pass the eyelets. Fresh cut ends are sharp; trim them square enough to thread, and keep them away from your eyes.
Seat the line and wind it in the marked direction
This is the core of a typical dual-line bump-feed rewind. Treat every step as typical, not guaranteed for every cassette.
Dual-line, one continuous length
- Find the midpoint of the prepared length and lock it into the divider slot, hook or notch in the spool hub. The two halves should be as equal as you can make them before you start turning the spool.
- Hold the spool so the marked winding direction faces you. Wind only that way, or the same way as any remaining old coils. Do not invent a clockwise default.
- Keep both halves under even tension. Guide the line onto the spool with your thumb so each turn sits next to the last, building neat layers instead of a loose heap.
- Keep the two channels separate if the spool has a divider. Crossing left-hand line into the right-hand well is a common cause of one side failing later.
- Stop while the coil is still below the flanges. Leave two tails long enough to reach through the eyelets in the housing with a little extra to grip. Exact centimetre figures are not universal; if the tails cannot reach the eyelets, you stopped too soon, and if the coil is already proud of the rim, you wound too much.
Tension matters as much as direction. Slack line lets coils collapse inward when the head spins. Wild overlaps create high spots that rub the cover and melt. Winding against the arrows or against the old coils means the bump mechanism tries to unwind into a locked nest instead of paying out through the eyelets.
Two-piece dual-line and single-line variants
On a two-piece head, insert each cut end into the manufacturer’s holes or slots, then wind each channel in the marked direction. Keep the two tails similar in length as you go. On a single-line spool, seat one end in the single anchor hole or slot and wind that one channel the same way: taut, layered, below the rim, with one tail left for the single eyelet.
If the spool has temporary holding notches on the outer flanges, park the tails in those notches once the wind is finished. They stop the coil springing loose while you offer the spool back into the housing.
Thread the eyelets and reassemble the head
Offer the wound spool back into the housing so each tail lines up with its matching eyelet. Pass the left tail through the left eyelet and the right tail through the right eyelet. Crossing them so each end exits the opposite side will make one side fail and can fold line against the housing.
A common consumer stack is the spring in the housing or under the spool, the spool over that spring, then the cover. That order is common, not guaranteed. The bump knob must still be able to move in and out against the spring. If the spring is missing, inverted or crushed, the tap-and-go action will not release line even if the wind is perfect.
Refit the cap the same way it came off. Clips should snap fully home. A twist cap should reach its lock position and sit flush, with no gap that lets the spool tilt. A centre knob should be secure enough that vibration will not undo it, without being forced past damaged threads. There is no universal torque figure to chase.
Pull each tail gently from outside the head so the inner coils settle and the parked notches, if any, release. The two exposed ends on a dual-line head should be similar in length. If the guard has a cut-off blade, over-long tips will usually be shortened the first time the head spins inside that guard. Not every guard has a blade, so do not assume a legal or factory maximum tip length; just avoid leaving wild loops that can slap the housing before you start.
Check the feed before you start work
Do a still check while the tool is isolated. Confirm the cap is locked, the bump knob can move, the tails are not trapped under the cover, and the head can turn by hand without grinding. If anything binds, open the head again rather than hoping it will free itself in use.
For the first start, choose an open space away from people, glass, vehicles and loose stones. Wear eye protection. The head will throw line and debris as soon as it spins. A brief run is enough to see whether the head comes up to speed and whether a bump-feed unit can pay out when you tap the knob on firm ground.
A successful bump-feed looks simple: a tap releases a short extra length from each eyelet, and the head keeps spinning without a burning smell or a sudden stall. Auto-feed heads are meant to pay out on their own; they do not always do so on the first start, and you should not keep revving a silent, locked head to force the issue.
Stop and isolate the tool again if you hear rubbing, smell hot plastic, see smoke, or find that the head will not spin. Those are signs of overfill, crossed line, a cover that is not fully seated, or a spool that cannot turn. Running a bound head to “burn it free” melts nylon onto the spool and can damage the eyelets and housing.
Mistakes that stop the line feeding
Most feed failures after a rewind are mechanical, not mysterious.
- Wrong winding direction. Coils that were wrapped against the arrows or against the old line try to tighten instead of paying out. The bump knob clicks but nothing emerges, or only one side moves.
- Loose, crossed or overfilled wind. Slack coils collapse. Crossed loops create lumps. Line above the flanges rubs the cover. Heat then welds the nylon into a solid ring that will not turn.
- Unequal tails or crossed eyelets. Dual-line heads cut more evenly when both ends are similar in length and each tail exits its own eyelet. One long side and one stub makes the head vibrate and can leave you cutting on a single tip.
- Wrong line diameter. Thick monofilament can jam in the eyelets or stress the head. Thin line can slip or snap. Match the marking on the tool or the leftover line.
- Lost or inverted spring. Without a working spring, a bump-feed or tap-and-go head cannot lift the spool to release line.
- Running a bound head. Continued running heats the coil, welds it, and can glaze the eyelets. Isolate the tool and open the head.
Eye and face protection remains warranted after a rewind. Line and debris can still whip when the head spins, and a newly cut tail can fail at the eyelet on the first tap.
If the line still will not advance
Reopen the isolated head and look for simple faults before you replace parts. Check that the bump knob is not stuck with packed grass, that the eyelets are still round enough for the line to pass, and that the spool is not cracked or welded into one mass. Clear fused nylon from the eyelets rather than forcing a thicker piece through a flattened hole.
Press the bump knob and watch the spool. If it does not lift and rotate a fraction, the return spring may be weak, missing or the wrong way up. Restore that spring and rewind in the marked direction with taut, layered coils below the flanges.
Fit a pre-wound cassette or replace the whole trimmer head when the spool is broken, the housing is cracked, or the maker clearly intends a cartridge system. If the tool is a blade-type brushcutter, nylon rewind is the wrong job; do not improvise metal cutters or treat a clearing saw as a string trimmer.
Do not diagnose an energised petrol, mains or battery tool with the head half open. Do not dismantle a sealed gearbox or fuel system to “free” a line jam. If the housing, shaft or electrics are damaged, take the tool to a competent repairer or contact the manufacturer. Manufacturer marks and the tool manual override this generic rewind advice, and a bound head should always be isolated and opened again rather than run until the line melts.









