

Quick Answer: How to Remove Lawnmower Blade
To remove a lawnmower blade safely, first disconnect the spark plug wire and turn off the engine. Tip the mower on its side with the air filter facing up, mark the blade’s orientation with tape or paint, secure the blade with a wood block, then unscrew the center bolt counterclockwise. The exact procedure varies by mower type: rotary push mowers require tipping and bolt removal from underneath, riding mowers may need deck access from below, and reel mowers typically have side-mounted bolts. Always wear heavy gloves and eye protection.

Pros
- Rigid metal construction delivers durable performance for repeated blade maintenance tasks
- Easy-turn handle makes clamping and releasing quick and user-friendly
- Wide model compatibility covers numerous popular MTD-related lawn mowers
- Improves safety by locking blades securely to prevent spinning during nut removal
Cons
- Limited to mower decks measuring no larger than 42 inches
- Compatibility focuses on listed models from specific brands which may not cover all mowers
- Manual clamp requires physical effort without any powered assistance
The KINTLE 490-850-0005 Universal Mower Blade Removal Tool is a specialized clamp built to hold lawn mower blades securely during removal and replacement. With its rigid metal construction and easy-turn clamp handle, it creates a durable first impression as a practical accessory for walk-behind and riding mowers. This universal style tool is crafted for users seeking safer blade work on compatible equipment.
Performance centers on clamping to the mower deck to stop the blade from spinning, which enables easier and safer loosening of the blade nut. It works with single and twin blade models on decks up to 42 inches and supports extensive compatibility lists for Troy-Bilt, Yard Man, MTD, and Yard Machines models such as 11A-B13M729, 13A326JC058, and many others. As a replacement for 339079 and 490-850-0005, it focuses on reliable holding power for routine maintenance.
Considerations include its restriction to decks of 42 inches or less and primary verification for the specified model ranges, so owners of other brands should confirm fit. Being a basic manual clamp, it lacks extras or powered features and depends on user strength for operation.
In verdict, the KINTLE 490-850-0005 offers solid value for owners of compatible walk-behind and riding lawn mowers who need a dependable way to handle blade changes more safely and efficiently. It suits regular yard care where blade security is essential.

Pros
- Robust metal body that resists bending and corrosion under normal use
- Simple easy-turn button mechanism for fast setup and blade locking
- Broad fit for many walk-behind and riding mowers up to 42 inches
- Cost-effective substitute for several OEM blade removal tools
Cons
- Restricted to mowers with decks no larger than 42 inches
- Best matched to specifically listed brands and model numbers rather than every universal mower
- No extra accessories provided for full blade sharpening or balancing tasks
The SporGain Universal Lawn Mower Blade Removal Tool is a compact clamp-style accessory built for safe blade service on walk-behind and riding mowers. Its primary metal construction with an easy-turn button creates a solid first impression of toughness, while the non-deforming and non-rusting claims point to outdoor durability that homeowners can trust.
In real use the tool clamps the blade securely so the spindle bolt can be loosened without the blade spinning. The sturdy build and easy-turn button make the process straightforward for decks up to 42 inches, and it serves as a direct swap for Cub Cadet 490-850-0005 plus listed Troy-Bilt Bolens and Yard Man models, delivering consistent performance across popular residential machines.
Considerations include the 42-inch size limit and the fact that best results appear with the specifically named model numbers rather than every mower on the market. Users seeking a full maintenance kit may also note the absence of extra blades or balancing tools.
Overall this is a practical choice for DIY owners of compatible walk-behind or riding mowers who need a reliable non-rusting clamp for seasonal blade changes. Those matching the listed models will gain the most value from its simple secure design.

Pros
- Heavy-duty zinc alloy build for long-term use.
- Universal fit for many common blade shapes.
- Simple design is easy to use after sharpening.
- Compact size is convenient for storage and transport.
Cons
- It is a single-purpose tool and does not sharpen blades.
- Compatibility is broad, but the product data does not list exact mower model support.
- No instructions or extra accessories are mentioned in the manufacturer listing.
Overview and design. The Silcpall Lawn Mower Blade Balancer is a compact universal tool made from zinc alloy. Its round, simple shape is designed to hold mower blades at the center for quick balance checks after sharpening.
Performance and key features. In use, the balancer is meant to help you spot uneven blades before they cause vibration, poor cut quality, or extra wear on the mower. The universal design is intended to work with most common blade shapes, including round and square styles.
Drawbacks and considerations. This is a single-purpose accessory, so it will not sharpen blades or provide model-specific mounting guidance. Compatibility is broad, but users should still confirm their blade sits securely on the center slot before relying on it.
Verdict. For homeowners, DIY users, and anyone who sharpens mower blades at home, this is a practical maintenance tool that can make blade balancing faster and more consistent. It is best suited to buyers who want a simple, durable balancer rather than a multi-function kit.
When and Why to Remove Your Lawnmower Blade
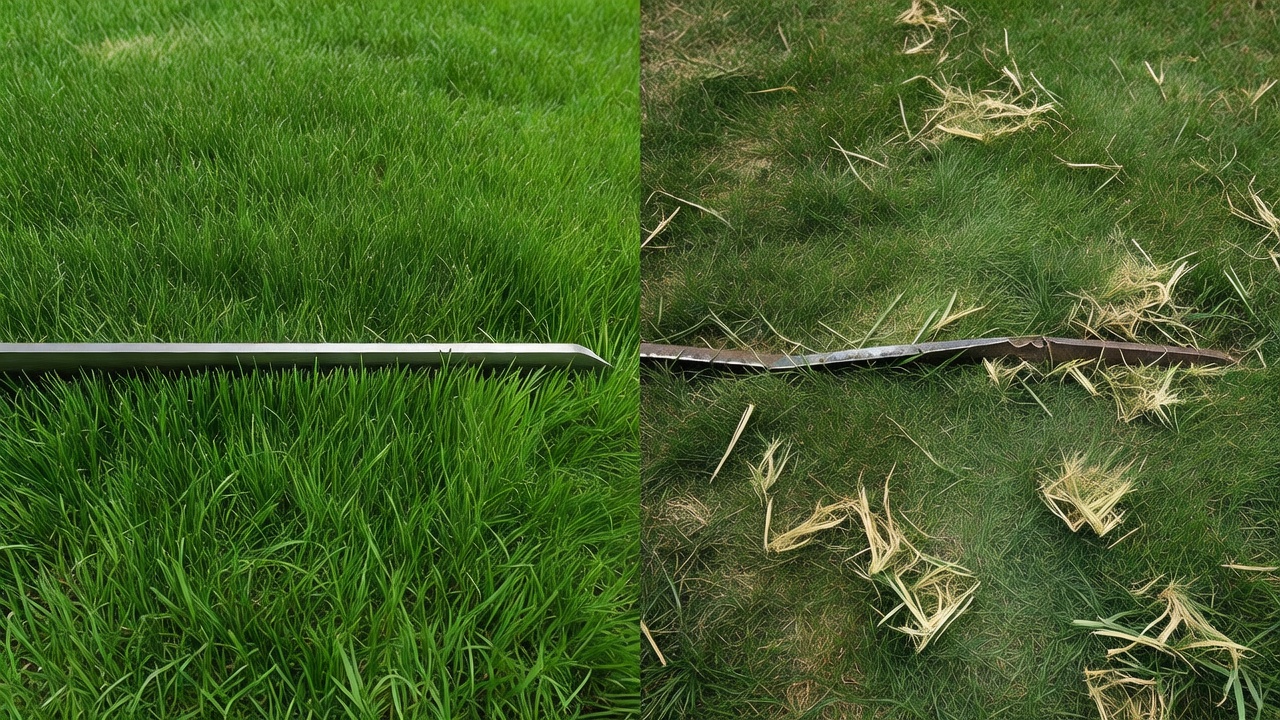
Removing your mower blade is essential for maintenance and safety. You should inspect and potentially remove your blade every 20 to 50 hours of operation, or at least once per mowing season. Signs that removal is necessary include visible damage (dents, cracks, or bent edges), uneven cutting patterns across your lawn, excessive vibration during operation, or rust accumulation on the blade surface.
Proper blade removal is critical because a damaged or unbalanced blade can cause serious injury and reduce cutting efficiency. A bent blade creates vibration that can damage the mower’s crankshaft over time, leading to costly repairs. Regular removal and inspection catch problems early, extend your mower’s lifespan, and ensure consistent cutting performance.
Essential Safety Precautions Before Starting
Safety must come first when working with lawn mower blades. Follow these non-negotiable steps before any blade work:
- Disconnect the spark plug wire. This prevents accidental engine starting while you work. Locate the wire connected to the spark plug and pull it off completely, do not simply turn off the engine.
- Allow the engine to cool. Wait at least 5 to 10 minutes after mowing to let the engine cool before handling metal parts, which can retain significant heat.
- Wear personal protective equipment. Use heavy-duty work gloves (leather or reinforced synthetic) to protect against sharp blade edges, and wear safety glasses to shield your eyes from debris or flying particles.
- Position the mower safely. On a flat, level surface. If you need to tip the mower to access the blade, ensure the area is clear of obstacles and bystanders.
- Tip the mower correctly (for push mowers). Always tip with the air filter side up to prevent oil and fuel from leaking into the carburetor. Never tip a mower backward or to the side of the fuel tank.
- Secure the mower during work. Use jack stands, blocks, or ramps if working underneath a riding mower. Never rely on the mower to stay in position on its own.
Tools and Materials You’ll Need
Gather these items before beginning blade removal:
- Socket wrench set or adjustable wrench, Most rotary mower blades use 3/4-inch or 7/8-inch bolts. Check your owner’s manual for the exact size.
- Wooden block or mallet, Use to secure the blade while you unscrew the bolt, preventing it from spinning.
- Blade marking materials, Paint pen, electrical tape, or marker to mark blade orientation. This ensures correct reinstallation and prevents balance issues.
- Heavy-duty work gloves, Protects against sharp blade edges and metal burrs.
- Safety glasses, Shields your eyes during the removal process.
- Owner’s manual, Reference for torque specifications and mower-specific instructions if available.
How to Remove a Rotary Push Mower Blade
Rotary mowers are the most common type. Follow these steps for safe removal:
- Tip the mower on its side. Lay the mower on a flat surface with the air filter facing upward. This prevents oil from leaking into the carburetor. Support the mower securely so it does not roll or shift.
- Mark the blade orientation. Before loosening any bolts, use a paint pen or tape to mark the top side of the blade with a large dot or arrow. This mark ensures you reinstall the blade in the correct direction. An upside-down blade will cut poorly and cause excessive vibration.
- Secure the blade with a wood block. Place a wooden block firmly against the blade edge to prevent it from rotating. This is critical, the blade will spin freely if unsecured, making the bolt impossible to turn.
- Unscrew the center bolt counterclockwise. Using the correct wrench size, turn the bolt counterclockwise. The bolt typically requires moderate force but should not require excessive pressure. If it is stuck, apply penetrating oil (such as WD-40) and wait 5 to 10 minutes before trying again.
- Remove the blade carefully. Once the bolt is fully removed, lift the blade away from the mower. Set it on a clean, safe surface. Do not set it on a workbench edge where it might fall.
- Inspect for damage. Examine both sides of the blade for dents, cracks, bent edges, or rust. Minor dullness can be sharpened; significant damage requires replacement.
Blade Removal for Riding and Zero-Turn Mowers
Riding mowers and zero-turn mowers have larger decks and different blade access points. The process is similar but requires additional steps:
- Locate the deck access panel. Most riding mowers have a removable or hinged deck undercarriage. Check your owner’s manual for the specific access method, some models allow you to remove a few bolts to lower the deck, while others have a flip-up design.
- Secure the mower in a lift or on jack stands. Use a mower lift or sturdy jack stands rated for your mower’s weight. Never work under a mower supported only by a jack, always use safety stands as backup.
- Mark blade orientation. Many riding mowers have multiple blades (typically 2 to 3). Mark each blade’s top surface and note its position before removal.
- Locate the blade bolt(s). Bolts are usually located at the blade’s center, accessible from below the deck once the deck is lowered or raised. Some zero-turn mowers have bolts accessible from the side of the deck.
- Apply penetrating oil if needed. Riding mower blade bolts often accumulate rust. Spray with penetrating oil and wait 10 to 15 minutes if bolts are stuck.
- Secure the blade and unscrew. Use a wood block to prevent blade rotation, then unscrew the bolt counterclockwise. Remove all blades, then inspect the deck for grass buildup or debris that could affect performance after reinstallation.
Reel Mower Blade Removal
Reel mowers (used for fine-turf lawns and some commercial applications) have a rotating cylinder with multiple curved blades. Removal differs from rotary blade removal:
- Access the blade cylinder. Reel mower cylinders are typically mounted at the sides or ends of the mower. Remove or open any side panels or guards to access the mounting bolts.
- Mark cylinder orientation. If the entire cylinder is removable, mark its position and orientation relative to the mower frame using paint or tape.
- Locate mounting bolts. Reel cylinders are usually secured with 2 to 4 bolts at each end or side. Use the correct wrench size (typically 1/2-inch or 9/16-inch) to loosen these bolts.
- Remove mounting bolts gradually. Loosen bolts in a cross pattern (opposite sides alternately) to prevent the cylinder from tilting or binding. This is especially important if the cylinder is heavy.
- Lift the cylinder carefully. Reel cylinders can be heavy and awkward. Get assistance if needed, and set the cylinder on a workbench or protected surface to prevent damage to the individual blade edges.
- Individual blade sharpening. If individual reel blades need sharpening, they are typically accessed by removing clips or bolts holding each blade to the cylinder. Consult your mower’s manual, as designs vary significantly.
Reinstalling Your Blade Safely
Correct reinstallation is as important as removal. A blade installed upside down or off-center will cause poor cutting and dangerous vibration:
- Verify blade orientation. For rotary blades, the orientation mark you made should face upward. The blade’s cutting edge (sharp side) should face the direction of mower travel when cutting.
- Center the blade on the bolt. Slide the bolt through the blade’s center hole. Ensure the blade sits flush against the bolt washer or mounting surface, no tilting or gaps.
- Hand-tighten the bolt first. Turn the bolt clockwise by hand to ensure it threads correctly. This prevents cross-threading, which can damage the bolt or blade.
- Secure the blade and tighten fully. Place the wood block against the blade to prevent rotation, then tighten the bolt firmly. Most rotary mower blades require 30 to 40 foot-pounds of torque, but consult your owner’s manual for the exact specification. Do not over-tighten, as this can strip the bolt or crack the blade.
- Reconnect the spark plug wire. Once the blade is secured, reconnect the spark plug wire firmly to the spark plug.
- Test run the mower. Start the engine in a safe area (not on a lawn with obstacles) and listen for unusual vibration or noise. If vibration is excessive, stop the engine, disconnect the spark plug wire, and recheck blade orientation and tightness.
Common Mistakes to Avoid
Learning what goes wrong helps prevent costly damage or injury: To compare alternative configurations, check our hands-on review of marshall stanmore iii vs harman kardon onyx studio 8.
- Forgetting to disconnect the spark plug wire. This is the leading cause of accidental mower starts during blade work. Even if you turn the engine off, a loose wire can allow the engine to turn over unexpectedly when you disturb the blade.
- Tipping the mower with the air filter facing down. This allows oil to leak into the carburetor, causing starting problems and engine damage. Always tip with the air filter side up.
- Installing the blade upside down. An inverted blade will not cut properly, creating an uneven lawn and causing excessive vibration that damages the crankshaft. Always verify your orientation mark before final tightening.
- Over-tightening the center bolt. Excessive force can strip the bolt threads, crack the blade, or make future removal difficult. Tighten firmly but not excessively, a torque wrench set to manufacturer specifications is ideal.
- Failing to secure the blade during removal. An unsecured blade spins freely, making the bolt impossible to turn and creating injury risk if your wrench slips. Always use a wood block.
- Ignoring rust or damage. A bent or cracked blade should be replaced, not re-sharpened. Attempting to use a damaged blade creates vibration and safety hazards.
Everything You Need to Know: How To Remove A Lawnmower Blade FAQ
How often should I sharpen or replace my mower blade?
Inspect your blade every 20 to 50 hours of operation (roughly every 2 to 4 weeks during mowing season). Sharpen a dull but undamaged blade or replace it if bent, cracked, or severely dented. A sharp blade cuts cleanly and reduces lawn stress; a dull blade tears grass, making the lawn susceptible to disease.
Can I sharpen a bent blade, or does it need replacement?
A slightly bent blade can sometimes be straightened by a professional sharpening service, but home sharpening is not recommended for bent blades. A bent blade creates dangerous vibration and reduces cutting efficiency even after sharpening. For bent, cracked, or deeply dented blades, replacement is safer and more cost-effective. Users looking for related component recommendations can explore our dyson v8 cyclone vs bissell featherweight stick breakdown.
What if the blade bolt won’t loosen?
Apply a penetrating oil such as WD-40 or a similar product and allow it to soak for 10 to 15 minutes. Try loosening the bolt again with steady, moderate pressure, do not force it, as this can break the bolt or damage your wrench. If the bolt remains stuck, consult a professional mower technician or bring the mower to a local repair shop.
Do I need different tools for riding mowers versus push mowers?
The basic tools (wrench, wood block, gloves) are similar, but riding mowers may require a mower lift or jack stands for safe undercarriage access. Additionally, riding mower blade bolts may be larger (requiring a different wrench size) and may require higher torque specifications. Always check your owner’s manual for mower-specific requirements. Before finalizing equipment decisions, refer to our comprehensive bissell crosswave hydrosteam vs shark stainforce comparison.
Technical Standards and Compliance
Mechanical safety standards, operational tolerances, and protective gear guidelines align with benchmark specifications established by the American National Standards Institute (ANSI).









