Direct Answer: How to Hook Up a Lawn Mower Battery
To hook up a lawn mower battery, park the mower on a flat surface, turn off the engine, and remove the ignition key. Identify the positive terminal (usually marked with a + sign and a red cable) and the negative terminal (marked with a – sign and a black cable). Connect the positive (red) cable first, then the negative (black) cable. When disconnecting or replacing the battery, reverse the order: remove the negative (black) cable first, then the positive (red) cable. This sequence prevents sparks near the battery and reduces the risk of shorting the electrical system with a grounded tool.
Understanding What “Hooking Up” a Lawn Mower Battery Means
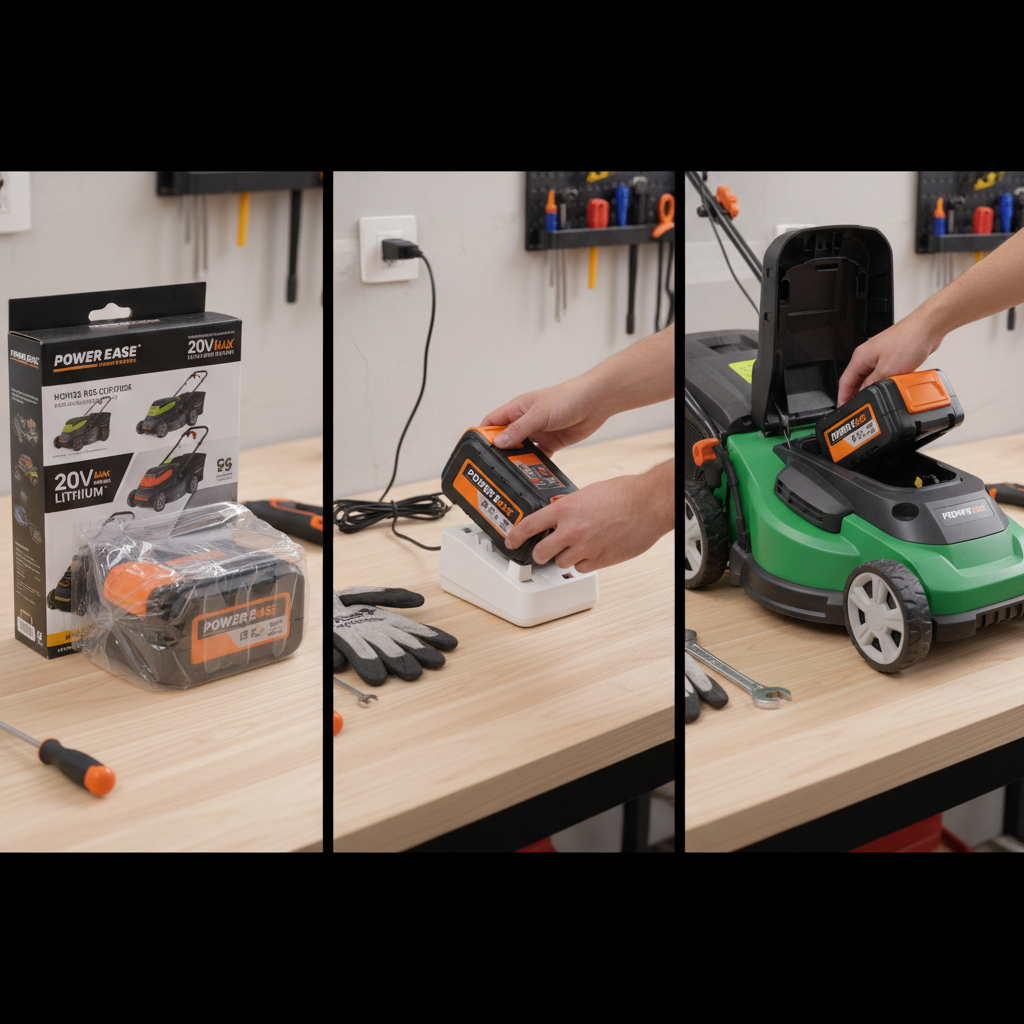
“Hooking up” a lawn mower battery can mean a few different things, and knowing which scenario applies to you will help you follow the right procedure:
- Installing a brand-new battery after the old one fails.
- Reconnecting a battery that you removed for charging, storage, or winterization.
- Replacing a battery at the start of the season after it sat disconnected all winter.
All three scenarios use the same basic terminal order: positive first when connecting, negative first when disconnecting. The procedure is essentially identical whether you own a riding lawn mower or a push mower with electric start, though the battery location and access will differ.
Riding Mowers vs. Push Mowers with Electric Start
On most riding mowers, the battery sits under the hood or seat and is secured with a hold-down bracket. You typically need a wrench or socket set to loosen the bracket and the terminal bolts. On a push mower with electric start, the battery is usually smaller and located near the handle or under a small access panel, and it may use smaller bolts or even quick-disconnect connectors. In both cases, the color coding and terminal markings are the same: red for positive, black for negative.
Should You Disconnect the Battery During Winter Storage?
Yes. Disconnecting the battery during off-season storage prevents self-discharge, reduces the risk of corrosion on the terminals, and protects the battery from parasitic drains from clocks, sensors, or other electronics that stay powered even when the mower is off. Store the battery in a cool, dry place and consider using a trickle charger or battery maintainer to keep it healthy until spring.
Key Factors to Consider Before Connecting the Battery
A little preparation goes a long way. Before you touch the battery, gather the right tools, confirm the terminal layout, and inspect the battery and cables for damage or corrosion.
Tools and Safety Equipment You’ll Need
- Wrench or socket set sized to the terminal bolts (typically 8mm, 10mm, or 13mm on most mowers).
- Safety glasses to protect your eyes from battery acid or debris.
- Work gloves to protect your hands and avoid grounding a tool across the terminals.
- Wire brush or terminal cleaner for removing corrosion.
- Baking soda and water mixture to neutralize acid corrosion if present.
- Dielectric grease (optional) to coat terminals after connecting and reduce future corrosion.
- Multimeter (optional) to verify the battery’s charge and the connection’s continuity.
How to Identify the Positive and Negative Terminals
Before connecting anything, confirm which terminal is which. Look for these indicators:
- Positive (+): usually has a red cable, may have a red protective cap, and is often marked with a + symbol stamped into the battery case near the terminal.
- Negative (–): usually has a black cable, and is often marked with a – symbol on the battery case.
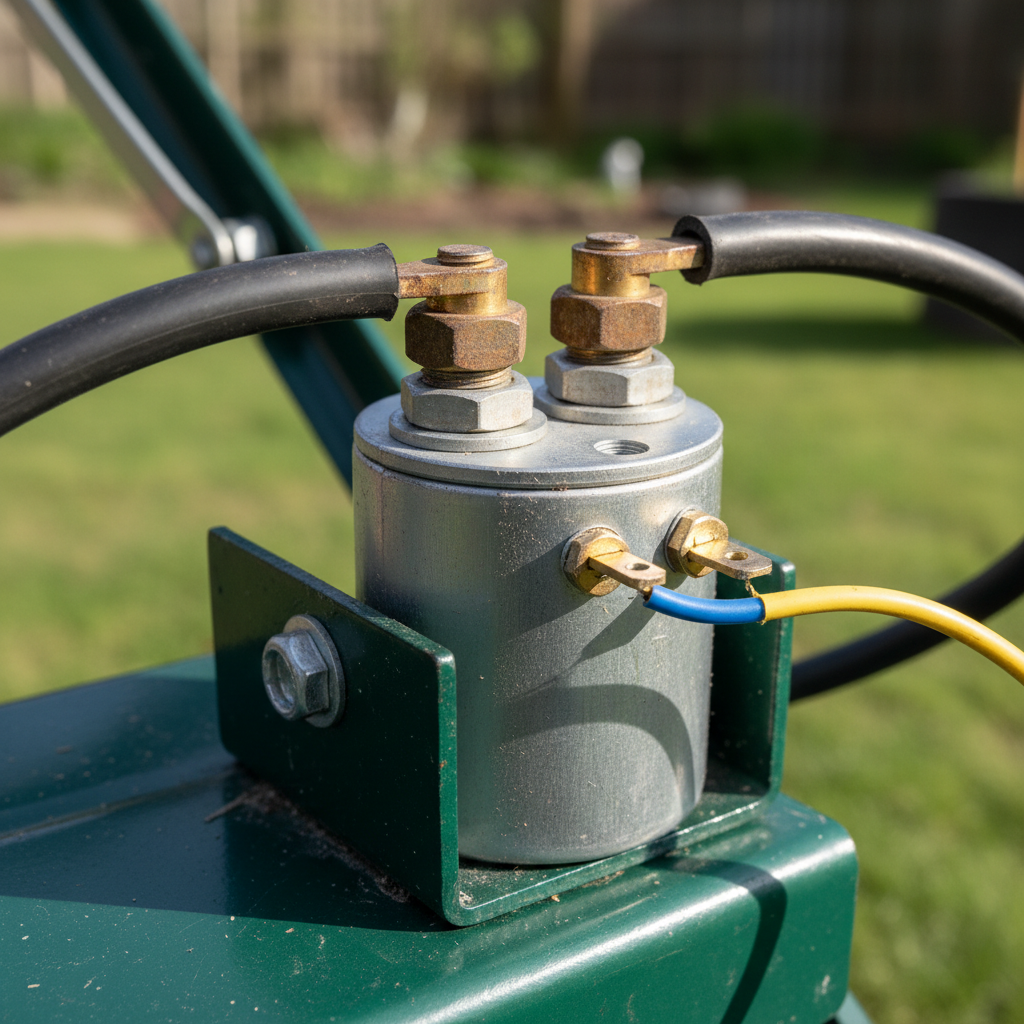
If the cables are not color-coded or the markings are worn, trace the cables: the negative cable typically connects to the mower’s frame or engine block (the ground), while the positive cable runs to the starter solenoid or wiring harness. When in doubt, consult your owner’s manual rather than guessing.
Inspect the Battery and Cables First
Check the battery case for cracks, bulges, or leaking fluid. If the case is damaged, replace the battery instead of reinstalling it. Inspect the cable ends for fraying, melting, or heavy corrosion. Clean any white or bluish buildup off the terminals and cable clamps with a wire brush and a baking soda-and-water solution, rinse with clean water, and dry thoroughly before connecting. Corroded terminals cause poor connections, hard starting, and can even damage the charging system.
Standard vs. Reverse-Polarity Configurations
Most lawn mower batteries use a standard layout where the positive terminal is on the right when the battery is facing you. However, some mowers use a reverse-polarity configuration where the terminals are swapped. This is not a problem as long as you match the cable color and marking to the correct terminal rather than assuming a physical position. Never force a cable onto a terminal that doesn’t match its color code; doing so can destroy the mower’s electrical system, blow fuses, or cause a fire.
Step-by-Step: How to Hook Up or Reconnect a Lawn Mower Battery
Follow these steps in order to connect a new or freshly charged battery safely.
- Park the mower on a flat, level surface, turn off the engine, and remove the ignition key. Engage the parking brake if your mower has one.
- Put on safety glasses and work gloves.
- Locate the battery and remove any hold-down bracket or retaining strap so the battery is free but still seated in its tray.
- Clean the terminals and cable clamps if there is any corrosion, and confirm which cable is positive (red) and which is negative (black).
- Connect the positive (red) cable first. Slip the clamp over the positive terminal and tighten the bolt snugly with your wrench. The clamp should not rotate when you wiggle it.
- Connect the negative (black) cable second. Attach the clamp to the negative terminal and tighten it the same way.
- Reinstall the hold-down bracket so the battery cannot shift while the mower is running.
- Verify the connection: gently tug both cables to confirm they are secure. If you have a multimeter, check that the battery reads around 12.6 volts with the engine off.
- Start the mower to confirm the electrical system works. If it cranks normally, the hookup is complete.
Why Connect Positive First?
Connecting the positive terminal before the negative terminal reduces the risk of sparks when the final connection is made. Because the negative terminal is connected to the mower’s frame (ground), attaching the negative cable last means the final connection is made away from the battery itself, so any spark occurs at the cable clamp rather than near the battery’s vented gases. This is the same principle behind the recommended order for jump-starting a car.
What If the Cables Are Loose, Corroded, or the Wrong Color?
If a cable clamp is loose after tightening, it may be stretched or the wrong size. Replace the cable or use a shim designed for battery terminals. If the cables are heavily corroded or the insulation is cracked, replace them rather than reusing damaged wiring. If the cable colors are faded or incorrect, trace each cable to its destination (frame ground vs. starter circuit) and label them with tape before reconnecting.
Step-by-Step: How to Disconnect or Replace a Lawn Mower Battery
When removing the battery for charging, storage, or replacement, you reverse the connection order.
- Turn off the engine and remove the ignition key.
- Put on safety glasses and work gloves.
- Remove the negative (black) cable first. Loosen the bolt and lift the clamp off the terminal, then tuck the cable away so it cannot touch the terminal or the frame.
- Remove the positive (red) cable second. Loosen the bolt and lift the clamp off the terminal.
- Remove the hold-down bracket and carefully lift the battery out of the tray. Keep the battery upright to avoid spilling acid.
- If replacing the battery, place the new battery in the tray, reinstall the hold-down bracket, and connect the cables in the correct order: positive first, then negative.
- Clean the old terminals and cable clamps with a wire brush and baking soda solution before reconnecting, then apply a thin coat of dielectric grease to the terminals to slow future corrosion.
Why Remove the Negative Cable First?
Removing the negative cable first prevents accidental short circuits. Because the negative terminal is grounded to the mower’s frame, if your wrench touches the negative terminal and any metal part of the frame while you are loosening the positive cable, you create a direct short. By removing the grounded (negative) cable first, the circuit is broken, so a wrench touching the positive terminal and the frame will not complete a circuit through the battery.
Handling and Disposing of an Old Battery
Lawn mower batteries are lead-acid batteries and contain sulfuric acid and lead. Do not throw them in the trash. Most auto parts stores and many recycling centers accept them for recycling, and some retailers will take your old battery when you buy a replacement. Carry the old battery upright and avoid tilting it, as the vent caps can leak.
Safety Precautions and Common Mistakes to Avoid
Battery work is simple, but the stakes are real. A lawn mower battery can deliver hundreds of amps, and it produces flammable hydrogen gas during charging and normal operation. Keep these precautions in mind.
Never Let a Metal Tool Touch Both Terminals
A wrench, socket, or screwdriver that bridges the positive and negative terminals creates a dead short. The result can be a violent spark, melted tool, damaged battery, or even an explosion of the battery case. Keep tools pointed away from the battery and remove any metal jewelry, such as rings or watches, before starting.
Connect the Negative Cable Last (and Remove It First)
Connecting the negative cable last prevents a grounded tool or wrench from shorting the battery to the frame. If the positive cable is already connected and you then touch the positive terminal with a wrench that also touches the frame, you complete a circuit through the battery. Connecting the negative cable last means the final connection is made at the clamp, away from the battery, so any spark is less likely to ignite battery gases.
Work in a Ventilated Area
Battery gases, primarily hydrogen, can ignite from a spark. Work outdoors or in a well-ventilated garage, and never smoke or use an open flame near the battery. If you are charging the battery, charge it in a ventilated area and follow the charger manufacturer’s instructions.
Wear Gloves and Eye Protection
Battery acid can burn skin and cause permanent eye damage. Wear safety glasses and work gloves whenever you handle the battery, clean terminals, or tighten clamps. If acid contacts your skin or eyes, flush with plenty of clean water and seek medical attention if needed.
Common Mistakes to Avoid
- Connecting the negative cable first: increases the risk of sparks near the battery and makes it more likely that a wrench touching the frame will short the battery.
- Overtightening the terminal bolts: can crack the battery case or strip the threads. Tighten until snug, then check with a gentle tug.
- Leaving the hold-down bracket loose: allows the battery to vibrate, which can damage the case and loosen the terminal connections.
- Reusing corroded cables: causes poor starting and can overheat the cable. Replace damaged cables.
- Charging a frozen battery: if the electrolyte is frozen, charging can cause the case to rupture. Let the battery warm to room temperature before charging.
- Assuming terminal position: always verify the + and – markings rather than assuming the layout is the same as your last mower.
Is It Safe to Recharge the Battery While It Is Connected?
It is generally safer to disconnect the battery before charging it with a bench charger. Charging produces hydrogen gas, and a spark from a loose connection while the charger is connected could ignite it. If you use a trickle charger or maintainer designed for in-vehicle charging, follow the manufacturer’s instructions and connect the charger leads positive-to-positive and negative-to-negative. When in doubt, disconnect the battery, charge it, and reconnect it using the correct order.
Direct Answer: Quick Rule for Hooking Up a Lawn Mower Battery
Memorize this rule: Positive first when connecting; negative first when disconnecting.
- Connecting: red (positive) cable first, then black (negative) cable.
- Disconnecting: black (negative) cable first, then red (positive) cable.
Hooking Up vs. Jump-Starting: What’s the Difference?
Hooking up a battery means connecting the mower’s own battery cables to the battery terminals. Jump-starting a dead battery is different: it uses a set of jumper cables and a donor power source, such as a car battery or a portable jump pack. When jump-starting, the negative jumper cable should be connected to the mower’s frame or engine block away from the battery, not directly to the negative terminal, to keep sparks away from battery gases. If your mower battery is dead, jump-starting can get you going, but it is not a substitute for replacing a battery that will no longer hold a charge.
Frequently Asked Questions
Which battery cable do I connect first on a lawn mower?
Connect the positive (red) cable first, then the negative (black) cable. This reduces the risk of sparks near the battery and prevents a grounded wrench from shorting the battery to the frame. When disconnecting, remove the negative cable first.
What happens if I connect the negative battery cable first?
Connecting the negative cable first is not recommended because it leaves the positive circuit live. If your wrench then touches the positive terminal and any metal part of the mower frame, you create a direct short that can cause sparks, melt tools, or damage the battery and electrical system.
Can I hook up a lawn mower battery backwards?
No. Reversing the polarity can instantly damage the mower’s charging system, starter, and electronic components, and may blow fuses or cause a fire. Always match the red cable to the positive (+) terminal and the black cable to the negative (–) terminal, and verify the markings on the battery case before connecting.
Do I need to disconnect the lawn mower battery for winter storage?
Yes, disconnecting the battery for off-season storage is a good practice. It prevents self-discharge, reduces terminal corrosion, and protects the battery from parasitic drains. Store the battery in a cool, dry place and use a trickle charger or maintainer to keep it charged over the winter.