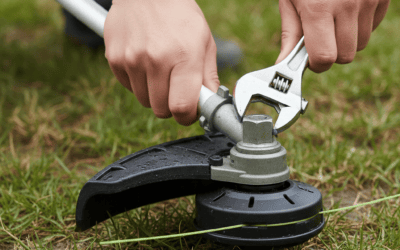
Identify Your Trimmer Type
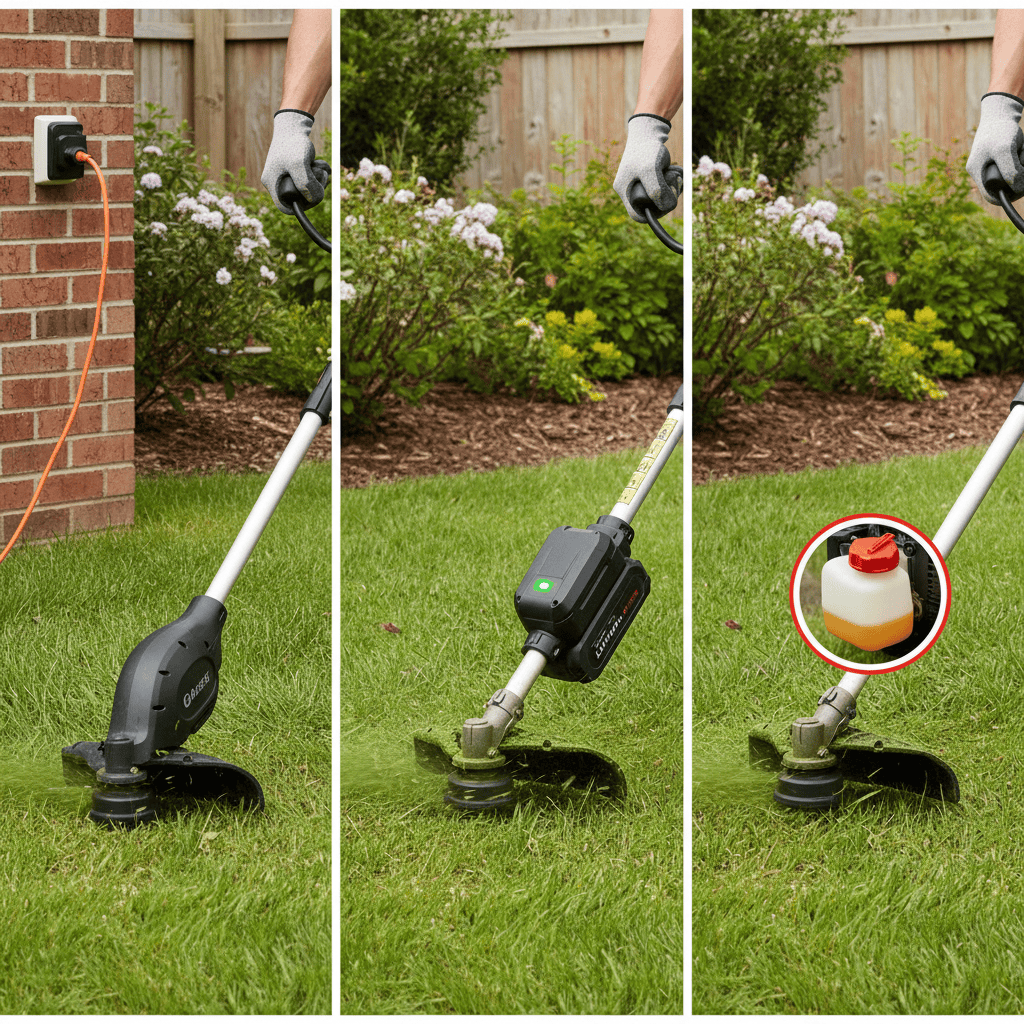
Before you begin replacing your trimmer string, you need to know what type of trimmer you have. The main categories are electric corded, cordless/battery-powered, and gas-powered string trimmers. Each type operates differently, but the string replacement process is fundamentally similar across all models.
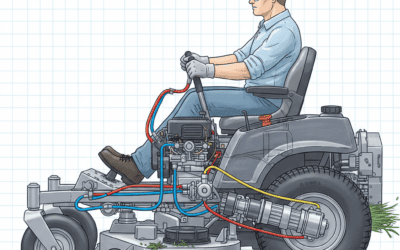
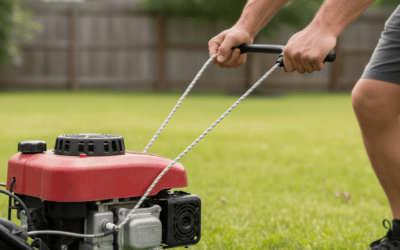
Electric corded string trimmers plug into an outlet and provide consistent power without refueling. They are lightweight, low-maintenance, and ideal for small to medium yards. Cordless trimmers run on rechargeable batteries, offering freedom of movement without cords. Gas-powered trimmers deliver the most power and are best for large properties or thick vegetation, though they require fuel and regular maintenance.
Trimmer type does not significantly affect the string replacement process itself. All three types use similar spool designs and winding mechanisms. The main difference is that gas-powered models may have slightly different head designs depending on the manufacturer. Knowing your trimmer type helps you reference your owner’s manual for model-specific guidance.
Gather Tools and Materials
Before starting, gather the following items:
- Replacement trimmer string (also called trimmer line)
- Screwdriver or Allen wrench (to remove the trimmer head if needed)
- Work gloves for safety
- Small container or bag to hold screws
- Owner’s manual for your specific trimmer model
Selecting the correct replacement string is critical. String comes in different diameters, typically ranging from 0.065 to 0.105 inches. Using the wrong diameter can cause feeding problems or poor cutting performance. Check your trimmer head or owner’s manual for the correct diameter specification. You will also need to know the appropriate length—most spools require between 10 and 20 feet of string, depending on the spool size.
Replacement string is available at hardware stores, garden centers, and online retailers. Some spools come pre-wound, while others sell bulk string that you wind yourself. Pre-wound spools eliminate the winding step but are more expensive. Bulk string is economical if you replace the string frequently.
Access and Remove the Trimmer Head
Safety comes first. Before removing the trimmer head, disconnect your trimmer from power. For electric models, unplug the cord. For cordless trimmers, remove the battery. For gas-powered models, ensure the engine is off and cool.
The trimmer head is located at the bottom of the shaft. On most models, you access it by removing a plastic guard or shield. Inspect the base of the head for a center bolt or retaining nut. Many trimmer heads rotate counterclockwise to loosen; check your manual to confirm the correct direction for your model. Some heads feature a bump knob that automatically advances the string as it wears, while others require manual feeding.
Use a screwdriver or Allen wrench to remove the spool from the head housing. Keep track of any small springs, washers, or plastic pieces that come off—you will need to reinstall them in the same order. Place these components in a small container so they do not get lost.
Remove Old String and Clean the Spool
Once the spool is removed, unwind all remaining old string. If the string is tangled or stuck, use your screwdriver to carefully pry it loose. Do not use excessive force, as you can damage the spool grooves where the string winds.
After removing old string, inspect the spool for debris, dried grass, or buildup. Wipe it clean with a dry cloth or soft brush. A clean spool ensures that new string winds smoothly and feeds properly. If the spool is cracked or damaged, it should be replaced rather than reused.
Wind New String onto the Spool
This is the most critical step, as incorrect winding is the leading cause of string feeding problems. Most spool designs feature a small arrow or directional indicator showing which way to wind the string. Follow this indicator precisely.
Start by inserting one end of the new string into the small hook or slot at the edge of the spool. This prevents the string from slipping as you wind. Hold the spool firmly in one hand and wind the string in the direction indicated, keeping tension consistent so that the string wraps evenly without overlapping or creating gaps.
Wind the string until you have used the recommended length specified in your manual—typically 10 to 20 feet. Leave approximately 6 inches of string extending beyond the spool edge. This loose end will be threaded through the trimmer head eyelets after reassembly. Do not overwind, as excess string can cause jamming.
Thread String Through Eyelets and Reassemble
Eyelets are small holes in the trimmer head through which the string passes. Most heads have two eyelets positioned on opposite sides. Before threading, insert the extended string ends through these eyelets one at a time, ensuring the string passes cleanly without kinks.
With the string threaded, reinsert the spool into the head housing. Align any tabs or notches, then rotate the spool clockwise (or counterclockwise, depending on your model) until it locks into place. Reinstall the center bolt or retaining nut and tighten securely. Reattach the plastic guard and any other components you removed.
If the string does not feed smoothly during this step, check that the winding direction matches your spool’s directional indicator. Incorrect winding is the most common reason for feeding failure.
Adjust String Tension and Test
String tension affects both cutting efficiency and string lifespan. The string should be tight enough to resist bending but loose enough to move freely. If tension is too tight, the string breaks prematurely. If too loose, it does not cut effectively.
Many trimmer heads feature an adjustment screw or dial near the base. Rotate this slowly while holding the spool to tighten or loosen tension. Consult your owner’s manual for the specific adjustment procedure and recommended tension settings for your model.
After adjusting, reconnect power (plug in the cord, install the battery, or prime the gas engine) and test the trimmer on a small patch of grass. The string should spin smoothly without wobbling or dragging. If it does not, disconnect power immediately and repeat the tension adjustment.
Common Mistakes to Avoid
Winding in the wrong direction: This is the most frequent error. Always check the directional arrow on your spool before winding. Winding backward prevents the string from advancing correctly.
Using incorrect string diameter: Installing string thicker or thinner than your trimmer requires causes feeding problems and can stress the motor. Always verify the correct diameter in your manual.
Overwinding the spool: Excess string creates jams inside the head housing. Wind only the recommended length, typically 10 to 20 feet.
Skipping the cleaning step: Debris in the spool grooves blocks smooth winding and causes the string to catch or snap.
Failing to thread through eyelets: String must pass cleanly through both eyelets or cutting will be uneven and performance will suffer.
Not adjusting tension after installation: String that is too loose or too tight reduces cutting effectiveness and increases breakage rates.
Frequently Asked Questions
How often should I replace trimmer string?
String replacement frequency depends on usage. Light residential users may replace string once or twice per season. Heavy users who trim weekly might replace it monthly. As a general rule, replace string when it breaks repeatedly, fails to advance automatically, or becomes too short to cut effectively (usually when less than 1 inch remains exposed at the eyelets).
Can I use any type of string in my trimmer?
No. String diameter, length, and material must match your trimmer’s specifications. Using incompatible string causes feeding failures, reduced cutting power, and potential motor damage. Always check your owner’s manual or trimmer head for the correct specifications before purchasing replacement string.
Why does my trimmer string keep breaking?
String breaks for several reasons: improper tension (too tight), incorrect diameter, wrong winding direction, hitting rocks or hard objects, or using old, brittle string. Verify that tension is adjusted correctly, that you are using the correct string diameter, and that winding direction matches your spool’s indicator. Also ensure you are trimming grass, not dense weeds or woody vegetation, which can stress the string beyond its limits.
Do I need a new spool to replace the string?
In most cases, no. Spools are reusable and designed to be wound multiple times. Only replace the spool if it is cracked, the winding grooves are damaged, or the locking mechanism is worn. Pre-wound replacement spools are available for models where the spool itself is difficult to rewind or frequently damaged.