Direct Answer: How to Sharpen Push Lawn Mower Blades
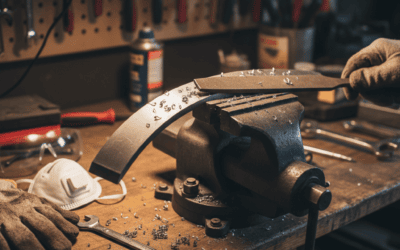
Sharpen push lawn mower blades by disconnecting the spark plug wire, removing the blades safely, securing each blade in a vise, and filing the cutting edge at a 30-45 degree angle using a metal file or angle grinder. After sharpening both sides equally, check blade balance using a balancer or the nail method, then reinstall securely. Sharpen blades 1-2 times per mowing season or when grass appears torn instead of cleanly cut.
When to Sharpen Your Lawn Mower Blades
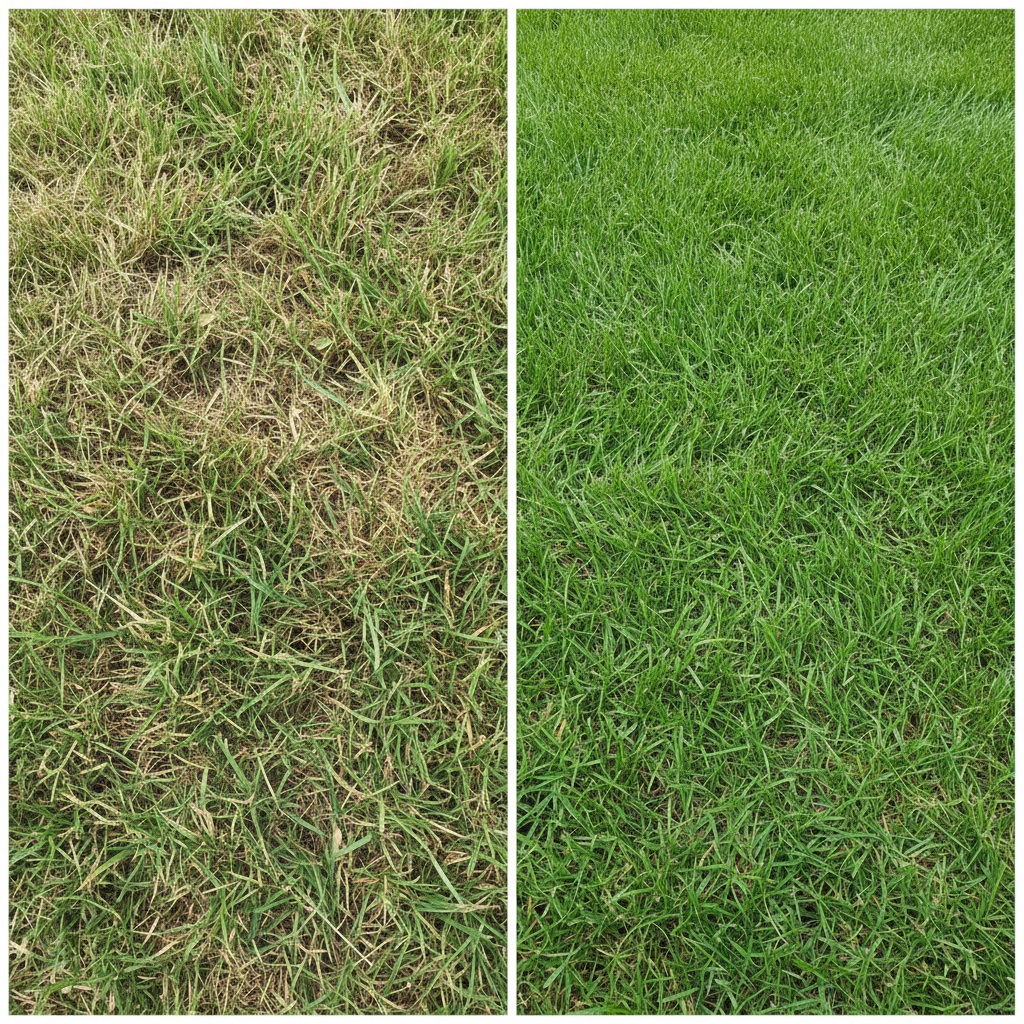
Recognizing when your blades need sharpening prevents poor cutting performance and engine strain. Dull blades produce torn, ragged grass edges that turn brown within days, whereas sharp blades create clean cuts that heal quickly and appear uniform.
Signs Your Blades Need Sharpening
- Torn grass edges that appear brown or whitish after mowing
- Uneven cutting leaving patches of taller grass
- Increased mower vibration or unusual noise during operation
- Reduced cutting power requiring multiple passes over the same area
- Visible nicks, dents, or wear on the blade edges
Most homeowners should sharpen blades every 20-40 hours of mowing, roughly 1-2 times per season for typical residential use. Professional landscapers may sharpen weekly. Inspect blades before each mowing season and after hitting rocks or debris.
Safety Precautions Before Starting
Blade sharpening requires careful safety planning to prevent serious injury. Mower blades rotate at extreme speeds, and improper handling during removal or sharpening can cause lacerations.
Critical Safety Steps
- Disconnect the spark plug wire to prevent accidental engine startup
- Allow the engine to cool completely before handling blades
- Wear cut-resistant gloves when handling sharp blades
- Use safety glasses to protect eyes from metal filings
- Work on a flat, stable surface with adequate lighting
- Never reach under the mower deck while the engine is running
Keep a first-aid kit nearby and ensure someone else is present during the procedure. Never use power tools if you’re unfamiliar with their operation.
How to Remove Lawn Mower Blades
Proper blade removal is essential for safe, effective sharpening. Most push mowers have one or two blades mounted on a rotating deck underneath the mower housing.
Blade Removal Steps
- Disconnect the spark plug wire from the spark plug terminal
- Tip the mower on its side to access the blade deck (tip toward the carburetor side if possible)
- Mark the blade orientation with paint or tape so you reinstall it correctly—blades have a top and bottom side
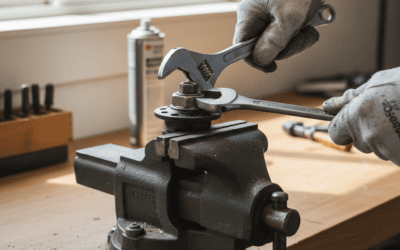
- Use a wrench or socket to remove the bolt or nut holding the blade to the spindle shaft
- Carefully remove the blade and place it on a clean work surface
- Inspect the spindle shaft for damage; if bent or damaged, the blade won’t balance properly
Keep bolts and hardware organized in a small container to avoid losing them. Take a photo of the blade before removal as a reference for reinstallation.
Sharpening Technique: Angle, Tools, and Method
The sharpening technique directly impacts blade performance and mower balance. The correct angle, tool selection, and material removal are critical for optimal results.
Choosing Your Sharpening Tool
| Tool | Pros | Cons | Best For |
|---|---|---|---|
| Metal File (hand file) | Precise control, affordable, quiet | Requires more physical effort, slower | Home DIYers, precision work |
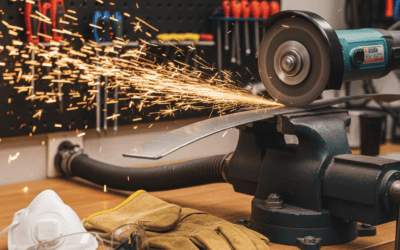
| Angle Grinder | Fast, powerful, removes material quickly | Requires skill, loud, can remove too much material | Experienced users, multiple blades |
| Rotary Tool with Stone | Portable, moderate control | Slower than grinder, requires steady hand | Light touch-ups, small debris |
Filing at the Correct Angle
Rotary push mower blades should be filed at a 30-45 degree angle to the blade edge. This angle provides optimal cutting performance while maintaining structural integrity. A 30-degree angle cuts more aggressively; a 45-degree angle is more durable for tough conditions.
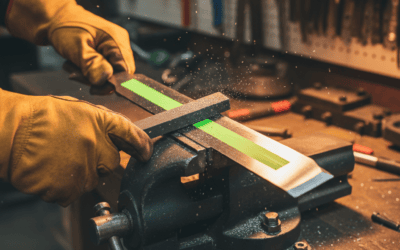
- Secure the blade in a vise with the cutting edge facing upward
- Position your file at the 30-45 degree angle to the blade’s cutting edge
- Use smooth, one-direction strokes, moving the file away from your body
- File the same number of strokes on each side of the blade to maintain balance
- Remove metal gradually—typically 5-10 file strokes per side is sufficient
- Check your progress frequently to avoid over-sharpening
Never file back and forth in a sawing motion. Use consistent, one-directional pressure to create an even, clean edge. Stop when the blade edge feels sharp to light thumb pressure.
Sharpening Both Sides Equally
The most critical rule in blade sharpening is maintaining equal weight on both sides of the blade. Removing more material from one side creates imbalance, causing severe vibration and engine damage. Always file each side the same number of times using identical pressure and technique.
Checking Blade Balance
An unbalanced blade causes dangerous vibration, places strain on the engine mounts, and reduces cutting efficiency. Balancing is non-negotiable for safe operation.
Two Methods for Checking Balance
Method 1: Blade Balancer Tool
A dedicated blade balancer (inexpensive magnetic balancer, $15-30) is the most accurate method. Simply hang the blade on the balancer by its center hole. If one side dips lower, that side is heavier and needs additional filing.
Method 2: Nail Method
Pound a nail horizontally into a wooden post or beam at shoulder height. Carefully balance the blade horizontally on the nail by its center hole. If the blade tilts toward one side, that side is heavier. Remove material from the heavier side with a few additional file strokes, then retest until the blade remains level.
Signs of Imbalance
- One side of the blade sits lower than the other on the balancer
- Excessive vibration during mower operation
- Rattling or clanking sounds from the mower deck
- Uneven grass cutting despite sharp edges
Never reinstall an unbalanced blade. Spend the extra time to achieve perfect balance—it protects your mower and ensures superior cutting performance.
Reinstalling and Testing Your Blades
Proper reinstallation completes the sharpening process and ensures safe, effective operation.
Reinstallation Steps
- Align the blade with the orientation mark you made before removal (top side facing up)
- Insert the blade onto the spindle shaft carefully
- Hand-tighten the bolt or nut initially to ensure proper seating
- Use the correct torque specification (typically 35-90 foot-pounds depending on mower model—check your manual)
- Use a torque wrench for accuracy rather than guessing tightness
- Double-check all bolts are secure before operating
Over-tightening can strip threads or bend the spindle shaft; under-tightening allows the blade to loosen during operation, creating dangerous vibration.
Testing Your Mower
Before full-scale mowing, perform a short test run:
- Start the engine and listen for unusual vibration or noise
- Run the mower for 1-2 minutes at idle speed
- Gradually increase to full throttle and listen for problems
- Mow a small test area and inspect the cut quality
- Look for torn grass edges or uneven cutting patterns
If vibration, noise, or poor cutting persists, stop the mower, disconnect the spark plug, and recheck blade balance and bolt tightness.
Rotary vs. Reel Blades: Different Sharpening Approaches
Understanding your blade type is essential because sharpening techniques differ significantly between rotary and reel mowers.
Rotary Blades
Rotary blades are the most common type on push mowers. These single, flat blades spin horizontally at the bottom of the mower deck. Sharpening involves filing the cutting edge at 30-45 degrees using the techniques described above. Rotary blades are forgiving for DIY sharpening because they’re individual, accessible, and require less precision than reel blades.
Reel Blades
Reel mowers use multiple curved blades arranged in a helical cylinder. These blades cut grass by pressing it against a stationary bar, similar to scissors. Reel blade sharpening is complex and typically requires professional service because:
- Blades must be sharpened to maintain precise contact with the stationary bar
- Each blade must be sharpened identically to prevent uneven cutting
- Improper sharpening can cause poor cutting or jamming
- Reel mower tuning requires specialized equipment and expertise
If you own a reel mower, contact a local lawn mower repair shop for professional sharpening rather than attempting DIY work.
Maintenance Tips to Extend Blade Life
- Clear debris before mowing to avoid hitting rocks, sticks, or metal objects
- Mow at the correct height to reduce stress on blades
- Keep blades clean after each mowing to prevent rust
- Store the mower indoors in dry conditions during off-season
- Inspect blades seasonally before and after the mowing season
Frequently Asked Questions
How often should I sharpen my push mower blades?
Most homeowners should sharpen blades 1-2 times per mowing season, roughly every 20-40 hours of operation. If you mow weekly throughout summer, plan for one mid-season sharpening and another before winter storage. Professional landscapers using mowers daily may sharpen weekly. Sharpen more frequently if you hit rocks or debris.
Can I sharpen my blades without removing them from the mower?
Not safely or effectively. Removing blades allows you to secure them properly in a vise, maintain consistent filing angle, and check balance accurately. In-place sharpening risks injury, produces uneven results, and doesn’t allow balance verification. Always remove blades before sharpening.
What’s the difference between a torn cut and a clean cut?
Sharp blades create a clean, straight cut across the grass blade within hours, leaving a uniform lawn appearance. Dull blades tear and shred the grass tissue, creating ragged edges that turn brown or whitish within 24-48 hours, giving the lawn a bleached, unhealthy appearance. This damage also increases disease susceptibility.
Is it better to replace blades instead of sharpening them?
Sharpening is more economical and environmentally friendly than replacement for regular maintenance. Quality replacement blades cost $20-50 each, while sharpening costs $5-15 or is free if you do it yourself. Replace blades only when they’re severely damaged (large cracks, deep gouges), bent, or past their serviceable life after multiple sharpenings. Most blades can be sharpened 5-10 times before replacement is necessary.