Quick Answer
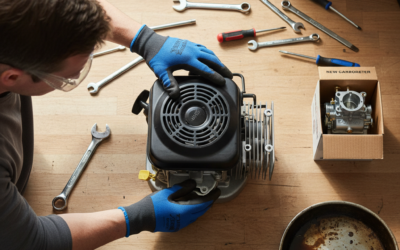
To change a carburetor on a lawn mower: Disconnect the spark plug wire and drain the fuel tank. Remove the air filter housing and carburetor mounting bolts, then disconnect the fuel line and throttle cable. Install the new carburetor by reversing these steps, ensuring all connections are tight before refueling and testing the engine. The entire process typically takes 30–60 minutes with basic hand tools.
When to Replace vs. Clean Your Carburetor
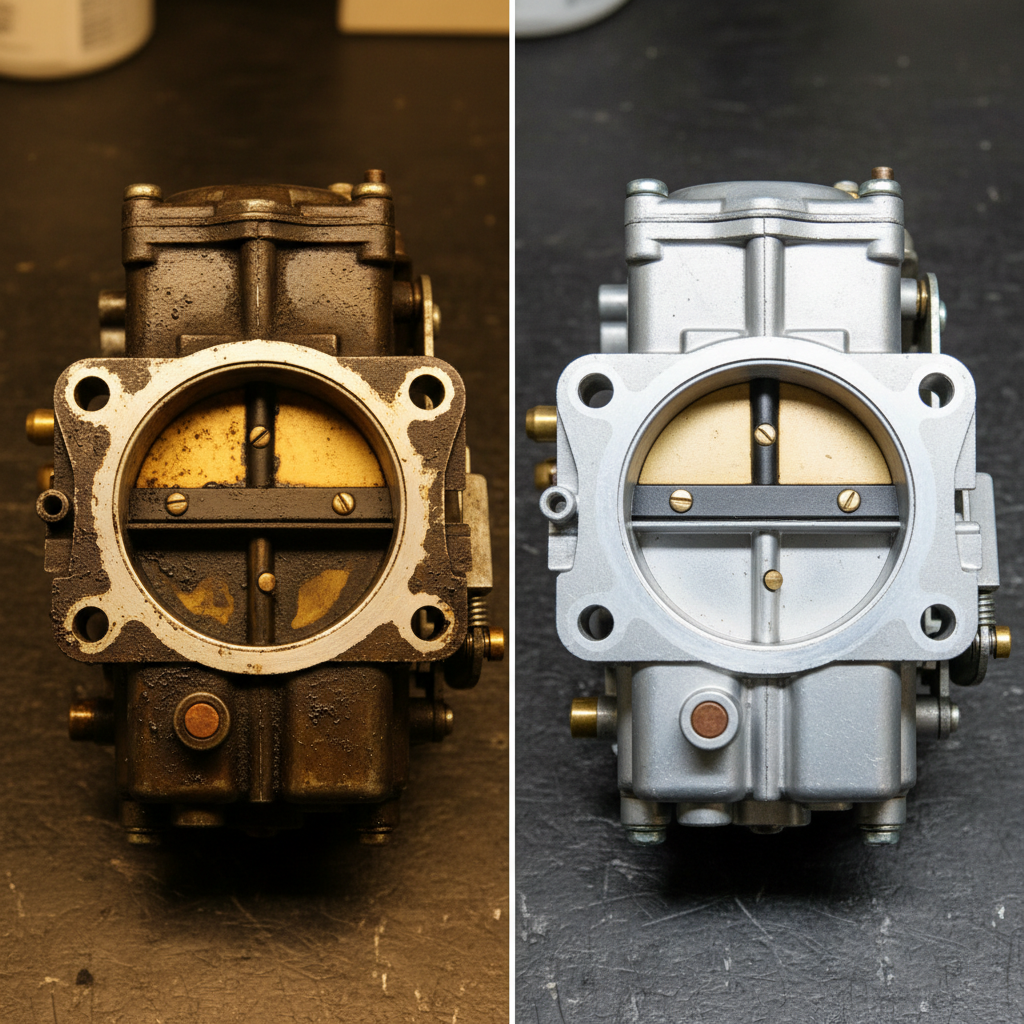
Before you commit to full carburetor replacement, determine whether cleaning or replacement is the right solution. A carburetor that’s simply clogged with old fuel residue can often be restored by cleaning, while one with internal damage or severe corrosion may need replacement.
Signs Your Carburetor Needs Replacement
- Engine won’t start after sitting for several months, even after priming
- Persistent rough idling that doesn’t improve with throttle adjustment
- Fuel leaking from the carburetor body or seams
- Black smoke or extremely rich running condition that won’t adjust
- Visible corrosion or cracks in the carburetor housing
- Float stuck or damaged inside the carburetor (discovered during inspection)
When Cleaning Might Be Enough
If your mower has been sitting unused for winter, the carburetor may simply have varnish buildup from old gasoline. Signs that cleaning could fix the problem include:
- Engine hesitates but eventually starts
- Mower runs fine after warming up
- Fuel filter shows visible debris or discoloration
- No visible damage or leaks in the carburetor
For minor clogs, you can attempt carburetor cleaning using a commercial carburetor cleaner spray before deciding on replacement. However, if cleaning doesn’t resolve the issue within one or two attempts, replacement is typically more cost-effective than repeated service calls.
Tools and Materials You’ll Need
Gather everything before you begin to avoid interruptions during the job.
Essential Tools
- Socket set and wrenches (typically 8mm, 10mm, and 12mm)
- Screwdrivers (Phillips and flathead)
- Adjustable wrench or needle-nose pliers
- Fuel line removal tool or small flathead screwdriver (for spring clamps)
- Small container for fasteners and disconnected parts
- Gasket scraper or plastic putty knife
- Shop rags or paper towels
Materials and Supplies
- Replacement carburetor (matched to your mower’s engine model)
- Gasket kit (often included with replacement carburetor)
- Fresh fuel (if tank needs refilling)
- Carburetor cleaner (optional, for cleaning old mounting surfaces)
Safety Equipment
- Safety glasses
- Work gloves (optional but recommended)
- Fire extinguisher nearby (for fuel safety)
- Well-ventilated work area or outdoors
Pre-Replacement Safety Steps
Never skip safety preparation. These steps prevent fuel spills, engine fires, and accidental starting.
1. Disconnect the Spark Plug Wire
Before touching any engine components, locate the spark plug wire (typically a thick rubber-coated wire attached to the spark plug). Grasp the boot (the rubber connector, not the wire itself) and pull firmly to disconnect it. This prevents accidental engine startup if someone bumps the pull cord or electric starter.
2. Allow the Engine to Cool
If the mower has been running, wait at least 30 minutes for the engine and carburetor to cool. Hot components can cause burns and may ignite fuel vapors.
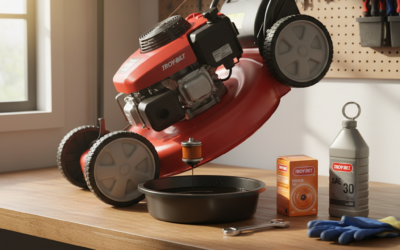
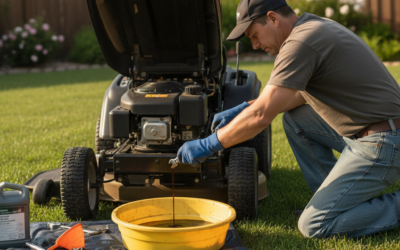
3. Drain or Stabilize the Fuel Tank
Locate the fuel shutoff valve (if your mower has one) and turn it off. If there’s no shutoff, you’ll need to drain the tank. To drain safely:
- Place a container beneath the fuel line connection
- Carefully disconnect the fuel line from the carburetor
- Let fuel drain into the container (usually 1–2 quarts)
- Store drained fuel safely in a sealed container marked “Old Fuel”
For mowers without a fuel shutoff valve, you may want to siphon fuel from the tank opening using a manual fuel siphon pump (available at auto parts stores) to minimize spill risk.
Step-by-Step Removal Process
Step 1: Remove the Air Filter Housing
Most carburetors are accessed by removing the air filter assembly first.
- Locate the air filter cover (usually a plastic or metal box above the carburetor)
- Unscrew or unclip the fasteners holding the cover in place (typically 2–4 screws)
- Lift off the cover and remove the paper or foam air filter element
- Set the filter aside (you’ll reuse it or replace it with a new one)
Step 2: Document and Disconnect Fuel and Throttle Lines
Before disconnecting anything, take a photo of the carburetor with your phone. This reference photo will help you reconnect everything correctly.
Disconnect the fuel line:
- Locate where the fuel line attaches to the carburetor (usually a barbed fitting on the side)
- If the connection uses a spring clamp, carefully pry the clamp open with a small flathead screwdriver or use a fuel line removal tool
- Gently wiggle and pull the fuel line free
- Cover the fuel line end with a clean rag to prevent fuel from dripping
Disconnect the throttle cable:
- Trace the throttle cable from the carburetor back to the mower’s control lever or handle
- At the carburetor end, the cable typically hooks into a small lever or slot
- Slide the cable out of its mounting point
- Note how the cable routes so you can reconnect it identically
Step 3: Remove Carburetor Mounting Bolts
- Locate the bolts holding the carburetor to the engine intake manifold (typically 2–4 bolts)
- Using the appropriate socket or wrench, unscrew each bolt slowly and carefully
- Place bolts in your small parts container to prevent loss
- Gently lift the old carburetor away from the engine
Step 4: Remove Old Gasket Material
- Inspect the mounting surface on the engine where the carburetor was attached
- Use a gasket scraper or plastic putty knife to carefully remove all old gasket material and dried sealant
- Wipe the surface clean with a shop rag
- Do not use metal scrapers, which can damage the aluminum mounting surface
Installation and Reconnection
Step 1: Prepare the New Carburetor
- Remove the new carburetor from its packaging
- If it came pre-assembled with a float and needle, gently tip it and listen for fuel sloshing to confirm the float moves freely
- Check that the throttle lever moves smoothly from closed to open position
- Inspect the gasket kit that came with the carburetor and separate the gaskets you’ll need
Step 2: Install Gaskets and Mount the Carburetor
- Place one gasket on the mounting studs protruding from the engine intake manifold
- Carefully lower the new carburetor onto the gasket, aligning the bolt holes
- Insert the mounting bolts by hand first to avoid cross-threading
- Tighten bolts gradually in a crisscross pattern (similar to tightening car wheel lugs) to ensure even pressure
- Typical torque specification is 15–25 foot-pounds; check your engine’s service manual for exact torque
- Do not over-tighten, which can crack the carburetor body or strip bolt threads
Step 3: Reconnect the Fuel Line
- Ensure the fuel line is clean and not kinked or damaged
- Push the fuel line firmly onto the carburetor’s fuel inlet fitting until it seats completely
- Secure with the spring clamp, ensuring the clamp is tight but not so tight it crushes the line
- Gently tug the line to confirm it’s secure
Step 4: Reconnect the Throttle Cable
- Route the throttle cable exactly as it was in the photo you took earlier
- Insert the cable end into its mounting point on the carburetor’s throttle lever
- The cable should have slight slack when the throttle is fully closed—not tight or pulling
- Test the cable by moving the mower’s throttle control; the carburetor throttle lever should move smoothly with no binding
Step 5: Reinstall Air Filter and Housing
- Place the air filter element back into the housing (or install a new one if replacing)
- Screw or clip the air filter cover back in place
- Ensure the cover is secure so no unfiltered air enters the carburetor
Step 6: Reconnect the Spark Plug Wire
- Push the spark plug wire boot firmly onto the spark plug until you feel it click or seat
- Gently tug to confirm it’s fully connected
Post-Installation Testing and Troubleshooting
Initial Startup Test
- Prime the carburetor (if equipped with a primer button): Press the primer button 3–5 times to fill the carburetor with fuel before starting
- Set the choke: If your mower has a manual choke, move it to the “closed” or “cold start” position
- Pull the starter cord (or turn the key): Begin cranking the engine slowly. It may take several pulls to start after carburetor replacement
- Listen and observe: Once running, the engine should settle into a steady idle within 10–15 seconds
- Open the choke (if manual): Gradually move the choke lever toward “open” as the engine warms
Common Post-Installation Issues
Engine won’t start at all:
- Verify the spark plug wire is fully connected by tugging firmly
- Check that the fuel line is fully seated and not leaking
- Confirm the carburetor is mounted securely and not rocking on the intake manifold
- Prime the carburetor 5–10 more times if equipped with a primer button
Engine starts but stalls immediately:
- This often indicates incorrect throttle cable routing or adjustment
- Check that the throttle cable has proper slack when the handle is at idle
- Verify the carburetor idle screw is set correctly (typically 1–1.5 turns open from fully seated)
Engine runs rough or hesitates:
- Allow 5–10 minutes of running time for the carburetor to fully stabilize
- If roughness persists, check that no fuel line connections are loose
- Ensure the air filter is clean and properly seated
Fuel leaks from the carburetor:
- Turn off the mower immediately
- Check that the fuel line connection is tight and not damaged
- Verify the carburetor is seated flush on its gasket with all bolts tight
- If leaking persists, the new carburetor may be defective and should be replaced under warranty
Variations by Mower Type
Push Mowers (Walk-Behind)
Push mowers typically have the simplest carburetor access. The carburetor is usually mounted vertically on top of or to the side of the engine. Follow the removal and installation steps above without modification. Most push mower carburetors take 30–45 minutes to replace.
Riding Mowers
Riding mowers often require more disassembly to access the carburetor. You may need to:
- Remove the mower’s front panel or hood to access the engine
- Disconnect additional fuel lines or hoses that route to fuel tanks further away
- Work around steering components, which may limit access angles
Riding mower carburetor replacement typically takes 45–90 minutes. Consult your mower’s service manual for specific panel removal instructions.
Zero-Turn Mowers
Zero-turn models usually have carburetors similar to riding mowers, but the engine compartment may be tighter. Key differences:
- The carburetor may be oriented horizontally rather than vertically
- Fuel tanks are often mounted low or to the side, requiring careful fuel line routing during reinstallation
- Some models have dual tanks, requiring disconnection of multiple fuel lines
Replacement typically takes 60–90 minutes on zero-turn models.
Different Engine Brands
Carburetor mounting and configuration vary by engine manufacturer:
- Briggs & Stratton engines: Carburetors typically mount vertically; most models use similar fuel line designs
- Kohler engines: Often have horizontal carburetor mounts and may use different primer button designs
- Honda engines: GXV series carburetors are compact and tightly integrated; replacement requires careful handling of throttle and fuel connections
- Tecumseh/LawnBoy engines: Tend to have readily accessible carburetors with straightforward mounting
Always verify your replacement carburetor matches your engine’s exact model number before purchase.
Frequently Asked Questions
Q: How much does a replacement carburetor cost?
A: Replacement lawn mower carburetors typically cost $50–$200 depending on the engine brand and model. OEM (original manufacturer) carburetors are more expensive ($120–$200) but guaranteed to fit perfectly. Aftermarket carburetors ($50–$100) are cheaper but vary in quality. Consider the age of your mower; if it’s over 10 years old and the carburetor is the only issue, replacement is usually more economical than multiple repair shop visits.
Q: Can I clean a carburetor instead of replacing it?
A: Yes, if the carburetor is clogged but not damaged. Use a carburetor cleaning spray (available at auto parts stores) to dissolve varnish and deposits. Spray into the fuel inlet, air intake, and idle ports. If cleaning doesn’t restore proper operation after two attempts, replacement is the better option. Cleaning takes 1–2 hours; replacement takes 30–60 minutes and provides a fully rebuilt unit with new internal seals.
Q: What’s the difference between OEM and aftermarket carburetors?
A: OEM (Original Equipment Manufacturer) carburetors are made by the mower’s engine manufacturer and are guaranteed to match your specific engine. Aftermarket carburetors are made by third-party manufacturers and may have slight variations in mounting or internal components. OEM carburetors are more reliable but cost more. Quality aftermarket carburetors (from reputable brands) work well and cost less, but buy from trusted suppliers to avoid counterfeit or low-quality parts.
Q: Do I need to drain the fuel tank before carburetor replacement?
A: Ideally, yes—draining minimizes fuel spillage and fire risk. However, if your mower has a fuel shutoff valve, you can close it instead. If you skip draining and attempt removal without closing the shutoff, fuel will pour out when you disconnect the fuel line. For safety, always drain or use the shutoff valve before starting work.