

Mechanical safety standards, operational tolerances, and protective gear guidelines align with benchmark specifications established by the American National Standards Institute (ANSI).
Quick Answer: How to Check a Lawn Mower Spark Plug
To check a lawn mower spark plug: disconnect the spark plug wire by twisting and pulling, unscrew the plug using a spark plug socket and ratchet, visually inspect the electrode gap (typically 0.025–0.040 inches), center electrode, and carbon buildup, clean light deposits with a wire brush or replace if heavily fouled or cracked, then reinstall. Always consult your mower’s manual for specific gap specifications and safety requirements.

Pros
- Large-size design named in product title
- Sharpening and balancing functions listed
- Listed as a new upgraded version

Pros
- Adjustable 15-to-45-degree range in title
- Sharpening and balancing functions listed
Pros
- Includes replacement gaskets and a 98079-55846 spark plug
- Matches Honda HRR216 and HRS216 lawn mower models
- Designed around the 16100-Z8B-901 carburetor specification
Cons
- Restricted to select Honda GCV160 mower applications
- Installation requires basic mechanical tools and skills
Why Checking Your Spark Plug Matters
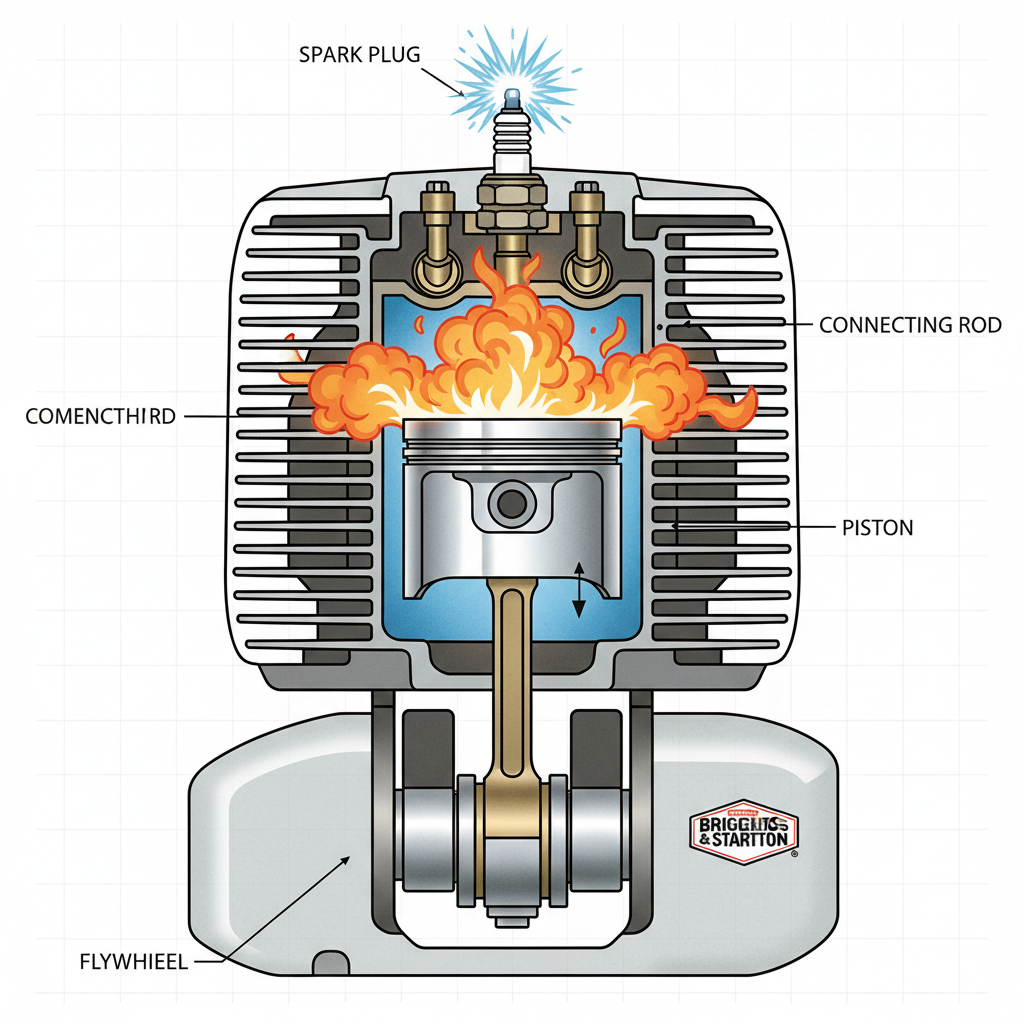
Your lawn mower’s spark plug ignites the fuel-air mixture in the engine combustion chamber, generating the spark needed to start and run the engine. A faulty or fouled spark plug is one of the most common reasons a mower won’t start or runs poorly.
Regular spark plug inspection is part of essential lawn mower maintenance. Most manufacturers recommend checking the spark plug every 50–100 hours of operation, or at least once per mowing season. Catching spark plug problems early prevents starting failures, rough idling, stalling, and poor fuel efficiency.
Common signs that your spark plug needs attention include:
- Engine won’t start or is difficult to start
- Engine misfires, hesitates, or runs rough
- Decreased fuel efficiency
- Black smoke or unusual exhaust color
- Engine stalls during operation
Safety Precautions Before You Start
- Turn off the engine and let it cool. Never work on a hot engine; allow at least 15–20 minutes for the engine to cool completely.
- Disconnect the spark plug wire or cap. This prevents accidental engine starting while you work.
- Work on a flat, level surface. For riding mowers, engage the parking brake and block the wheels.
- Gather the right tools: spark plug socket (usually 13/16-inch or 5/8-inch), ratchet, socket extension, wire brush or spark plug cleaning tool, gap gauge, spark plug gapper (if needed), and your mower’s manual for model-specific specifications.
How to Remove the Spark Plug
Step 1: Locate the spark plug. The spark plug is typically mounted on top of the engine cylinder. On push mowers, it’s easily accessible from the side or top. On riding mowers, you may need to remove a side panel or access cover. Consult your manual if you’re unsure.
Step 2: Disconnect the spark plug wire. Grasp the boot (the rubber cap) of the spark plug wire and twist gently while pulling straight out. Do not pull on the wire itself, as this can damage the conductor inside. If the connection is tight, gently rock it side-to-side while pulling.
Step 3: Unscrew the spark plug. Insert the spark plug socket onto the spark plug and attach it to your ratchet. Turn counterclockwise to loosen, then unscrew by hand once it’s loose enough. Be gentle to avoid cross-threading or damaging the plug.
Step 4: Inspect the removed spark plug. Before reinstalling or replacing, examine it carefully for damage or fouling.
Visual Inspection: What to Look For
Once removed, hold the spark plug up to a light and evaluate these conditions: For troubleshooting and reliability insights, consult our in-depth marshall stanmore iii vs harman kardon onyx studio 8 report.
Spark Plug Gap
The gap is the space between the center and ground electrodes. Correct gap is critical for reliable ignition. Most lawn mower spark plugs require a gap of 0.025–0.040 inches (0.64–1.02 mm), but consult your mower’s manual for the exact specification, as it varies by engine model.
To measure the gap, use a wire feeler gauge or gap gauge tool. Slide the appropriate gauge between the electrodes; it should fit with slight resistance. If the gap is too wide (worn electrodes) or too narrow (electrodes too close), the plug will not fire correctly. Readers comparing setup options can review our technical analysis on dyson v8 cyclone vs bissell featherweight stick.
Electrode Wear
Examine the center and ground electrodes for wear. New electrodes are sharp and well-defined. Worn electrodes are rounded, pitted, or eroded. Mild wear is normal after extended use, but excessive wear reduces firing efficiency and increases the gap. If electrodes are severely worn, replacement is necessary.
Carbon Fouling
Carbon buildup appears as a dry, black, powdery deposit on the electrodes and ceramic insulator. Light fouling (a thin, even coating) may be cleaned. Heavy fouling (thick, crusty deposits) indicates incomplete fuel combustion, often from running too rich, old fuel, or frequent short-run operation. Heavily fouled plugs typically require replacement rather than cleaning. For complementary field maintenance guidelines, examine our breakdown of bissell crosswave hydrosteam vs shark stainforce.
Oil Fouling
An oily, wet coating on the spark plug signals excessive oil in the combustion chamber, often due to overfilled crankcase, worn piston rings, or valve seal leaks. Oil-fouled plugs cannot be cleaned effectively and indicate an engine problem beyond the spark plug itself. Replace the plug and address the underlying engine issue.
Electrode Color
A healthy spark plug electrode is light tan or gray. Other colors indicate problems:
- White or blistered insulator: Engine running too hot; check cooling fins and air filter.
- Black and sooty: Engine running too rich (too much fuel); check air filter and carburetor.
- Wet and oily: Oil fouling; check oil level and engine seals.
Cracks or Damage
Inspect the ceramic insulator for cracks, chips, or porcelain damage. A cracked insulator prevents proper spark generation and cannot be repaired; the plug must be replaced.
Cleaning vs. Replacement: When to Do Each
Clean the spark plug if:
- The plug has light carbon fouling with an even, dry coating
- Electrodes show minor wear but are not severely eroded
- The ceramic insulator is intact with no cracks
- The gap is still within the acceptable range or can be adjusted
To clean a spark plug: Use a soft wire brush to gently remove carbon deposits from the electrodes and ceramic body. Work carefully to avoid damaging the electrodes or insulator. Wipe clean with a dry cloth. Avoid sandblasting or aggressive abrasive methods, which can damage the plug.
Replace the spark plug if:
- The ceramic insulator is cracked or heavily damaged
- Electrodes are severely worn, pitted, or eroded
- Carbon or oil fouling is heavy and cannot be cleaned
- The gap is so wide that it cannot be adjusted to spec
- The plug is old and has been in service for many seasons
- The plug misfires or the engine runs poorly even after cleaning
For most lawn mowers, spark plugs are inexpensive ($3–$15 per plug), and replacement is the safer choice if you are unsure. A new plug ensures reliable starting and performance.
How to Reinstall and Gap Your Spark Plug
Step 1: Set the gap (if installing a new plug). Most new spark plugs come pre-gapped from the factory, but always verify the gap matches your mower’s specification. Using a spark plug gapper tool (a flat tool with numbered slots), select the correct gap size, insert the ground electrode into the slot, and carefully adjust the center electrode until it touches the tool with slight resistance. For fine adjustments, use a wire feeler gauge.
Step 2: Reinstall the spark plug. Insert the spark plug into the socket by hand first to avoid cross-threading. Once hand-tight, use the ratchet to tighten firmly but do not over-tighten, which can strip the threads or crack the insulator. Spark plug holes typically require firm tightening but not excessive force.
Step 3: Reconnect the spark plug wire. Push the boot (rubber cap) onto the spark plug until it seats fully with a click or snug fit. Ensure the connection is secure; a loose wire will prevent the engine from starting.
Step 4: Test the mower. Start the engine and listen for normal starting and running. The engine should start promptly and run smoothly without hesitation or misfiring.
Troubleshooting: Mower Won’t Start After Inspection
If your mower won’t start or runs poorly after checking the spark plug, verify:
- Spark plug wire is fully connected. Disconnect and reconnect the wire to ensure a secure fit.
- Gap is set correctly. Recheck the gap against your manual’s specification.
- Electrode is clean and dry. Remove the plug and verify no oil or moisture is present.
- Ceramic insulator has no cracks. A damaged insulator prevents spark generation.
- Engine is getting fuel. Check fuel level, fuel line, and carburetor for blockages.
- Air filter is clean. A clogged air filter restricts fuel-air mixture.
If the mower still won’t start after verifying these items, the issue may be with the ignition coil, fuel system, or other engine components beyond the spark plug. Consult your mower’s manual or a professional technician.
Everything You Need to Know: How To Check Lawn Mower Spark Plug FAQ
How often should I check or replace my lawn mower spark plug?
Most manufacturers recommend checking the spark plug every 50–100 hours of operation or once per mowing season (typically annually for homeowners). Replace the plug every 1–2 seasons, or sooner if fouling, wear, or damage is evident. For frequent or heavy use, check more often.
What is the correct spark plug gap for a lawn mower?
Most lawn mower spark plugs have a gap of 0.025–0.040 inches (0.64–1.02 mm). The exact specification depends on your engine model and manufacturer (Briggs & Stratton, Kohler, Honda, etc.). Always check your mower’s manual or the engine label for the correct gap. Using an incorrect gap will affect starting and performance.
Can I use any spark plug in my lawn mower, or does it need to match a specific model?
Spark plugs are application-specific. Using the wrong plug can result in poor performance, fouling, or engine damage. Consult your mower’s manual for the correct spark plug part number and specifications. When in doubt, ask at a lawn mower dealer or hardware store; they can help you identify the right plug for your model.
Why won’t my lawn mower start even though the spark plug looks clean?
A clean spark plug is one factor, but starting also requires fuel, air, and proper ignition timing. Check that fuel is reaching the carburetor, the air filter is clean, the fuel line is not clogged, and the spark plug wire is securely connected. If the mower still won’t start, the ignition coil, fuel pump, or carburetor may need service.









