

Quick Answer
To clean a Craftsman mower carburetor, turn off the fuel shutoff valve, remove the air filter and carburetor, and disassemble the fuel bowl and main jet. Spray all passages with carburetor cleaner, clear the jets with a thin wire or compressed air, then reassemble and test-start it. A standard cleaning needs no rebuild kit unless parts are cracked or worn.

Pros
- Listing states two 5Ah batteries and two chargers are included
- Manufacturer claims up to 50 minutes of runtime
- Dual-lever height adjustment from 1.5 to 3.5 inches
- Low-profile design listed for clearance under obstacles
- Grass bag included, according to the product title
Cons
- Listed weight is 47.88 pounds, heavy for a push mower
- Runtime figure is manufacturer-stated, not independently tested
Pros
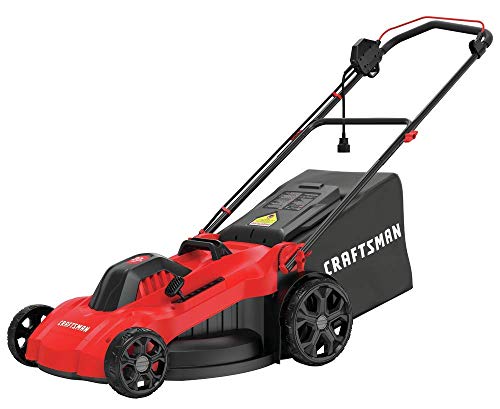
- Listed 13-amp motor with 20-inch deck
- Mulching, bagging and side discharge in one mower
- Single-lever height adjustment from 1-1/2 to 4 inches
- Collection bag and side discharge chute included
- Manufacturer states a 3-year limited warranty
Cons
- Corded operation limits mowing range
- Listing does not state cord length or cutting time
Signs Your Craftsman Carburetor Needs Cleaning (Not Replacing)
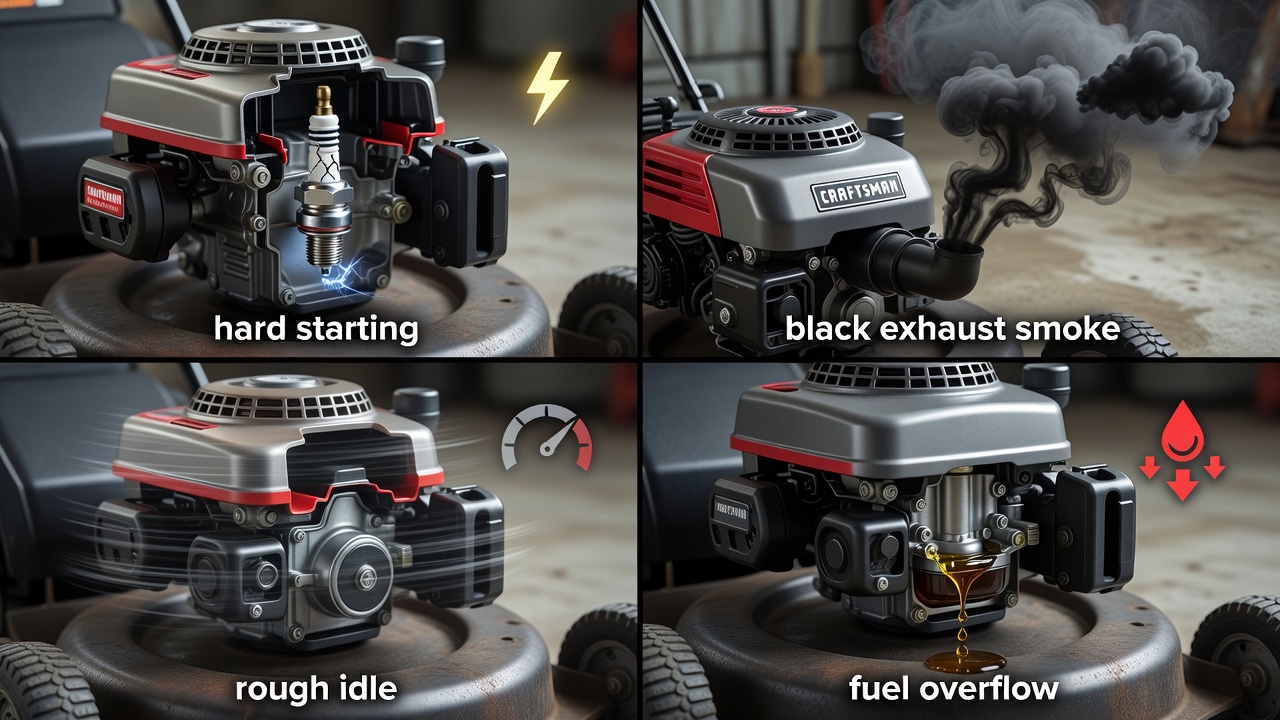
Before you begin, confirm that cleaning, not a rebuild or replacement, is the correct fix. Common symptoms of a dirty carburetor include:
- Hard starting or the engine won’t start at all
- Rough idle or engine surging up and down
- Black smoke from the exhaust (running rich)
- Fuel overflow or leaking from the carburetor
- Engine dies under load or after warming up
If you notice these symptoms, especially after the mower has been sitting with fuel for several months, a carburetor cleaning is likely the solution.
Tools and Supplies You Need Before You Start
Gather these items before beginning to avoid stopping mid-job:
- Carburetor cleaner spray (non-chlorinated preferred)
- Basic socket set (typically 10mm, 13mm, 1/2 inch)
- Flathead and Phillips screwdrivers
- Needle-nose pliers
- Compressed air canister or air compressor
- Clean rags or shop towels
- Drain pan for catching fuel
- Safety glasses and gloves
- Thin wire or carburetor jet cleaning tool (optional but helpful)
Note: A standard cleaning does not require a carburetor rebuild kit unless you find cracked or worn components during inspection.
Method 1, Spray Clean Without Full Removal (Quick Clean)
For mild gumming or seasonal recommissioning, you can clean the carburetor without removing it: Users looking for related component recommendations can explore our how to clean carburetor craftsman lawn mower breakdown.
- Remove the air filter and its housing to access the carburetor throat.
- Spray carburetor cleaner directly into the carburetor throat (about 2-3 short bursts).
- Crank the engine while spraying to pull cleaner through the passages.
- Reinstall the air filter and attempt to start the mower normally.
- Let the engine run for 5-10 minutes to circulate the cleaner.
This method works well for light varnish buildup but won’t address heavy deposits in the main jet or internal passages.
Method 2, Full Disassembly and Deep Clean (Step-by-Step)
For stubborn deposits or engines that won’t start, follow this complete disassembly procedure: Before finalizing equipment decisions, refer to our comprehensive marshall stanmore iii vs harman kardon onyx studio 8 comparison.
Step 1: Prepare and Disconnect Fuel
- Turn off the fuel shutoff valve (if equipped) or clamp the fuel line with needle-nose pliers.
- Disconnect the negative battery terminal on riding mowers for safety.
- Drain remaining fuel from the carburetor into a drain pan by loosening the fuel bowl drain screw (if equipped).
Step 2: Remove the Air Filter and Housing
- Remove the air filter cover (usually held by clips or screws).
- Take out the air filter and set it aside.
- Unbolt the air filter housing from the carburetor using the appropriate socket.
Step 3: Disconnect Linkages and Fuel Line
- Photograph the linkage connections before disconnecting, this is critical for correct reassembly.
- Disconnect the throttle linkage and choke linkage (if applicable) from the carburetor.
- Remove the fuel line from the carburetor inlet, have a rag ready to catch drips.
Step 4: Remove the Carburetor
- Unbolt the carburetor from the engine (typically 2 bolts).
- Carefully pull the carburetor away from the engine, noting any gaskets that may stick.
- Inspect the mounting gasket, replace if torn or compressed.
Step 5: Disassemble the Carburetor
- Remove the fuel bowl by loosening the bolt at the bottom (usually 10mm or 13mm).
- Inspect the bowl for varnish, debris, or water contamination.
- Remove the float by pulling the hinge pin out with needle-nose pliers.
- Remove the needle valve from the float tab.
- Unscrew the main jet (brass screw in the center post), use the correct screwdriver to avoid stripping.
Step 6: Clean All Components
- Spray carburetor cleaner into every passage, port, and opening on the carburetor body.
- Clean the main jet by spraying through it and using a thin wire to clear any blockages, do not enlarge the hole.
- Clean the emulsion tube (the tube the main jet screws into) by spraying cleaner through it.
- Wash the fuel bowl with carburetor cleaner and a rag to remove all varnish.
- Inspect the float for cracks or fuel saturation, shake it to check for liquid inside.
- Check the needle valve tip for wear or damage.
- Use compressed air to blow out all passages after spraying with cleaner.
Step 7: Reassemble and Reinstall
- Reassemble in reverse order: main jet → needle valve → float → fuel bowl.
- Reinstall the carburetor onto the engine with a new gasket if needed.
- Reconnect the fuel line and all linkages (refer to your photos).
- Reinstall the air filter housing and air filter.
- Reconnect the battery (riding mowers).
Step 8: Test the Engine
- Turn on the fuel shutoff and let fuel fill the carburetor bowl (30-60 seconds).
- Start the engine, it may take a few extra cranks on the first attempt.
- Let the engine run for 5-10 minutes, checking for leaks and smooth operation.
- Adjust idle speed if necessary using the idle screw on the carburetor.
Engine-Specific Differences: Briggs & Stratton, Kohler, and Tecumseh
Craftsman lawn mowers use different engine brands, each with unique carburetor designs:
Briggs & Stratton Carburetors
- Most common on Craftsman walk-behind mowers
- Float-style carburetor with removable fuel bowl
- Main jet typically located in the center post
- Older models may have a primer bulb instead of choke
Kohler Carburetors
- Common on Craftsman riding mowers and larger walk-behinds
- Float-style carburetor, often with an adjustable main jet
- May have an anti-surge solenoid on the fuel bowl, disconnect the wire before removal
- Jet location varies by model, check the service manual
Tecumseh Carburetors
- Found on older Craftsman models (pre-2010)
- Float-style carburetor with simple design
- Some models use a diaphragm carburetor instead of float, these require different cleaning procedures
- Diaphragm carburetors are common on handheld equipment but rare on lawn mowers
Walk-Behind vs. Riding Mower: Access and Removal Differences
The carburetor location and accessibility differ significantly between mower types: For broader ecosystem context, read through our operational guide on dyson v8 cyclone vs bissell featherweight stick.
| Feature | Walk-Behind Mower | Riding Mower |
|---|---|---|
| Carburetor Location | Top-mounted, easily accessible | Under the hood, may require removing blower housing |
| Removal Time | 5-10 minutes | 15-30 minutes |
| Tools Needed | Basic sockets and screwdrivers | May need extension bars and additional sockets |
| Difficulty Level | Beginner-friendly | Intermediate, more linkages and components to navigate |
Common Mistakes to Avoid When Cleaning a Craftsman Carburetor
- Not photographing linkages before removal, leads to incorrect reassembly
- Overtightening the main jet, brass threads strip easily
- Skiping the fuel bowl gasket inspection, a worn gasket causes leaks
- Using water instead of carburetor cleaner, causes corrosion and doesn’t dissolve varnish
- Reassembling with old varnish still in the emulsion tube, causes immediate performance issues
- Ignoring the float and needle valve, a stuck float causes fuel overflow
When Cleaning Is Not Enough: Rebuild or Replace the Carburetor
Cleaning won’t fix all carburetor problems. Consider a rebuild kit or replacement if you find:
- Cracked float that absorbs fuel
- Worn needle valve seat that won’t seal properly
- Stripped jet threads from overtightening
- Warped fuel bowl mating surface that won’t seal
- Cracked carburetor body from age or impact
Rebuild kits typically cost $10-25 and include gaskets, needle valve, and float pin. Complete replacement carburetors range from $20-60 depending on the engine model. For troubleshooting and reliability insights, consult our in-depth bissell crosswave hydrosteam vs shark stainforce report.
Everything You Need to Know: How To Clean A Carburetor On A Craftsman Lawn Mower FAQ
Can you clean a Craftsman carburetor without removing it?
Yes, you can perform a quick spray-clean by removing the air filter and spraying carburetor cleaner directly into the carburetor throat while cranking the engine. This method works for mild gumming but won’t address heavy varnish buildup in the main jet or internal passages.
What is the best carburetor cleaner for a Craftsman lawn mower?
Non-chlorinated carburetor cleaner spray is best for lawn mower carburetors. Avoid cleaners containing chlorinated solvents, which can damage rubber components like gaskets and O-rings. Popular options include CRC Carb Cleaner, Gumout, and Berryman B-12 Chemtool.
Why is my mower still not starting after I cleaned the carburetor?
If the mower won’t start after cleaning, check these common issues: fuel is not reaching the carburetor (check fuel line and shutoff valve), the float is stuck or saturated, the needle valve isn’t sealing, linkages are connected incorrectly, or the spark plug needs replacement.
How much does it cost to replace a Craftsman lawn mower carburetor?
A replacement carburetor for a Craftsman lawn mower typically costs $20-60 depending on the engine brand and model. Briggs & Stratton carburetors are usually the most affordable, while Kohler and Tecumseh replacements may cost slightly more. OEM carburetors cost more than aftermarket alternatives.
Carburetor Cleaning Safety Notes
Carburetor cleaning often involves solvents and small parts, so good ventilation and a tray for screws should be ready before you begin. The American National Standards Institute (ANSI) is a reasonable source for general background on small engine maintenance.









