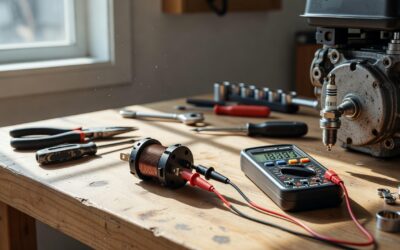
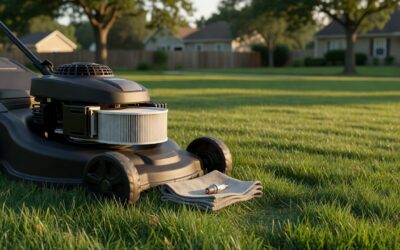
Starting a lawn mower after winter storage requires a systematic approach: first drain or replace stale fuel, check the battery charge, inspect oil levels, clean or replace the spark plug, prime the engine if needed, and adjust the choke properly before attempting to start. If these basic steps don’t work, you may need to clean the carburetor or service the air filter. Following this tiered process addresses the most common post-storage issues safely and effectively.
Pre-Starting Checks: Essential Maintenance Before Firing Up
Before attempting to start your mower, performing these fundamental checks can prevent damage and ensure safe operation. Winter storage creates several predictable issues that are easier to address before you try cranking the engine.
What fuel issues develop during winter storage?
Fuel degradation is one of the most common problems after winter storage. Gasoline begins to break down after about 30 days, forming varnish and gum deposits that can clog fuel lines and carburetor components. During extended winter storage, this process accelerates, especially if the fuel wasn’t stabilized before storage.
The symptoms of stale fuel include difficulty starting, rough running, or the engine dying shortly after starting. If you smell varnish or notice the fuel has darkened significantly, it’s best to drain the old fuel completely and replace it with fresh gasoline. For carbureted engines, consider adding a fuel stabilizer to fresh fuel to prevent future degradation.
Why does the battery lose charge?
Battery capacity naturally decreases during cold storage, even when disconnected. Cold temperatures slow the chemical reactions inside lead-acid batteries, and self-discharge continues at a reduced rate. If your mower’s battery wasn’t maintained with a trickle charger during winter, it may not have enough charge to crank the engine.
Check the battery terminals for corrosion, which appears as white or greenish buildup. Clean connections with a wire brush and ensure they’re tight. Test the charge with a multimeter if available, or simply attempt to start the mower—if the engine cranks slowly or you hear clicking, the battery likely needs charging or replacement.
How do I check oil levels and condition?
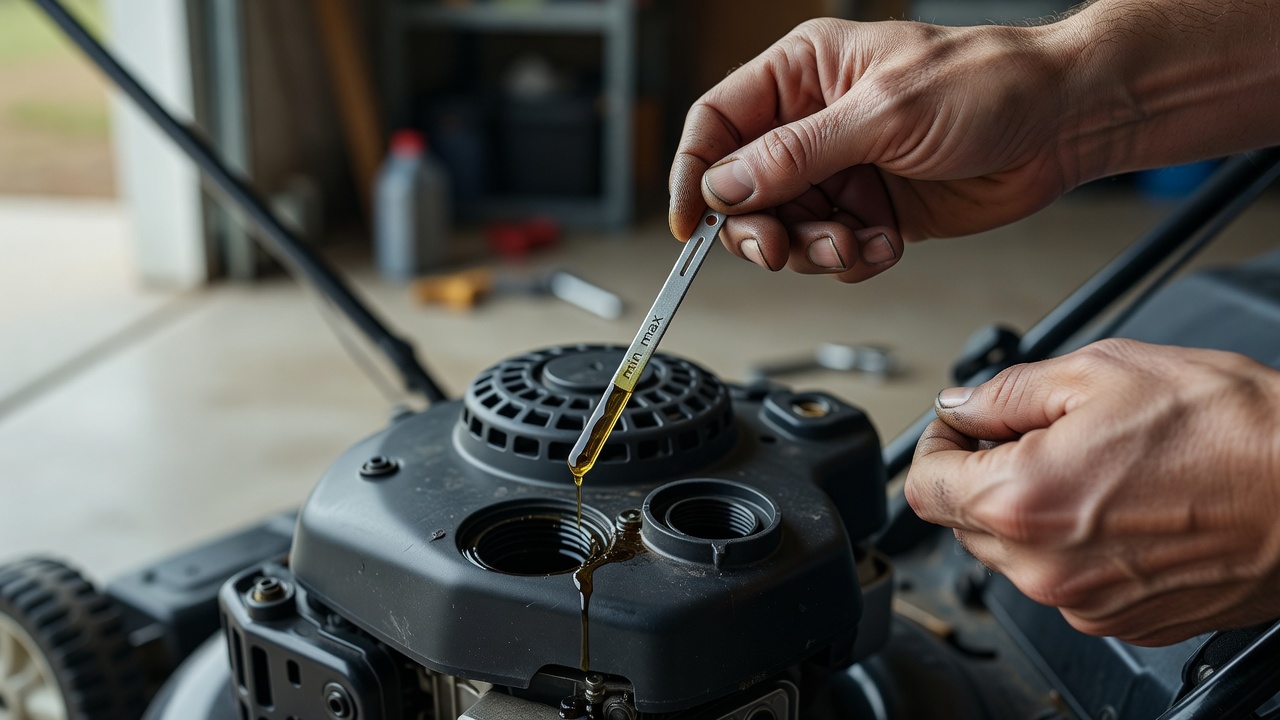
Oil can thicken in cold temperatures and may have absorbed moisture during storage. Check the dipstick with the engine off and level. The oil should be between the minimum and maximum marks and appear relatively clean—dark but not gritty or milky.
If the oil level is low, add the manufacturer-recommended type until it reaches the proper level. If the oil looks contaminated or smells burnt, an oil change is advisable before starting the engine. Never operate the mower with oil below the minimum mark, as this can cause severe engine damage.
Step-by-Step Starting Process for Gas Mowers
With pre-start checks complete, follow this systematic approach to starting your gas-powered mower. This process works for both push mowers and riding mowers, though riding mowers may have additional steps like engaging the parking brake and disengaging the blades.
How do I set the choke correctly?
The choke enriches the fuel mixture for cold starting. For a cold engine after winter storage, start with the choke fully closed (often marked as a solid circle or “choke” position). As the engine warms up, gradually open the choke to the run position (often a half-circle or “run” marking).
If the engine starts but runs roughly, the choke may be too closed—open it slightly. If it won’t start at all, ensure the choke is fully closed. Some modern mowers have automatic chokes that adjust without manual intervention.
What’s the proper priming sequence?
If your mower has a primer bulb, press it firmly 3 to 5 times as specified in your owner’s manual. Each press should deliver a small amount of fuel to the carburetor. Over-priming can flood the engine, making it harder to start.
For mowers without primer bulbs, the choke serves a similar function. If your mower has both, follow the manufacturer’s recommended sequence—typically choke first, then prime if needed.
How many pulls should I try before troubleshooting?
For a pull-start mower, give it 5 to 10 strong, steady pulls before troubleshooting. Each pull should be smooth and complete—avoid jerking or partial pulls that don’t engage the flywheel properly.
If the engine doesn’t start after several attempts, stop and check the basics: fuel is reaching the carburetor, the spark plug is firing, and the air filter isn’t clogged. Continuing to pull without addressing underlying issues can flood the engine or damage the recoil starter.
Troubleshooting: Why Your Mower Won’t Start
If your mower doesn’t start after following the basic procedure, these troubleshooting steps address common post-winter issues in order of likelihood and ease of repair.
What does a flooded engine indicate?
A flooded engine occurs when too much fuel enters the combustion chamber, wetting the spark plug and preventing ignition. Symptoms include the smell of gasoline, a wet spark plug, and the engine turning over but not firing.
To clear a flooded engine, remove the spark plug and pull the starter rope several times to expel excess fuel. Let the plug dry for a few minutes, then reinstall it and try starting again with the choke open. Avoid priming or closing the choke on a flooded engine.
When should I clean the carburetor?
Carburetor cleaning is often necessary when fuel has been left in the mower over winter. The varnish deposits from stale fuel can block tiny passages, preventing proper fuel delivery. Signs of a dirty carburetor include the engine starting briefly then dying, rough idling, or difficulty maintaining speed.
Basic carburetor cleaning involves removing the air filter, spraying carburetor cleaner into the intake, and working the throttle to distribute the cleaner. For more thorough cleaning, you may need to remove the carburetor and disassemble it, though this requires more mechanical skill. If you’re uncomfortable with this process, consider consulting a professional.
How do I know if the spark plug needs replacement?
Inspect the spark plug for fouling (black, oily deposits), wear (rounded electrode), or damage (cracked insulator). A healthy spark plug should have a light tan or gray color on the electrode and insulator.
If you’re unsure, try starting the mower with a known good spark plug. If the engine starts and runs normally, the old plug was likely the problem. Spark plugs are inexpensive and easy to replace—simply remove the old one with a spark plug socket, check the gap if necessary, and install the new one hand-tight, then snug it with the socket.
Electric and Robotic Mower Considerations
Electric mowers, whether corded or battery-powered, have different startup requirements than gas models. Understanding these differences can save time and prevent unnecessary troubleshooting.
How do electric mowers differ in startup?
Corded electric mowers require only that you plug them in and engage the safety switch—there’s no fuel system or engine to prime. Battery-powered mowers are similarly simple but depend on battery charge, making the battery check even more critical after winter storage.
For both types, ensure the blade control is disengaged before starting, then engage it once the motor is running smoothly. Check that all safety features are functioning, as electric mowers often have multiple interlocks to prevent accidental operation.
What battery maintenance matters for cordless models?
Lithium-ion batteries, common in modern cordless mowers, should be stored at about 40-60% charge during winter—neither fully charged nor completely depleted. If your battery was stored properly, it should retain enough charge for several uses.
If the battery won’t hold a charge or drains quickly, it may need replacement. Some manufacturers offer battery testing services, or you can use a compatible charger with diagnostic features. Always use the manufacturer-recommended charger to avoid damaging the battery.
Additional Tips for Successful Seasonal Startup
Beyond the basic checks and troubleshooting, these additional considerations can help ensure your mower starts reliably each spring.
Air filter inspection and maintenance
The air filter prevents debris from entering the engine but can become clogged with dust and dirt during storage. A dirty air filter restricts airflow, causing the engine to run rich and potentially hard to start.
Paper filters should be replaced if dirty or damaged. Foam filters can be washed with soap and water, dried thoroughly, and lightly oiled before reinstalling. Check your owner’s manual for the recommended maintenance interval for your specific model.
Safety considerations during startup
Always start the mower on a flat, level surface away from people, pets, and obstacles. Ensure the area is clear of debris that could be thrown by the blade. Wear appropriate safety gear, including closed-toe shoes and eye protection.
For riding mowers, engage the parking brake and ensure the cutting deck is disengaged before starting. Never leave a running mower unattended, and always shut off the engine before making adjustments or clearing debris from the deck.
When to Seek Professional Help
While many post-winter startup issues can be resolved with basic maintenance, some situations warrant professional assistance. If you’ve followed all troubleshooting steps and the mower still won’t start, or if you notice unusual noises, smoke, or fuel leaks, it’s best to consult a qualified technician.
Professional service is also recommended if you’re uncomfortable working with fuel systems, electrical components, or if your mower is still under warranty. Attempting complex repairs without proper knowledge can cause additional damage or void warranty coverage.
By following this systematic approach—from pre-start checks through troubleshooting—you can reliably get your lawn mower running after winter storage. Regular maintenance throughout the season will make the process even easier next year.