

Quick Answer: How Often To Change Lawn Mower Blade?
Replace a lawn mower blade when it is bent, cracked, deeply notched, thinned from repeated sharpening, unbalanced, or still tears grass after a proper sharpening. There is no single calendar date that fits every lawn. Inspect at least each mowing season and after hitting rocks or roots. Sharpen a sound blade as needed; install a new one when the metal…

Pros
- Large-size design named in product title
- Sharpening and balancing functions listed
- Listed as a new upgraded version

Pros
- Adjustable 15-to-45-degree range in title
- Sharpening and balancing functions listed

Pros
- Sharpener and balancer functions in title
- 15-to-45-degree adjustable setting listed
- Built for lawn mower blade maintenance
Pros
- Includes replacement gaskets and a 98079-55846 spark plug
- Matches Honda HRR216 and HRS216 lawn mower models
- Designed around the 16100-Z8B-901 carburetor specification
Cons
- Restricted to select Honda GCV160 mower applications
- Installation requires basic mechanical tools and skills
Replace on condition, not a fixed schedule
People searching how often to change lawn mower blades usually want a number: a season, a year, or a set number of hours. That is the wrong first question. A lawn mower blade is a wear part and a safety part. It should come off the mower when its condition says so, not when a calendar reminder happens to fire.
The useful rule is inspect-and-replace. Look at the blade at the start of the mowing season, after winter or long storage, and any time the mower hits a rock, root, stake, sprinkler head, or other hard object. Between those checks, watch the lawn and the machine. Ragged grass tips, extra vibration, or a chewed cutting edge all override any seasonal guess.
Calendar time, seasons of use, and cutting hours are not the same thing. A walk-behind mower that trims a small, even suburban lawn a few times a month is not living the same life as a riding mower that works a large, sandy lot every week. Hours of actual cutting matter more than the date on the box. Even hours are only a planning aid. Two mowers with the same hour count can wear blades at very different rates if one yard is full of grit and hidden stones and the other is not.
So there is a useful homeowner range later in this article, but it is supporting context, not a guarantee. If the blade is still straight, uncracked, thick enough, and cutting cleanly after sharpening and balancing, you do not replace it just because a neighbor replaced theirs. If it is damaged or worn away, you replace it even if you installed it last month. For broader ecosystem context, read through our operational guide on jbl partybox club 120 vs sony srs xv500.
Changing a blade versus sharpening or flipping it
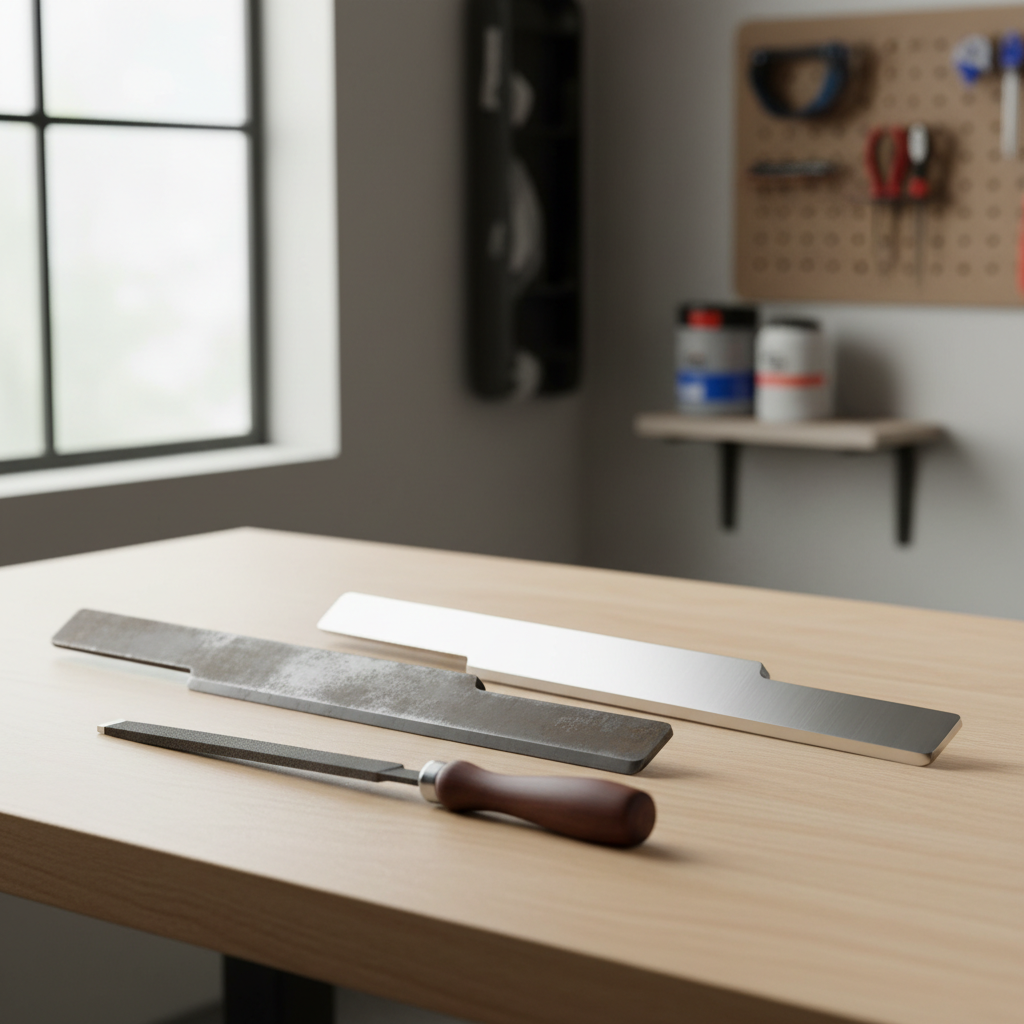
Blade replacement means taking the old blade off and installing a new one. That is the job this question is really about. Blade sharpening is different. Sharpening is maintenance on a blade that is still structurally sound: you restore a clean bevel on the cutting edge, then check blade balance so both ends of the bar are even. For broader ecosystem context, read through our operational guide on jbl partybox club 120 vs sony srs xv500.
Many searches blur those jobs because both happen under the mower deck and both affect how the grass looks. They are not interchangeable. Sharpening cannot fix a bend, a crack, a badly oval mounting hole, or metal that has already been ground away. Replacement cannot be skipped by filing a little more if the remaining steel is skinny or the lift area is weakened. For troubleshooting and reliability insights, consult our in-depth z890 vs x870e motherboard report.
Some blades are reversible. Flipping one of those to a second unused edge is still not the same as buying a new blade. The unused edge may be sharp, but the body of the blade has already taken impacts, abrasion, and heat. Inspect it the same way you would inspect any used blade: look for cracks, bends, thinning, and a worn center hole before you put the second edge to work. Not every blade is reversible. If the design only has one cutting edge, or the lift wings only work in one orientation, flipping it will cut poorly and may be unsafe.
Sharpening is still the right job when the edge is merely dull or lightly nicked and the rest of the blade is straight, uncracked, and substantial. Replacement is the right job when the metal is damaged, too thin, or unable to hold a balanced, clean edge. Keep those two decisions separate and the rest of the timing question gets much easier. For troubleshooting and reliability insights, consult our in-depth z890 vs x870e motherboard report.
Signs the blade should be replaced now
Inspection signs override any seasonal plan. A blade that fails any of the checks below should come off before the next mow, even if it is only a few weeks old.
Damage that makes the blade unsafe
- Cracks anywhere in the body, near the mounting hole, or along the cutting edge. A cracked blade can fail in use and throw metal.
- Bends or twists in the bar. A bent blade will not track in a flat plane. It will cut unevenly and shake the spindle.
- Large missing chunks or deep nicks that you cannot file out evenly on both sides.
- A worn, wallowed, or oval mounting hole that no longer fits the spindle snugly.
- Imbalance that remains after you remove the same amount of metal from both ends, or a blade that was never balanced after an impact.
If the blade struck a rock, curb, root, or buried debris, inspect it before you mow again. Impact damage is not always obvious from the operator’s seat. A small bend or hairline crack can still ruin the cut and stress the deck. Readers comparing setup options can review our technical analysis on marshall stanmore iii vs harman kardon onyx studio 8.
Wear from too many sharpenings
A blade that has been sharpened many times starts to look skinny along the cutting edge. The bevel becomes short or wavy. The outer corners may be rounded off. The raised area behind the edge, often called the blade sail or lift, can look thin or chewed. That lift is what helps move air and clippings through the mower deck. Once it is worn away, even a newly filed edge will not bag, side-discharge, or mulch the way the blade was designed to.
There is no universal leftover-thickness number that applies to every homeowner blade. If you cannot tell whether enough metal remains, replacement is the safer choice. Do not keep grinding a blade down until it looks like a knife blade with a hole in the middle. For complementary field maintenance guidelines, examine our breakdown of dyson v8 cyclone vs bissell featherweight stick.
What the lawn and the mower tell you
A finished blade often shows up in the turf before you crawl under the deck. Grass tips look shredded, gray, or brown a day or two after mowing instead of a clean, even green. The mower may leave strips of uncut or poorly cut grass. Clippings may clump instead of dispersing. The machine may vibrate more than it used to, especially at higher blade speed.
Vibration is not a cosmetic complaint. An unbalanced or bent blade hammers the spindle, bearings, and deck. If the lawn looks torn and the mower shakes, stop and inspect. If the edge will not take a clean bevel, or the blade will not balance, discard it. To evaluate matched hardware tolerances, consult our detailed overview of bissell crosswave hydrosteam vs shark stainforce.
Typical timing for home lawns
After the condition rule, homeowners still need a planning habit. Inspect at the start of the season, after storage, and after impacts. That habit is more reliable than any published interval, because yards and use patterns differ so widely.
On typical residential walk-behind and riding mowers, many people sharpen a sound blade one or more times during a season and replace it when wear or damage appears. A lightly used blade on even, debris-free turf can last more than one season if it stays straight, thick, and balanced. Sandy soil, gravel, rocks, or high-hour use can use up a blade in a single season. Commercial mowing fleets wear blades faster than home lawns; their shop schedules are not a homeowner template.
Do not treat a set number of engine hours, acres, or months as a universal replacement date. Hours are useful only as a reminder to look. A mower that idles on the driveway is not wearing the cutting edge. A mower that is cutting wet, gritty grass for long stretches is. Follow seasons and hours together: open the season with an inspection, check again after any hard hit, and replace whenever the blade fails the condition tests.
Replacement inside one season is likely if you regularly scalp high spots, mow over molehills or gravel drive edges, cut very frequently, or work a large property with a lot of hidden debris. It is less likely if you pick up sticks first, avoid obstacles, and keep a good edge on a blade that is still structurally sound.
Why a worn or damaged blade hurts the lawn and the mower
A sharp, intact cutting edge slices leaf tips cleanly. A dull, nicked, or bent blade tears and shreds. Torn tips dry out and turn brown, so the lawn looks dull even when you mowed at the right height. The plant also spends energy closing those ragged wounds instead of growing. That extra stress shows up most clearly in heat, drought, or after a too-low cut, but the cause is still the blade, not only the weather.
Cut quality is not the only issue. The mower deck depends on the blade staying in plane and in balance. A bent bar or missing chunk throws the rotating mass off center. Vibration travels into the spindle, the bearings that support it, the deck shell, and the fasteners that hold the assembly together. Over time that looseness can worsen, which makes the vibration worse. Hardware that works itself loose is a safety problem as well as a repair problem.
A cracked blade is more than an ugly edge. Once a crack starts, it can grow under load. If the blade fails while spinning, pieces can leave the deck. That is why cracks, deep notches, and severe imbalance are replace-now defects, not “sharpen it one more time” defects. A worn blade also makes the engine and operator work harder to push through grass that should have been sliced. You feel that as extra strain, a rougher sound, and a worse finish, even if nothing has broken yet.
What wears blades faster or slower
Blade life is mostly a story about what the edge hits and how often it hits it. Adjust your expectations to the yard, not to a neighbor with different soil and a different mowing pattern.
Conditions that shorten blade life
- Sand, grit, and dusty soil that act like sandpaper on the cutting edge.
- Rocks, gravel, roots, sticks, toys, and irrigation hardware.
- Molehills, bare patches, and edges along drives or beds where the blade kisses dirt.
- Scalping high spots or setting the deck so low that the blade digs.
- Very frequent cutting, thick weeds, and long sessions on a large lot.
- Any hard impact. One rock can end a blade that would otherwise have lasted the season.
Habits that help a good blade last longer
- Walk or glance over the lawn and pick up debris before you mow.
- Stay off known rocks, roots, and edging. Raise the deck over rough ground instead of forcing the cut.
- Keep the underside of the mower deck reasonably clean so clippings and grit do not pack around the blade.
- Sharpen a sound blade when it is only dull, so you are not dragging a rounded edge through the turf.
- Store the mower so the blade is not sitting in wet clippings or against a damp floor for months.
None of those habits turns a damaged blade into a safe one. They only slow wear on a blade that is still worth keeping. There is no reliable multiplier such as “sandy soil lasts half as long.” If your yard is abrasive, inspect more often and budget for earlier replacement.
When sharpening is enough
Sharpen when the edge is dull or only lightly nicked and the blade is still straight, uncracked, and thick enough to support a proper bevel. Light nicks from ordinary mowing can often be dressed out if you can keep both ends of the blade even. After sharpening, check blade balance. An unbalanced blade will vibrate even if the new edge looks shiny.
Balance means both ends of the blade are effectively even, so the spinning mass does not wobble. Home shops often use a simple balancer or a careful comparison of the two ends after even metal removal. The goal is not a showroom polish. The goal is a clean, similar edge on both sides and a blade that does not tip hard to one end.
Stop sharpening and replace the blade if any of the following is true:
- You would have to remove so much metal that the blade looks skinny or the lift area is weakened.
- Nicks are too deep to file out evenly without changing the shape of the bar.
- The blade will not balance after even work on both ends.
- The mounting hole is worn, or you can see cracks you did not notice before you started filing.
There is no mandatory number of sharpenings per blade and no single bevel angle that every homeowner must hit. Shop practice varies. What matters is a clean slicing edge, enough remaining steel, and restored balance. If you are not comfortable filing and balancing, a mower shop can sharpen a sound blade or tell you it is time for a new one. Either outcome is better than putting a thin, lopsided blade back on the spindle.
How to inspect a blade safely
A spinning lawn mower blade can cut or amputate. It can also throw debris. A damaged blade can break. Treat inspection as a shutdown task, not a quick peek with the engine running or the battery still connected.
Wait until the blade has fully stopped. Shut the engine off and let a hot engine cool enough to work near it. On a gasoline mower, disconnect the spark-plug wire so the engine cannot start. On battery and many electric or riding mowers, disconnect the battery or follow the manufacturer’s lock-out steps. Never rely on the handle bar, a foot, or a shaky prop to hold a mower in the air. If you tip or lift the machine, use the orientation the mower manual allows so fuel and oil stay where they belong.
You do not have to remove the blade to learn a lot. From a stable position, look at the cutting edge, the body of the blade, the lift or sail, and the area around the mounting hole. You are looking for bends, cracks, missing metal, a chewed or rounded edge, and obvious wear at the center. If you do remove the blade, keep track of orientation and hardware, and put everything back only if the blade is still serviceable. Fastener tightness, torque, and spindle service are manufacturer-specific. Use the mower manual. If the blade is stuck, the deck is damaged, or you are not comfortable working under the machine, stop and use a qualified technician.
Readers who never want to unbolt a blade can still do the season-start and after-impact visual check. The point of inspection is to catch a dangerous or useless blade before the next pass across the lawn, not to turn every homeowner into a small-engine mechanic.
Choosing and installing a replacement
Once the old blade has failed the condition tests, the next decision is fit, not brand lore. The new blade must match the mower’s length, the center-hole style, and the job the deck is supposed to do. A standard blade, a mulching blade, and a high-lift blade are not interchangeable just because they bolt onto the same spindle. A mulching blade is shaped to recut clippings under the deck. A high-lift blade is meant to move more air for bagging or side discharge. Using the wrong style can leave clumps, starve the bagger, or change how the deck behaves, even if the hole lines up.
Install the blade so the cutting edge and the lift wings face the correct direction. On most decks the cutting edge leads, and the sail or lift is oriented to throw clippings up and out as designed. A blade installed upside down will not cut properly and can be dangerous. On a multi-blade deck, inspect every blade. If one is badly worn or a different effective length than the others, mixed wear can leave stripes and add vibration. Replacing a failed blade as part of a matched set is often the cleaner fix when the remaining blades are equally tired.
Hardware should be in good condition: the bolt or nut, any washer or adapter, and the spindle surfaces the blade sits against. Part numbers, torque values, and spindle details belong in the mower manual or on the blade packaging. They are not generic rules. If the packaging and the mower disagree, or the hole pattern is not an obvious match, do not force a “close enough” blade. Get the correct part or have a shop confirm fitment.
Walk-behind, riding, and other homeowner mowers
The same condition-first rule applies to typical home walk-behind mowers and riding mowers. The deck is larger on a rider and the blade or blades are heavier, so imbalance and cracks matter at least as much, but you still replace for damage and wear rather than for a printed anniversary. Check after impacts just as you would on a walk-behind. A rider can hide a bent blade behind more steel and more noise, so a new vibration after hitting something is a reason to stop.
Multi-blade decks need every blade checked. One damaged blade can spoil the entire cut and shake the whole spindle set. Staggered wear also leaves a stepped or striped finish. Treat the set as a system: inspect together, sharpen together when the blades are still good, and replace together when wear has diverged enough to affect cut or balance.
Robotic mowers are a different wear pattern. They often use smaller consumable blades that are meant to be inspected and swapped as a routine wear item, more often than a full-size steel deck blade. The same safety idea applies: shut the mower down, keep fingers away from edges, and replace blades that are nicked, bent, or no longer cutting cleanly. Do not copy a walk-behind seasonal plan onto a robot, and do not invent a fixed week or hour interval. Follow the robot’s manual for how those small blades attach and when the maker wants them checked.
Reel mowers, commercial fleet machines, and model-specific service campaigns are outside this homeowner scope. If your mower’s manual gives a service interval or a unique blade procedure, that document wins over any general article. For ordinary home walk-behind and riding mowers, the answer stays simple: inspect on a seasonal and after-impact rhythm, sharpen a sound blade, and change the lawn mower blade when damage or missing metal says the old one is finished.
For more hands-on benchmarks and buying recommendations, consult our guides on heavy-duty chainsaw buyer guide, as well as high-CFM commercial leaf blower guide.
Mechanical safety standards, operational tolerances, and protective gear guidelines align with benchmark specifications established by the American National Standards Institute (ANSI).









