

Quick Answer: How To Properly Sharpen Lawn Mower Blades?
To sharpen a typical rotary lawn mower blade properly, first make the mower unable to start, then remove the blade while marking which way it faces. Restore the existing cutting bevel evenly on both ends without overheating the steel, check that both ends are balanced, and reinstall the blade in the original orientation with the fastener fully tightened. Replace the…

Pros
- Large-size design named in product title
- Sharpening and balancing functions listed
- Listed as a new upgraded version

Pros
- Adjustable 15-to-45-degree range in title
- Sharpening and balancing functions listed
Pros
- Includes replacement gaskets and a 98079-55846 spark plug
- Matches Honda HRR216 and HRS216 lawn mower models
- Designed around the 16100-Z8B-901 carburetor specification
Cons
- Restricted to select Honda GCV160 mower applications
- Installation requires basic mechanical tools and skills
What “properly sharpened” actually means
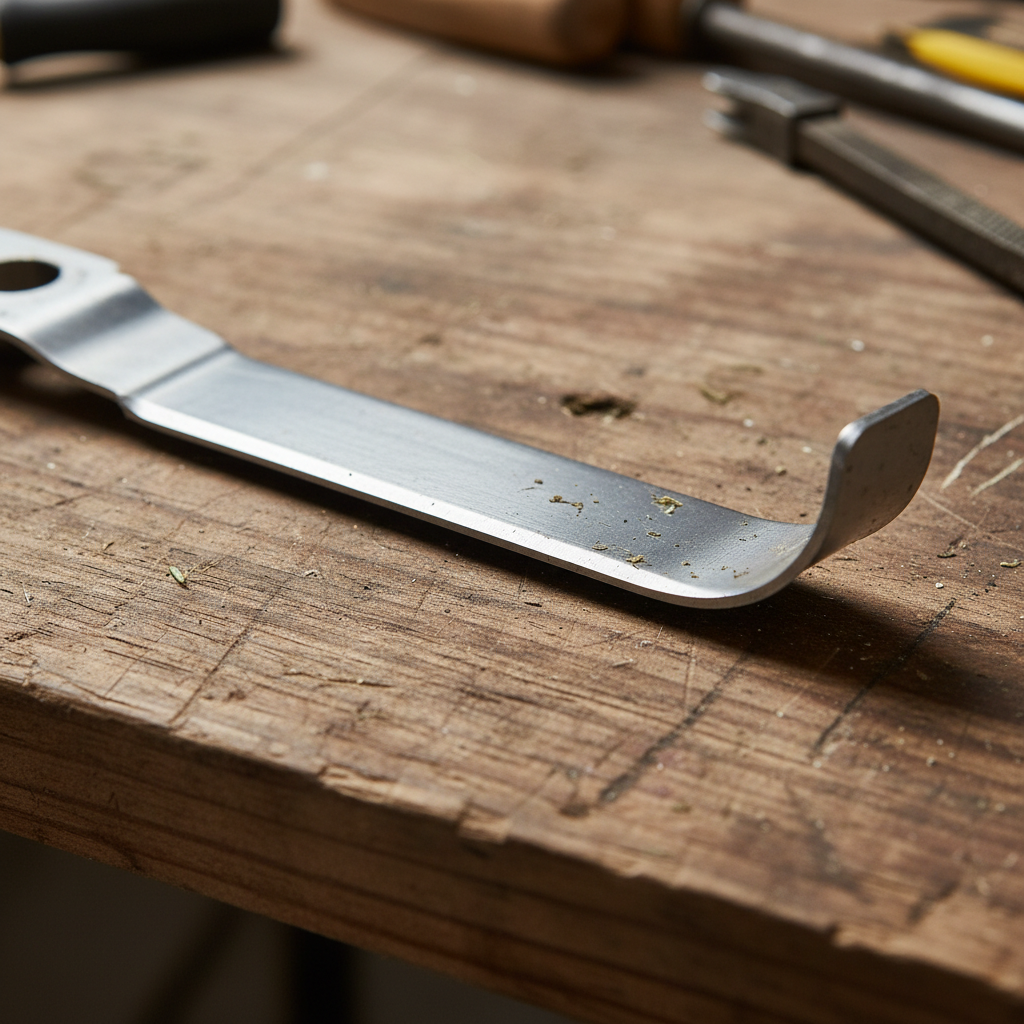
A rotary lawn mower blade does two jobs at once. The cutting edge slices grass, and the raised sail or lift wing helps move clippings into the discharge chute or bag. Properly sharpened means both ends have a clean, even bevel that can slice rather than tear, and both ends are close enough in weight that the blade stays reasonably balanced at speed.
A dull or nicked rotary blade tends to tear or shred grass instead of cutting it cleanly. The lawn often shows ragged, browning tips and a gray or frayed look a day later. The machine also works harder because the blade is beating turf instead of slicing it. That extra load is hard on the engine, belts, and the person pushing or steering the mower. It is not something you can honestly reduce to a percentage of fuel use, lawn health, or engine wear.
Balance matters as much as sharpness. A rotary blade is a spinning bar. If one end is heavier, the assembly shakes. Vibration can loosen hardware, wear the spindle or crankshaft bearings, rattle the mower deck, and make a walk-behind mower or riding mower harder to control. Sharpening only one end, or taking a deep gouge out of one tip, can create that problem even when the edge looks keen.
This process is for standard rotary blades on typical homeowner walk-behind and riding mowers, using a hand file or a careful bench grinder. It does not cover reel-mower cylinder grinding, robotic-mower discs, or commercial shop machines. Those cutters use different geometry and equipment. If your owner’s manual describes a different blade type or a service procedure that conflicts with this overview, follow the manual.
Make the mower safe before you touch the blade
The worst injuries in this job happen before a file ever touches steel: a blade that is still coasting, a mower that starts while a hand is under the deck, or a machine that falls off a support. Treat disable, stabilize, and personal protective equipment as the first part of sharpening.
Wait until the engine and blade have fully stopped. Then disable ignition power so the machine cannot start while you reach under the deck. Never rely on a blade-brake clutch, operator-presence handle bail, or seat switch alone. Those controls can fail, stick, or be misunderstood, and they do not replace a disconnected ignition source.
Gasoline walk-behind mowers
On a typical gasoline walk-behind mower, pull the spark-plug boot off the plug and keep the boot where it cannot snap back onto the terminal. That is the basic disable step for most small gasoline engines. Do not leave the boot hanging next to the plug where a bump can reconnect it.
Battery, electric, and riding mowers
On battery mowers, many electric models, and typical riding mowers, disconnect the battery using the method in the owner’s manual—usually the negative cable first—and remove the key if the machine has one. Some electric mowers also have a removable safety key or a slide-out battery pack. Take that energy source with you so nobody can reinsert it while you are under the deck.
Stabilize the machine before you tilt it or work under the mower deck. Chock the wheels so the mower cannot roll. Tilt a walk-behind only as the manual allows. Many gasoline walk-behinds should be tipped with the carburetor or air-filter side up so fuel and oil do not run into places they do not belong. A riding mower is heavier and less stable on ramps or a jack. If you cannot reach the blade bolt safely from the discharge opening or another service position the manual describes, stop. Do not crawl under a poorly supported deck.
Wear sturdy gloves and eye protection. A dull blade can still cut deeply, and rust, grit, or a broken burr can fly as soon as you file or grind. Closed shoes and long sleeves help. Keep children and pets out of the work area.
If any of this conflicts with the owner’s manual, the manual is the authority. Do not bypass safety interlocks. Do not open the fuel system or rewire the mower just to make the blade easier to reach.
Remove the blade and record its orientation
Once the mower cannot start, get the blade off without losing rotation direction or hardware order.
Access the underside of the deck only in a way the manual allows. Use a scrap of wood against the deck—or a blade-holding feature if the deck has one—to keep the blade from turning. Never grip the cutting edge with your hand while you break the blade bolt loose.
Before the bolt comes off, photograph the whole stack: the blade, any adapter or stiffener, washers, and the bolt head. Note painted arrows, grass-side stamps, and the way the sail sits. On a typical rotary blade, the raised lift wing or sail faces the deck, up toward the mower, and the cutting edges lead in the direction of rotation. Reinstall the blade upside down and it will not lift clippings well. It may also scrape the deck or throw grass poorly.
Do not assume a universal thread direction or wrench size. Some blade bolts are reverse-thread; many are not. Use a socket that fully fits the head so you do not round it. If the fastener will not budge, apply penetrating oil, wait, and try again with the blade blocked. Heat, cheater pipes, and impact tools can twist a crankshaft or spindle if the setup is wrong. There is no safe generic torque-to-loosen number. If the bolt is rounded, seized, or the spindle turns with it, a small-engine shop is the safer next step.
Keep every washer and adapter in the order it came off. A missing washer or a reversed adapter can let the blade slip, sit at the wrong height, or loosen in use.
Inspect the blade: sharpen or replace
Not every blade should go back on the mower. Sharpening cannot repair a structural defect, and a damaged blade is more dangerous after you put a keen edge on it.
Replace the blade rather than sharpen it if you find any of these problems:
- A bend, twist, or warp you can see against a straightedge or a flat surface
- A crack, including a hairline crack at the mounting hole or at a nick
- Large chunks missing from the cutting area
- Steel worn thin at the cutting area or around the center hole
- A lift wing that has worn away or broken off
- Deep rust scale that has eaten into the thickness of the blade
There is no honest remaining-thickness measurement or maximum number of sharpenings that applies to every blade. If the steel looks skinny next to a new blade of the same type, or if the mounting hole is wallowed, treat the old blade as scrap.
Do not straighten a slightly bent blade at home and put it back in service. Hidden cracks and leftover imbalance remain, and a hammer-and-vise correction can make both worse. Replacement is the safer default. A new blade is generally cheaper than a damaged spindle or crankshaft.
If the steel is sound, the mounting hole is tight, the sail is intact, and the existing bevel is still recognizable, sharpening is a reasonable homeowner job.
Restore the cutting edge without ruining the steel
The job is to restore the factory bevel, not to invent a new angle and not to polish the steel like a kitchen knife. A clean, even cutting edge that can slice a piece of paper or a blade of grass is a practical target. A wire-thin razor edge chips the first time it hits a twig.
Clamp the blade in a vise with the beveled face toward you, or hold it securely on a bench so it cannot slip. Remove metal mainly from the beveled face. Knock off only a light burr from the back—the flatter face. Do not grind a second bevel on the back unless the blade was manufactured that way.
Work both cutting ends the same way and take roughly equal metal from each end. That habit keeps blade balance closer to where it started.
Hand file
A mill file or a dedicated blade file is the most controllable home method. Push the file along the existing bevel in long, even strokes, following the factory angle you can already see. Let the file cut on the push stroke and lift or ease pressure on the return. Keep the teeth clean so they do not skate. Stop when nicks are gone and the bevel is continuous, not when the edge is needle-thin.
Bench grinder
A bench grinder can remove metal quickly, which is useful on a badly rounded edge and dangerous if you lean on the wheel. Use light passes, a steady rest, and frequent cooling. Dip the blade in water often so the steel never gets hot enough to discolor. Stop immediately if the edge turns straw-colored or blue. That color change can mean the steel got hot enough to lose temper, leaving a soft cutting edge that dulls or rolls quickly. There is no universal grit, wheel speed, or required bevel degree to quote as a specification. Matching the existing factory bevel is safer than chasing a single published angle.
A freehand angle grinder is riskier for this job. It overheats easily, dishes the bevel, and can shorten one end more than the other. If that is the only powered tool on the bench, filing by hand or installing a new blade is usually the better choice.
Keep both ends even as you go. Count strokes or switch ends often. Do not grind the blade shorter just to erase a deep nick on one side; that is how blades go out of balance. If a nick is so deep that you would have to remove a lot of steel, replace the blade.
Balance both ends before the blade goes back on
Balance is a required step, not a finishing flourish. After any sharpening, check it before the blade goes back under the deck.
A usable home check is a cone-style blade balancer, or the blade hung horizontally on a nail, screwdriver shank, or similar rod through the center hole. Support the blade at the center so it can tip freely. The heavy end drops.
If one end is heavy, remove a little metal from that end and recheck. Take the extra metal from behind the cutting edge or along the outer mass of the heavy end. Do not correct balance by aggressively shortening only one tip, and do not grind the cutting bevel on one side only. Small corrections, then another check, beat one heavy grind.
There is no useful homeowner gram tolerance or commercial spin-balance specification to quote here. Close to level is the practical standard: the blade should not consistently dive to one side. If it will not come close to level, or if you already removed a lot of steel from one side, replace the blade.
An unbalanced blade can vibrate badly enough to damage the mower or make it hard to control. Do not skip this check because the cutting edge looks sharp.
Reinstall the blade in the correct orientation
Match the photographs you took. The lift or sail faces the deck, toward the mower. The cutting edges lead into rotation. An upside-down blade often cuts poorly, fails to lift clippings, and may hit the deck.
Reuse hardware only if the blade bolt, washers, and any adapter are undamaged. Replace a stretched, corroded, or damaged blade bolt. Put the stack back in the same order you recorded.
Tighten firmly with the correct-size socket while the blade is blocked so it cannot spin. Exact torque is manufacturer-specific. Use the figure in the owner’s manual rather than a generic foot-pound number from memory. Thread locker is not universally required; use it only if the manufacturer calls for it.
With power still disabled, rotate the blade by hand through a full turn. Confirm it does not scrape the mower deck or hit a chute, belt cover, or bagger part.
Reconnect the spark-plug boot or battery last. Clear tools, wood blocks, and debris from the deck. Keep people and pets away for the first start. Listen for unusual vibration before you begin a full mowing pass.
After the first cut, and how to keep the edge longer
A successful job usually leaves cleaner leaf tips and less shredded, stringy debris on the lawn and in the bag. Grass that looked torn or browned at the tips after the last mowing should look more even. If the lawn still looks shredded, the bevel may be rounded, only one end may have been sharpened, the grass may be wet or badly overgrown, or the blade may be the wrong length for the deck.
Inspection frequency depends on hours of use, sandy or gritty soil, hidden sticks, and how often the blade hits obstacles. There is no honest universal calendar, acre count, or engine-hour interval. Check the cutting edge and blade balance regularly through the season. Clean caked grass off the underside of the deck with the mower still disabled. A packed deck changes airflow and makes even a sharp blade tear.
Habits that dull a blade faster include scalping, using the mower as an edger, running over rocks and roots, and leaving the blade in wet, abrasive soil. Raise the deck over rough ground. Walk the lawn for branches, wire, and toys before you start. After a hard hit, stop and inspect rather than finishing the yard on a possibly bent blade.
If something still feels wrong
If the mower vibrates after reinstall, stop mowing. Recheck blade balance, blade orientation, and fastener tightness before you assume the engine is at fault. Vibration can also mean a bent blade you missed, missing hardware, or a spindle or deck problem that sharpening will not fix. Continued running can make those problems worse.
If the lawn still looks torn, look at the bevel under good light. A rounded or smeared edge was not restored. Confirm both ends were sharpened and that the sail faces the deck. Wet, tall grass can tear even with a decent edge. Wait for drier conditions or take a higher first pass.
If the engine will not start after the job, the usual causes are an unseated spark-plug boot or a battery that is still disconnected. Reseat the boot fully. Reconnect the battery in the order the manual describes.
If the blade bolt will not loosen, do not keep rounding the head. Penetrating oil, a full-fit socket, and a blocked blade are the homeowner limits. Beyond that, a shop can extract the fastener without twisting the crankshaft.
If the blade hits the deck, do not keep running it. The blade may be upside down, the wrong replacement length, stacked with hardware in the wrong order, or mounted on a bent spindle. Leave power disabled until you find the interference.
When the blade is cracked, bent, or impossible to balance, or when the spindle itself wobbles, replacement or professional service is the correct end of this job—not another pass on the grinder.









